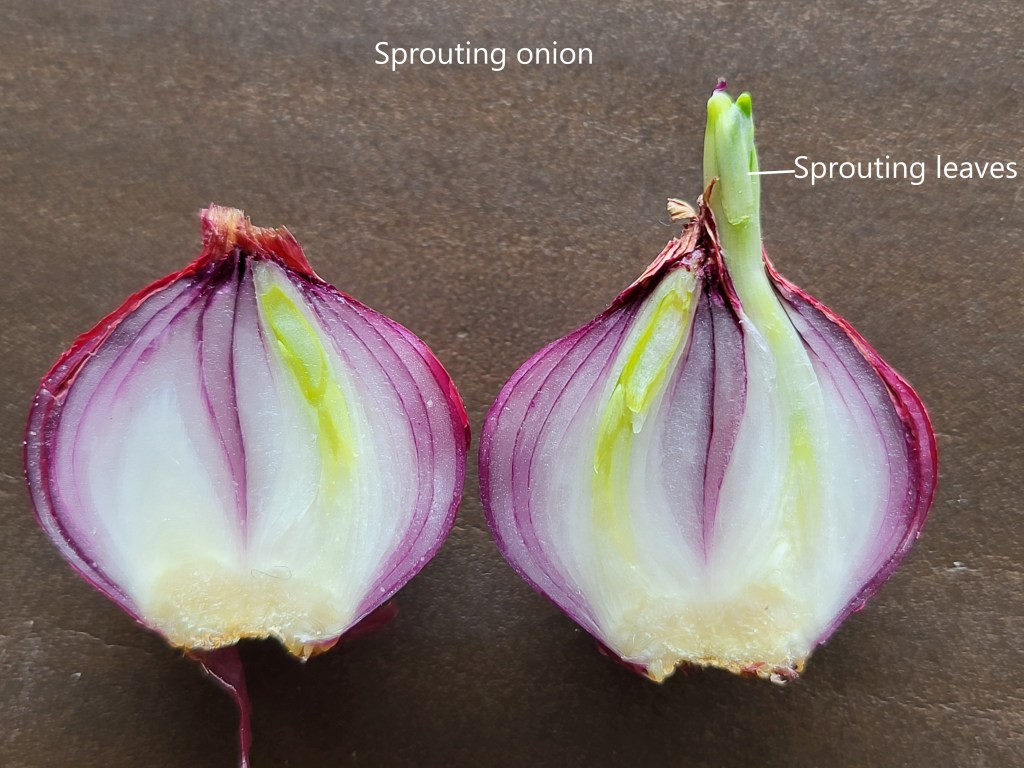
The green leaves of an onion plant are long, thin, and tubular, emerging from the base of the plant to form a sheath around the developing bulb. These leaves are typically a vibrant green color and play a crucial role in photosynthesis, supporting the growth and development of the onion bulb.
Unfolding the Green Leaves of Onion Plants
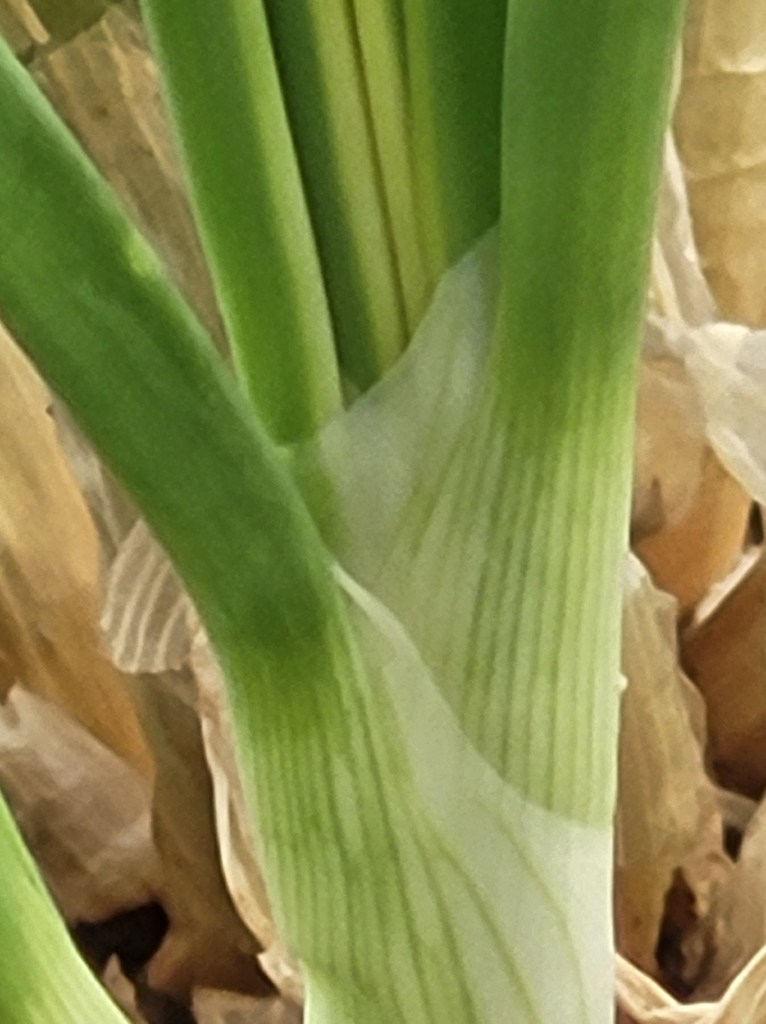
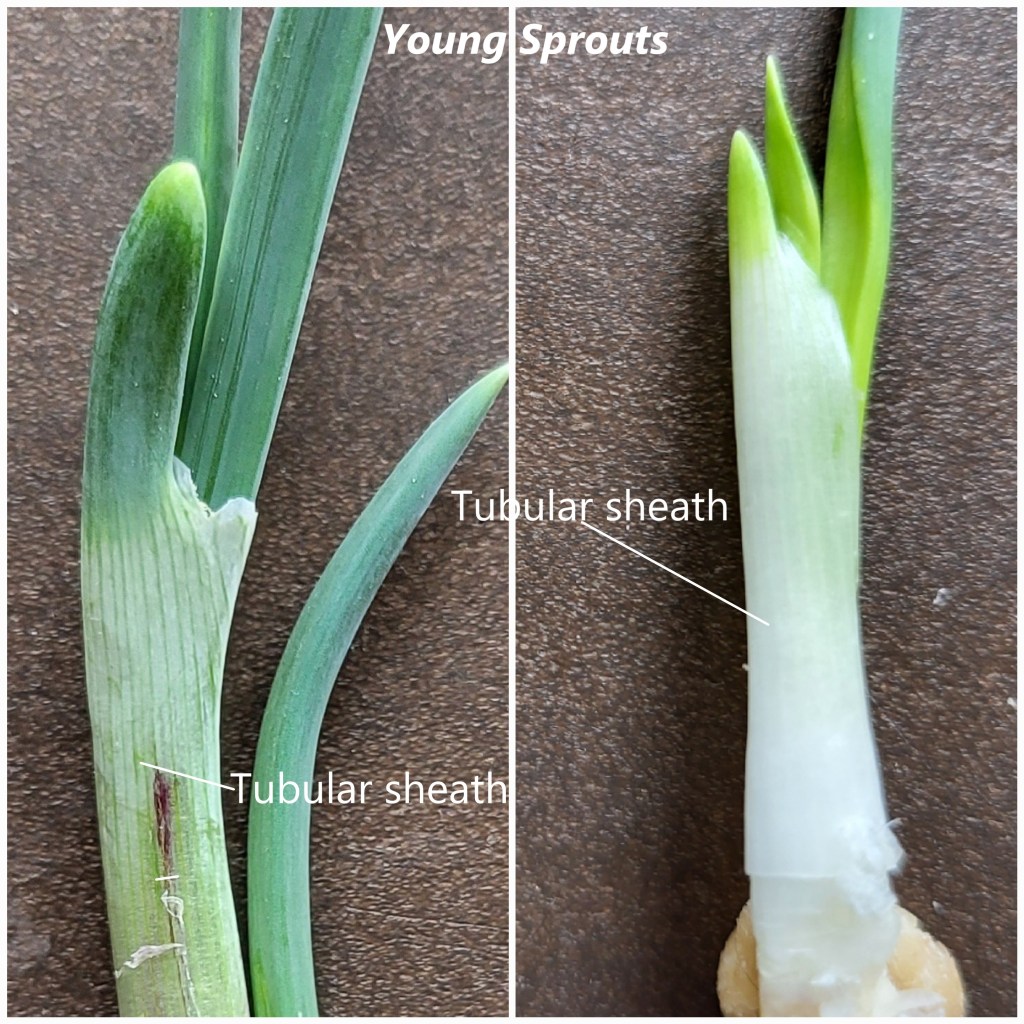
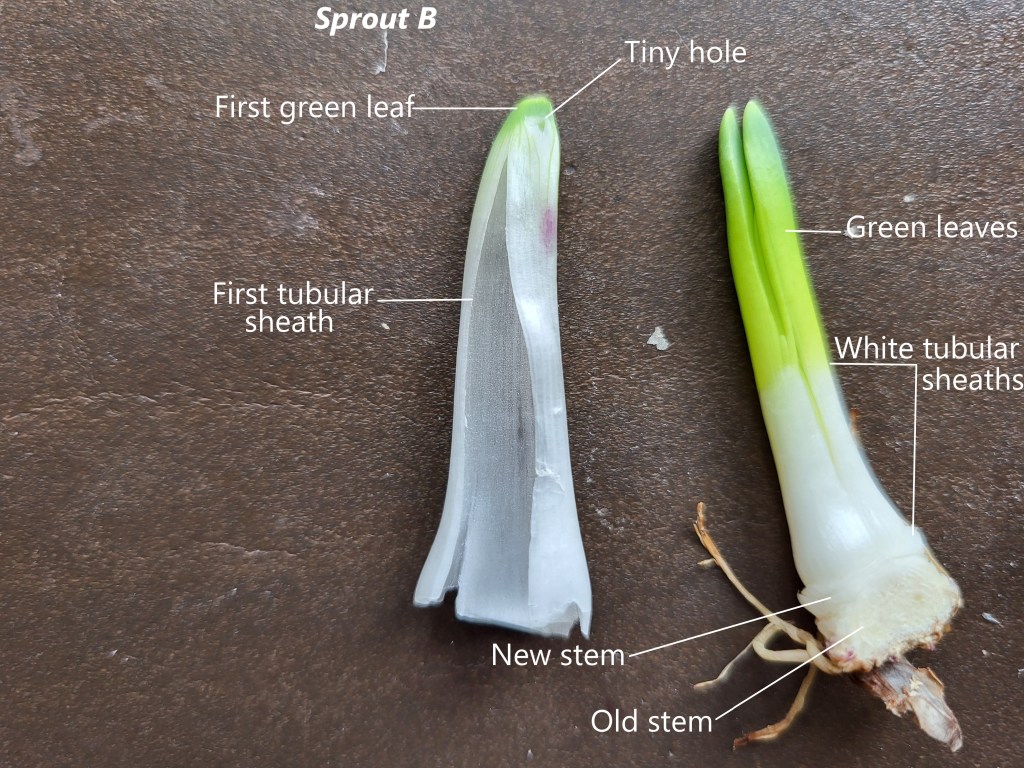
Let’s examine the pseudostem of an onion plant. Notice how green leaves emerge from the tightly wrapped tubular sheaths. Upon closer inspection, it’s evident that the green leaves appear to branch out directly from these sheaths, forming the pseudostem.

As the onion sprouts grow, the green leaf tissues and pigmentation become active. The veins of the tubular sheath diverge, leading to the base of the green leaf. This is the first green leaf of a sprout
Detailed View of Onion Leaf Interior
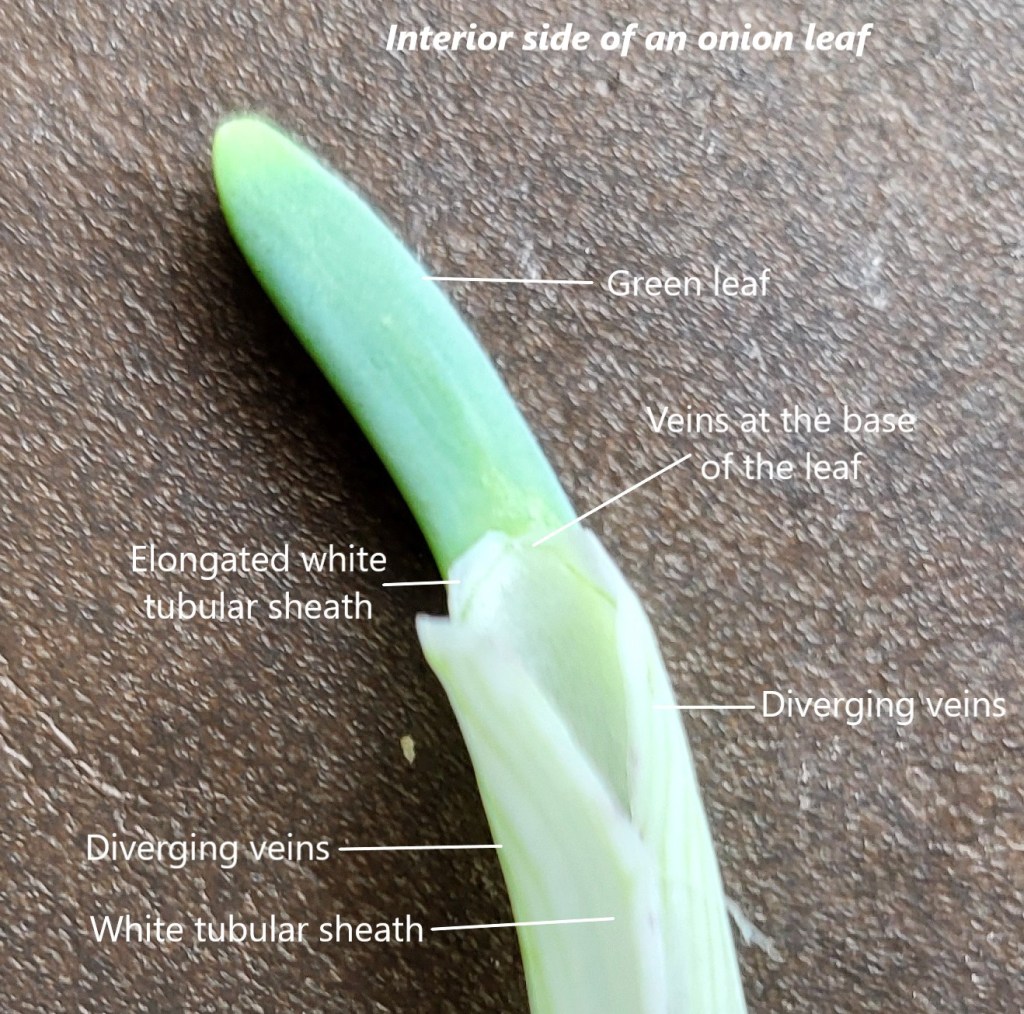
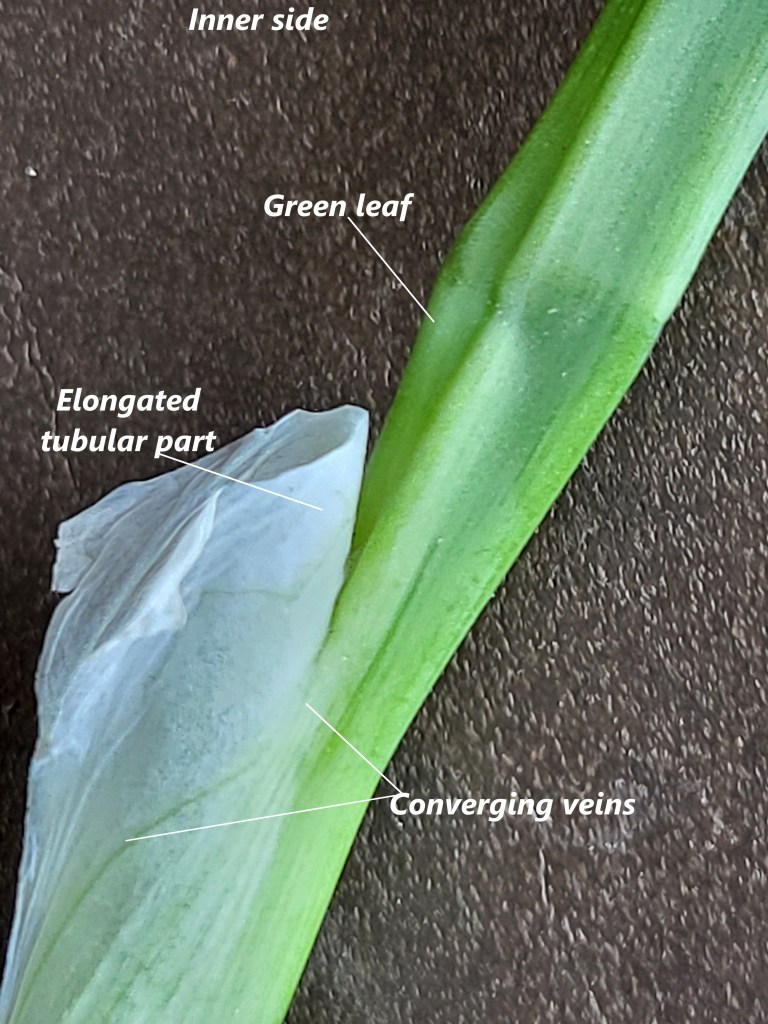
This enlarged picture reveals the interior side of same onion leaf as above, showcasing how veins in the tubular sheath diverge and connect to the green leaf’s base. The veins appear as light green lines within the white tubular sheath. Notably, a small, elongated portion of the white sheath extends above the green veins at the leaf’s base.
Exterior and Interior Views of a Mature Onion Leaf

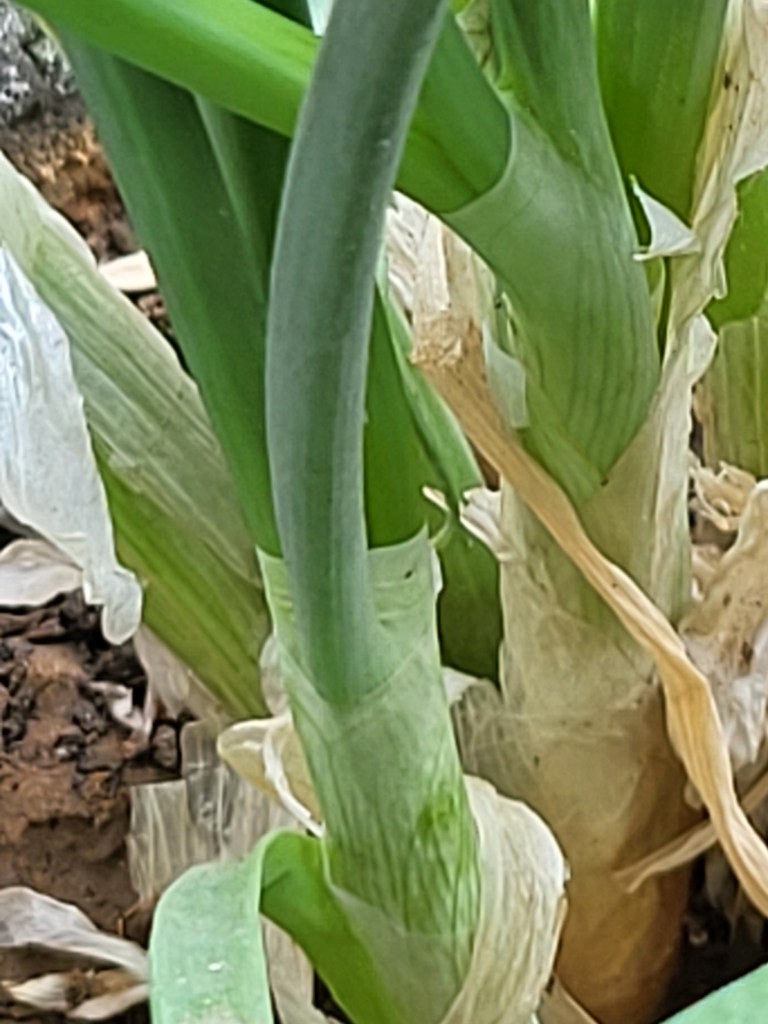
The exterior side of the tubular sheath displays green veins that seamlessly transition into the green leaf.
In contrast, the interior side shows the veins diverging to the right and left, meeting the base of the green leaf.
Interior of a Mature Onion Leaf
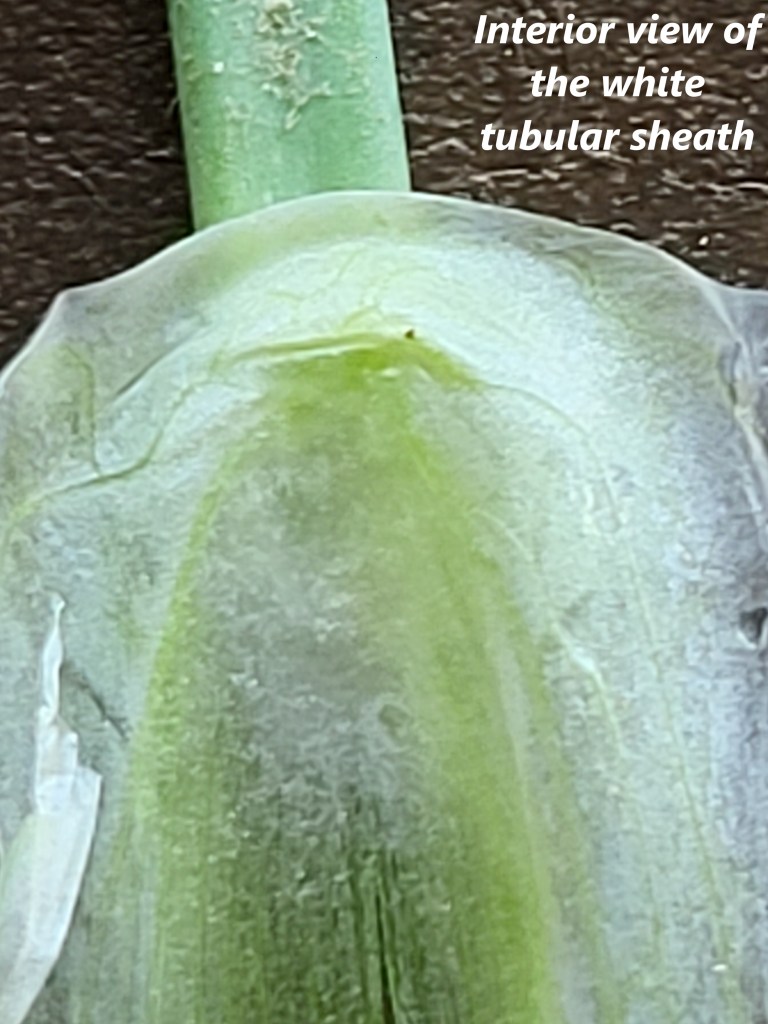
The interior side of a mature onion leaf is displayed flat, revealing parallel and diverging green veins from the tubular sheath. These veins form a silhouette with an elliptical shape at the center, tracing the base of the green leaf. The elongated white tubular sheath provides tight support, cradling incoming green leaves emerging from the center of the plant.

When we gently pressed the white sheath to flatten it, there was a slight tear on the white sheath but revealed the converging veins on the outer side, which became more prominent and seemed to trace the base of the green leaf.
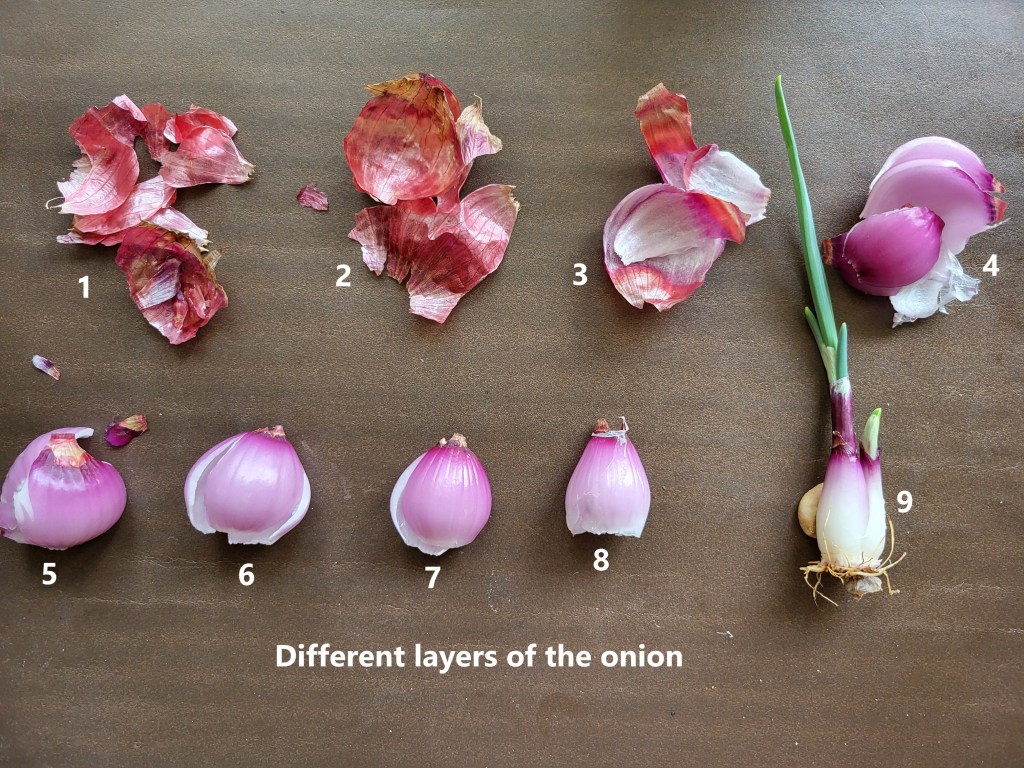
Unwrapping Onion Leaves
It is the picture of the interior side of the same leaf: A 4-part collage reveals its structure.

1. A thin white membrane covers the interior.
2. The arrow indicates the hollow section, housing the leaf base.
3. After removing the membrane, the hollow leaf base is exposed.
4. A cross-section cut through the membrane and leaf reveals its hollow interior.
This examination revealed a distinct feature on the white tubular sheath where the green leaf emerges. Notice how the veins converge into this small area of the green leaf. Our examination showed:
Our observations suggest:
- Veins from the tubular sheath connect to the inner part of the green leaf.
- The outer side of the leaf remains round, supported by the sheath’s structure.
- In contrast, the inner side is flat may be due to two factors: the connection of veins from the sheath and the pressure exerted by the pseudo stem.
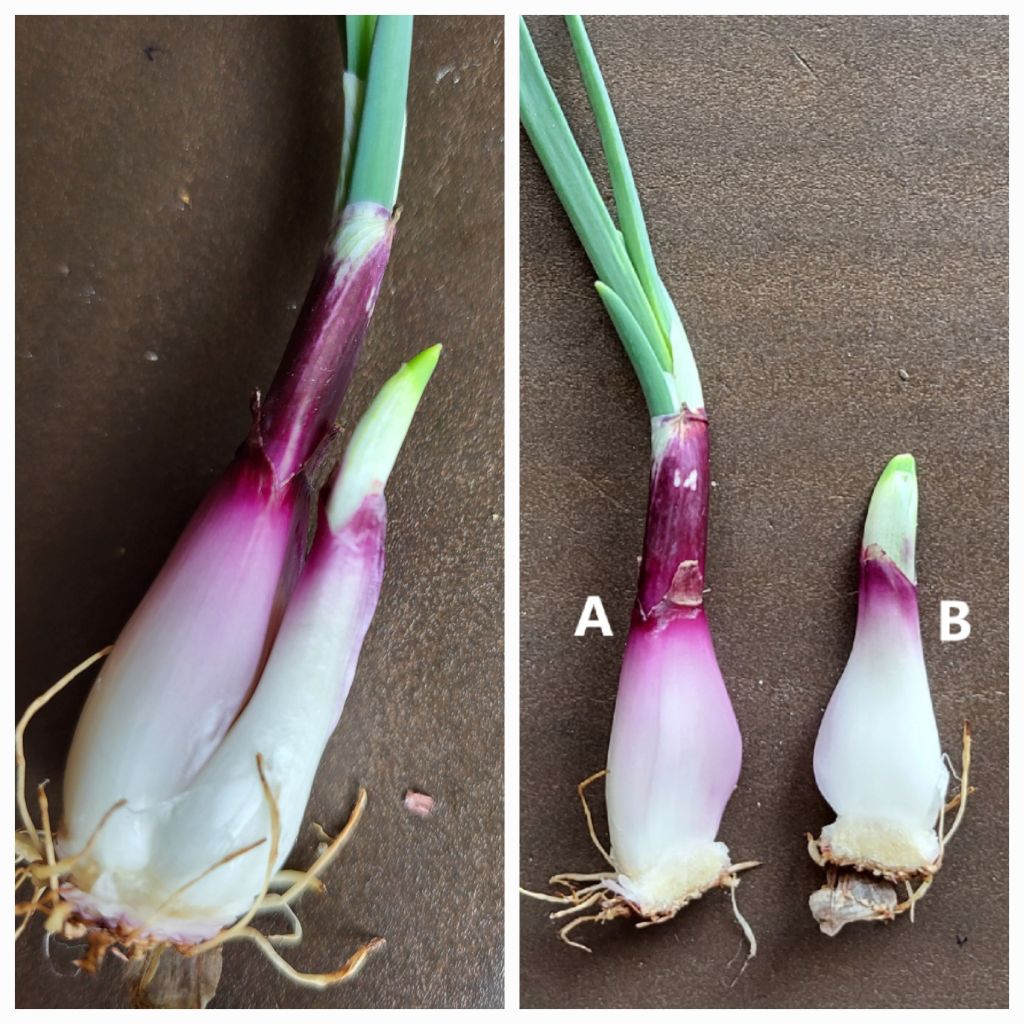
- The green leaves emerge sequentially from the top, each associated with a tubular sheath that it nourishes with nutrients during its growth.
Characteristics of Onion Leaves

Onion leaves are characterized by their bluish-green color, hollow and curved shape with pointed tips, and a rounded outer surface with a flat inner surface.

They exhibit parallel venation, which supports their structure and facilitates the transport of nutrients and food materials to the onion bulb for storage.
When we open up an onion leaf, we could see the parallel venation more clearly and also see the inside lined with a protective epidermal peel.
Each plant bears about 8-10 leaves measuring around 46-50 cm in length. Understanding onion leaf anatomy provides valuable insights into the plant’s development and function.
Happy reading!
Coming up next ………Onion Bulbing
********