Welcome to Southeast Asia!

Southeast Asia is a vast and diverse region, covering about 3% of the Earth’s land. It comprises 11 countries: Brunei, Burma (Myanmar), Cambodia, Indonesia, Laos, Malaysia, Philippines, Singapore, Thailand, Timor-Leste and Vietnam.
This region is unique, with some countries being islands, while others are part of larger islands or connected by land. They’re scattered across the Bay of Bengal, Indian Ocean, North Pacific Ocean, South China Sea, and Philippine Sea.
Southeast Asia is economically vibrant, with many countries experiencing rapid growth. The region is also culturally rich, with diverse countries, cultures, and people. To promote cooperation and unity, these nations work together through the Association of Southeast Asian Nations (ASEAN).
Pulses in Southeast Asia

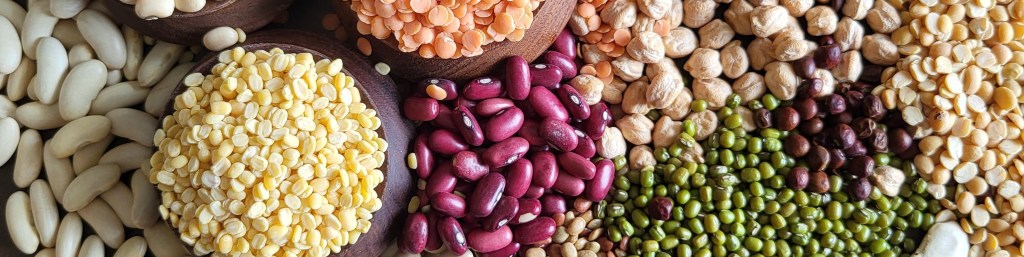
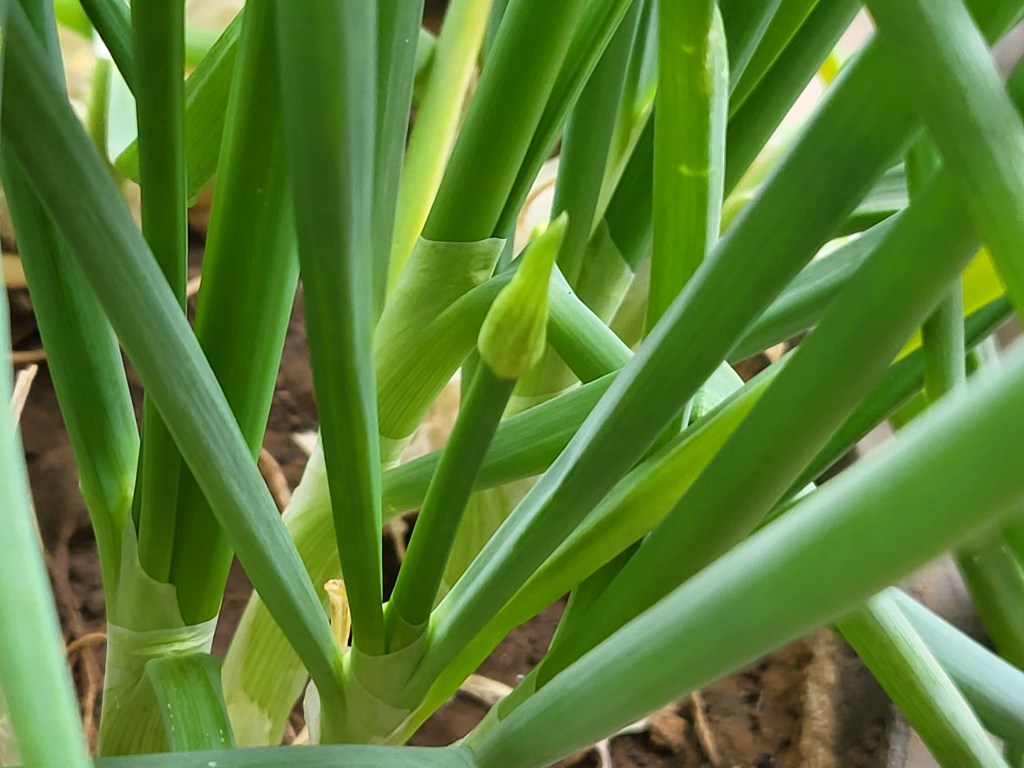
Pulses and beans are staple ingredients in Southeast Asian cuisine. The region cultivates various types, including mung beans (Kacang hijau or green gram), Petai beans (stink beans), Winged beans (Kacang botol) are their local pulses while Pigeon peas, and Hyacinth beans were introduced through the Silk Route.
People of Southeast Asia use pulses mainly in soups, stew and sweet dishes.
In this project, we’ll explore each Southeast Asian country alphabetically, , Brunei, Cambodia, Indonesia, Laos, Malaysia, Myanmar (Burma), Philippines, Singapore, Thailand, Timor-Leste and Vietnam, discovering their unique ways of cooking and presenting pulses.
Your comments and feedback are invaluable in helping us complete this project.
Happy reading!
Coming up next …………… Pulses in Brunei cuisine
******