Moong Kulfi

Nothing like Kulfi on a hot summer day ! 

Kulfi is an Indian Ice cream.  It is condensed milk frozen in conical shaped container and served on stick as dessert.   It is believed to have originated during Mogul Empire in India in 16th Century. 

You need:

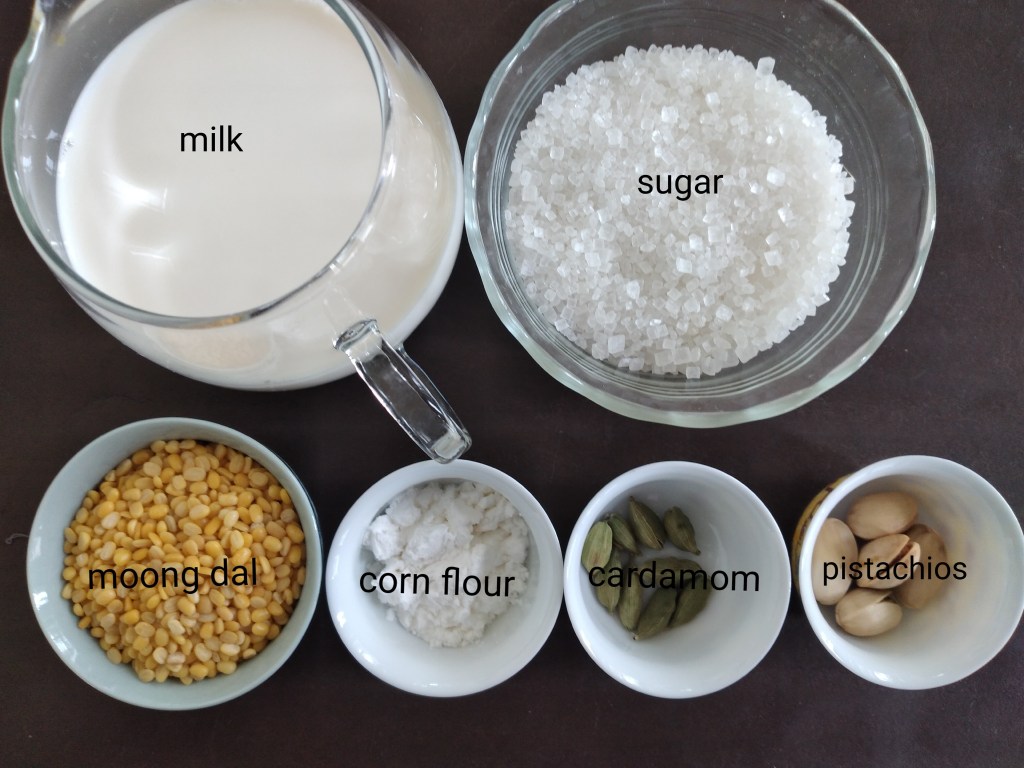
1 litre milk

30 gm moong dal

5 gm corn flour

100 gm Sugar

8 green cardamom

Few pistachio for garnishing (optional).

Method:

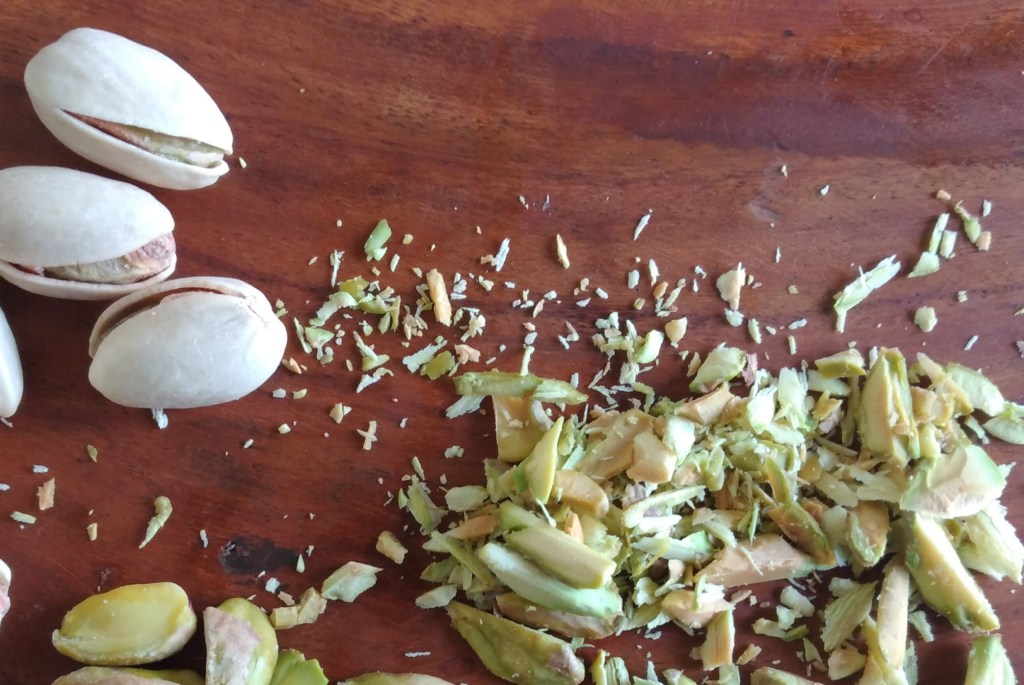
  1. Remove the shells of the pistachios and chop them finely. Set them aside for garnishing.

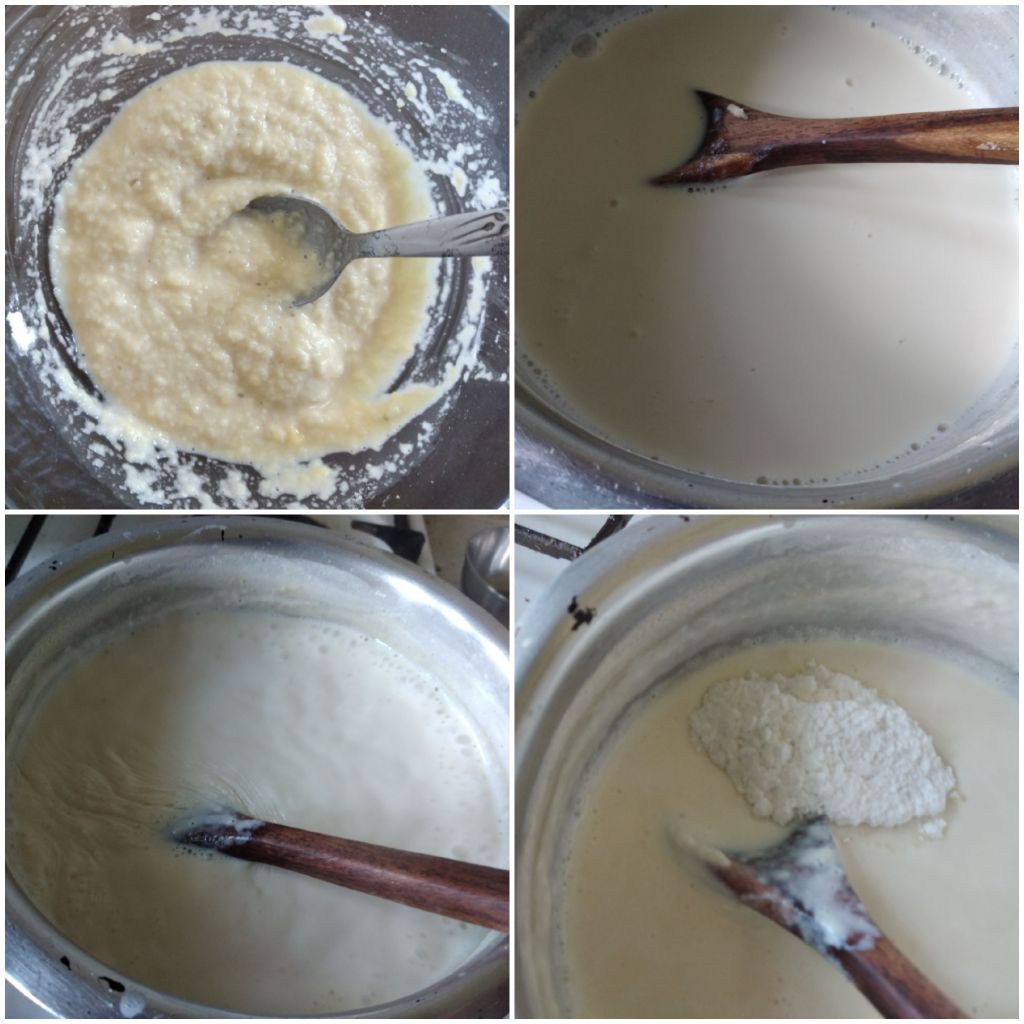
2. Wash and soak moong dal for about 2 hours. Grind to a fine paste.

3. Add the corn flour and mix well.

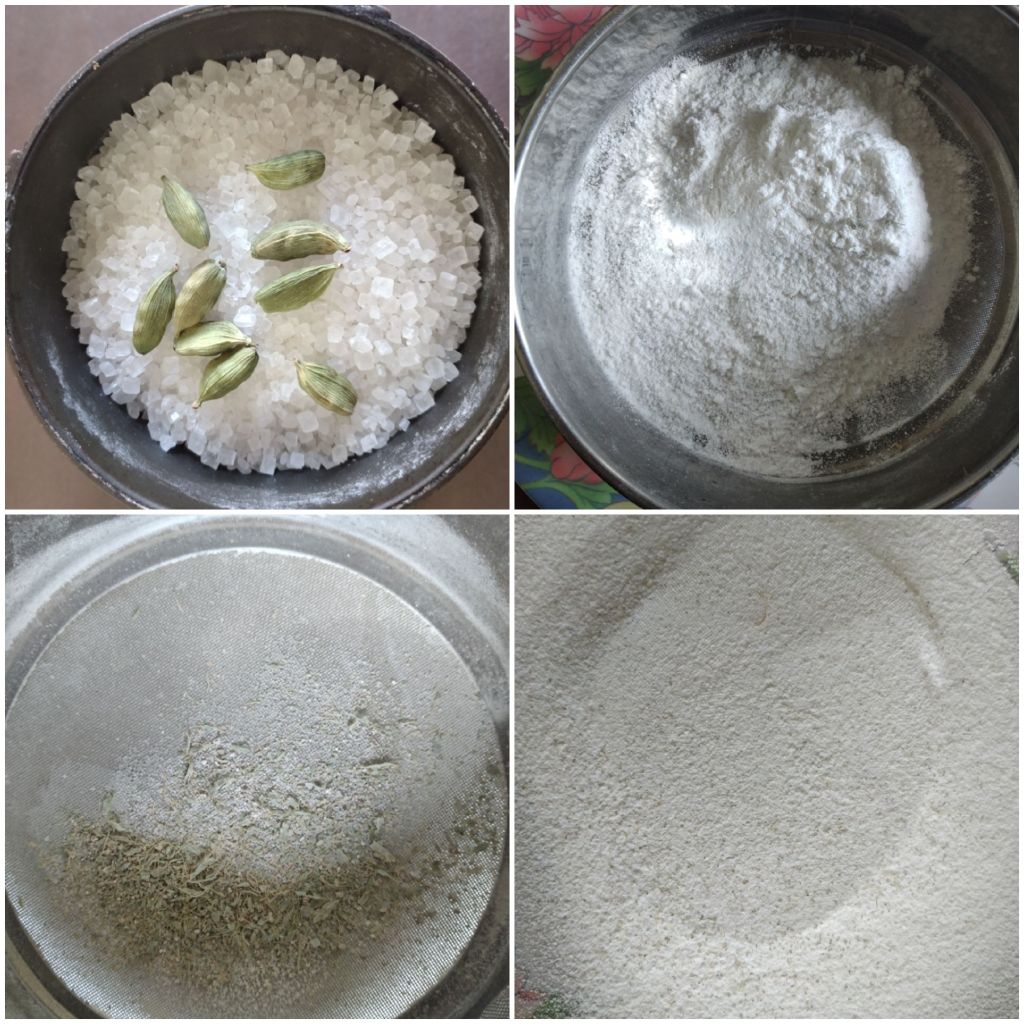
4. Grind sugar and cardamom together. 

5. Sieve the mixture and discard the skins of the cardamom if any.  Set aside

6. Bring milk to boil in a heavy pan. 

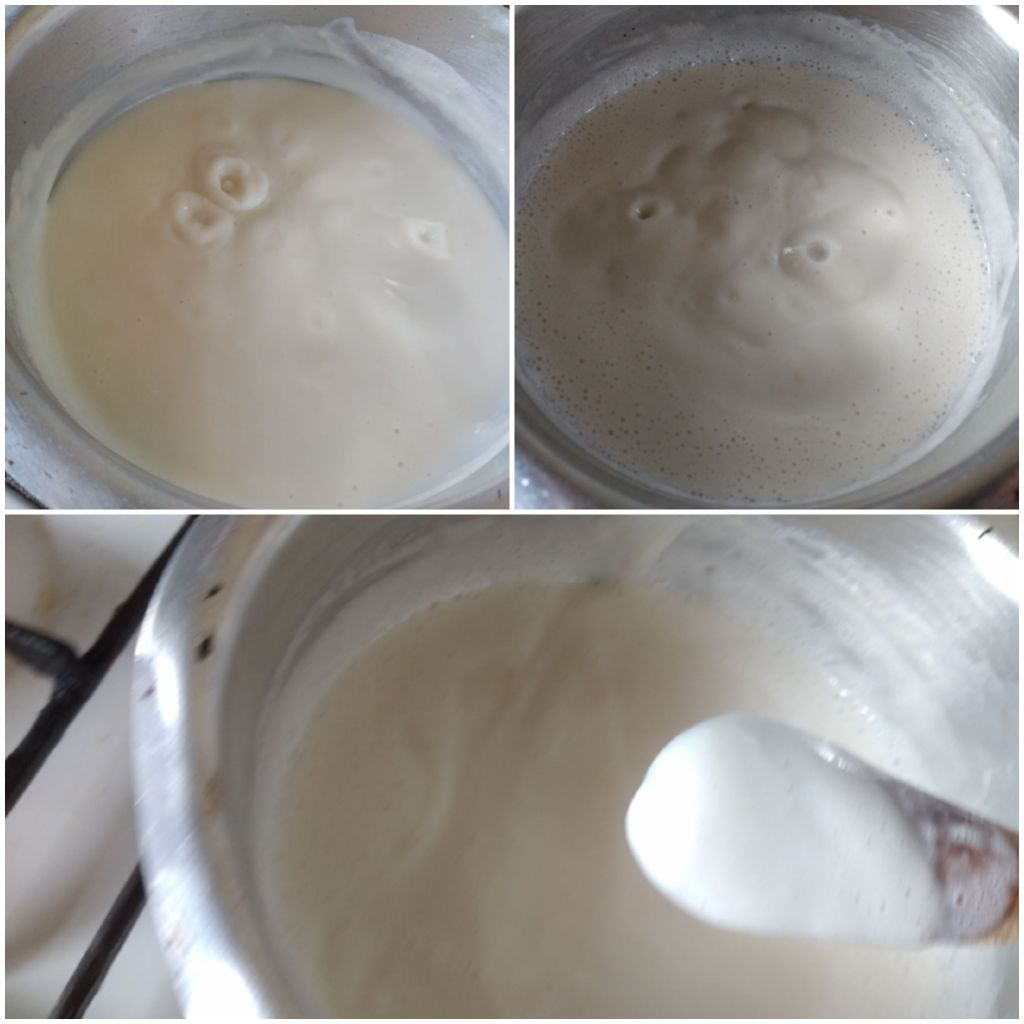
7. Lower the heat and let it  simmer until milk reduces to half.

8. Switch off the heat. 

9. Add the moong paste and mix well.

10. Switch on the heat again to medium and continue cooking until the mixture begins to thicken.

11. Add the sugar.  Keep cooking and stirring until the mixture is thick enough to cover the backside of the spoon.

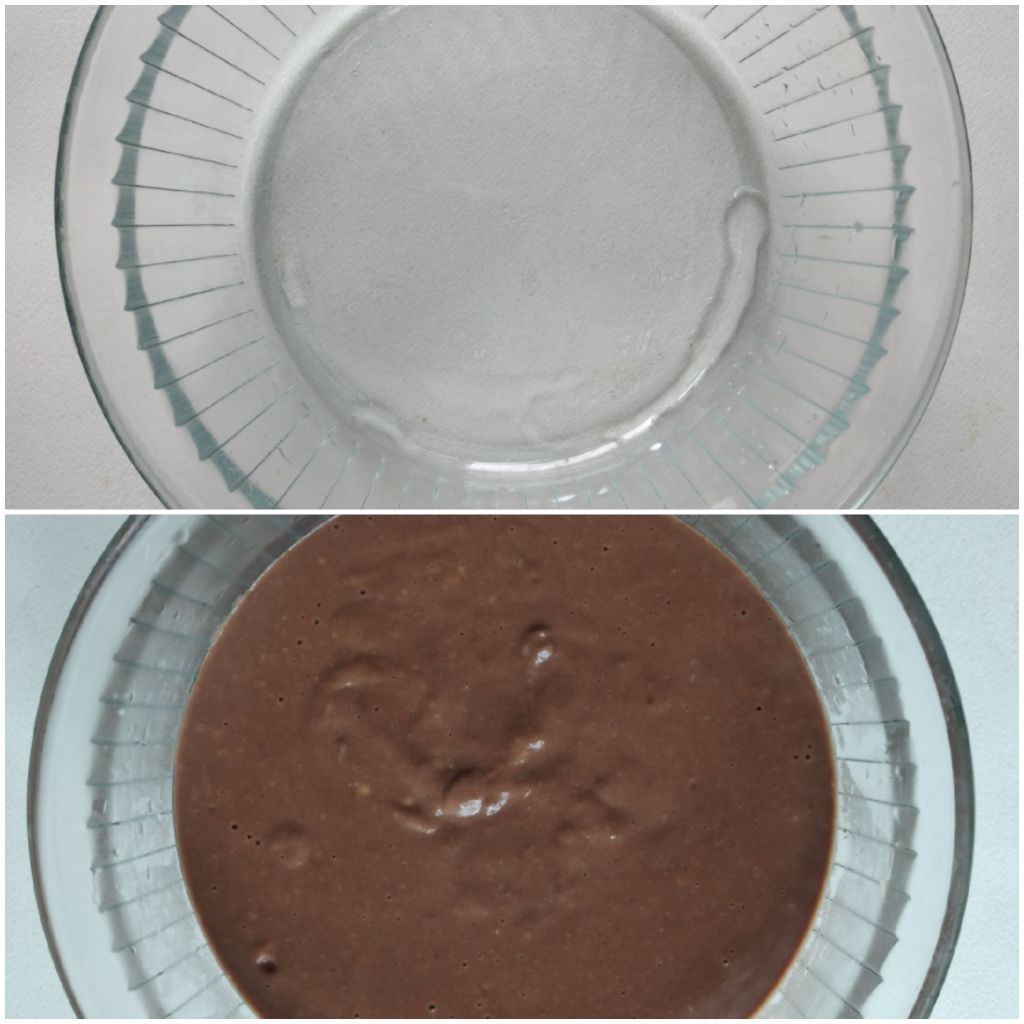
12. Remove the pan from the heat. Strain and cool the mixture.

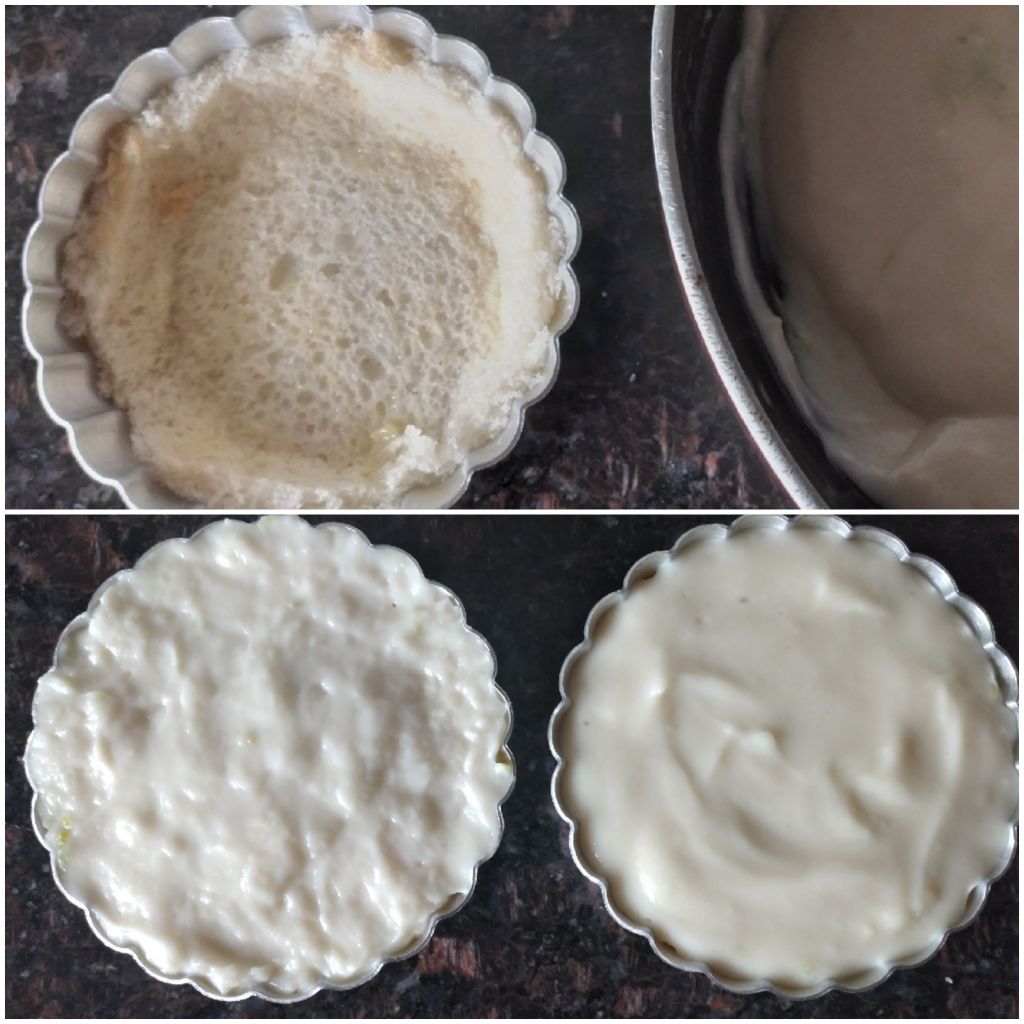
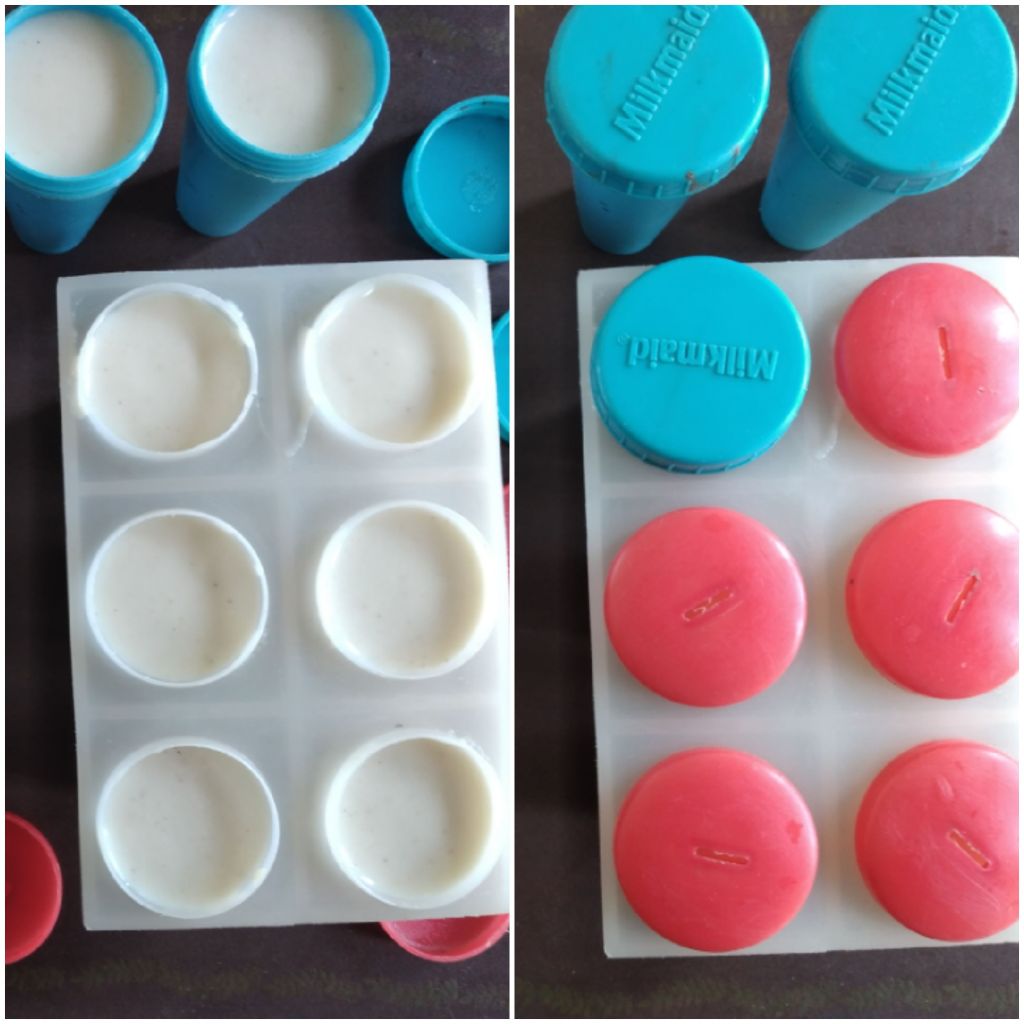
13. Fill the kulfi moulds with the mixture and then cover them. 

14. Refrigerate for about 2 hours till the kulfis are partially set.

15. Take the kulfi tray out of the freezer. 

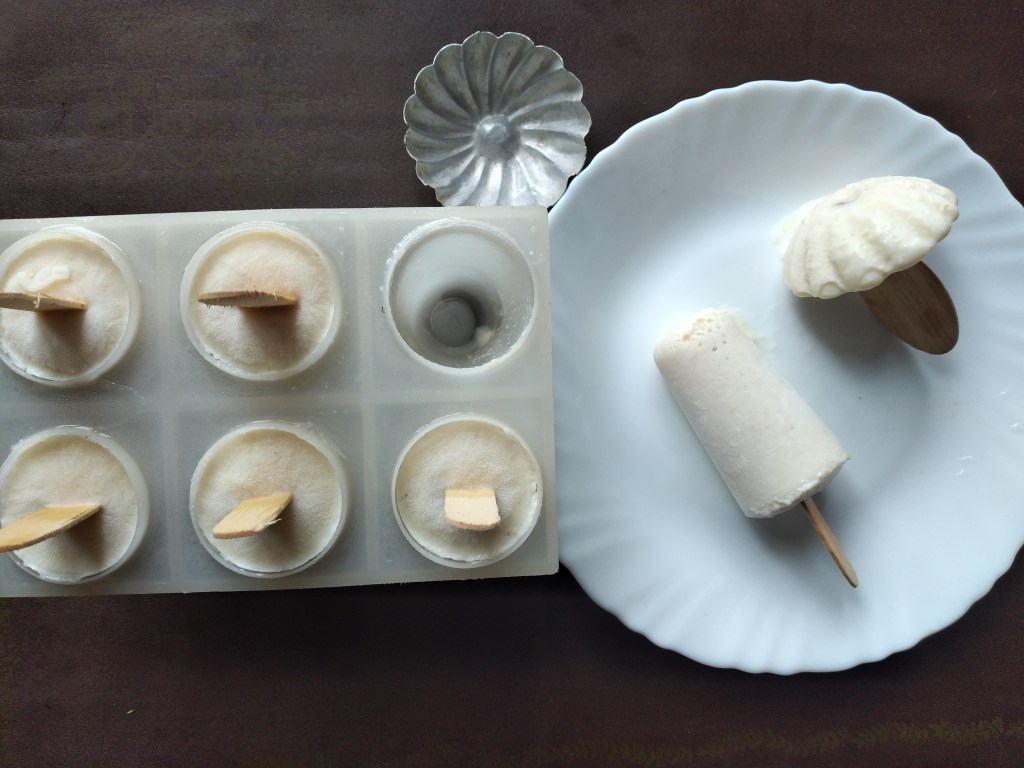
16. Insert sticks at the centre of each kulfi. Partially set kulfi will hold the sticks vertical.

17. Cover it with foil and refrigerate again for 6-8 hours to set completely.  Overnight is always best.

18. To remove the kulfis – dip a kitchen cloth in hot water. Wring and wrap around the moulds.

19. Hold the stick and give a slight twist.  The kulfi will come out easily.  

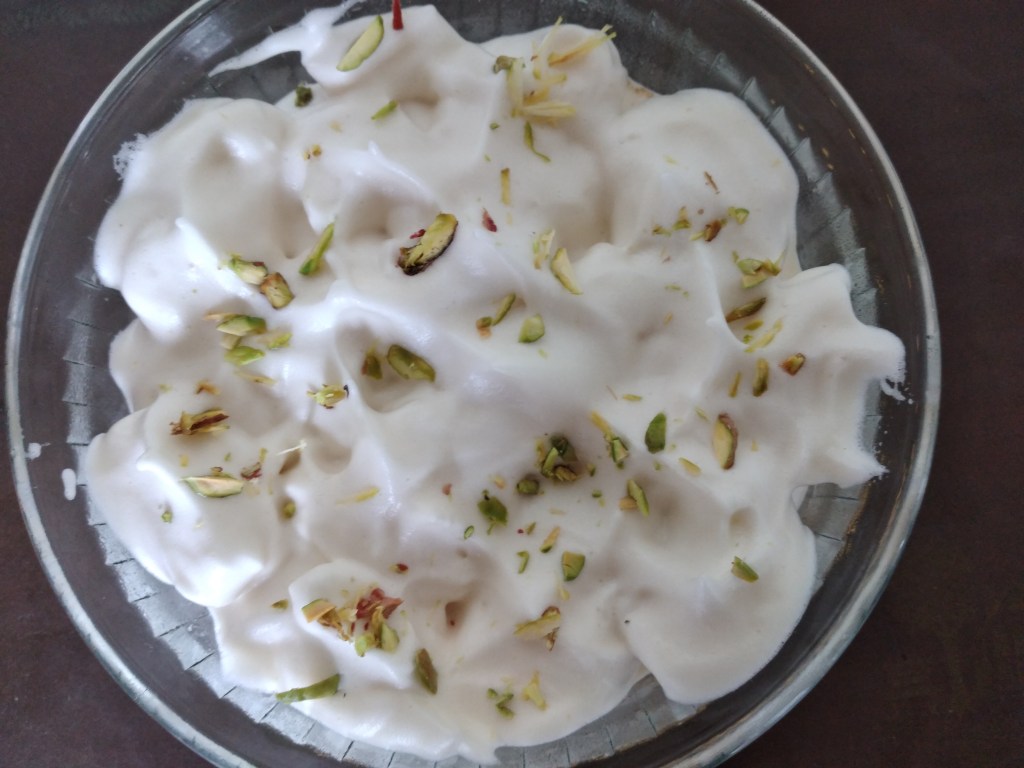
20. Do the same for the others. Sprinkle few chopped pistachios and serve chilled.

Tips:

The recipe calls for 30 gm of moong dal which is too small a quantity for wet grinding, so I took 60 gm.  

  1. After washing, soaking and grinding into fine paste the moong measured 141 gm. 
  2. Divide the same into 2 parts of 70 gm each. 
  3. Used one part and kept the other half in the refrigerator for future use.

Happy Cooking !


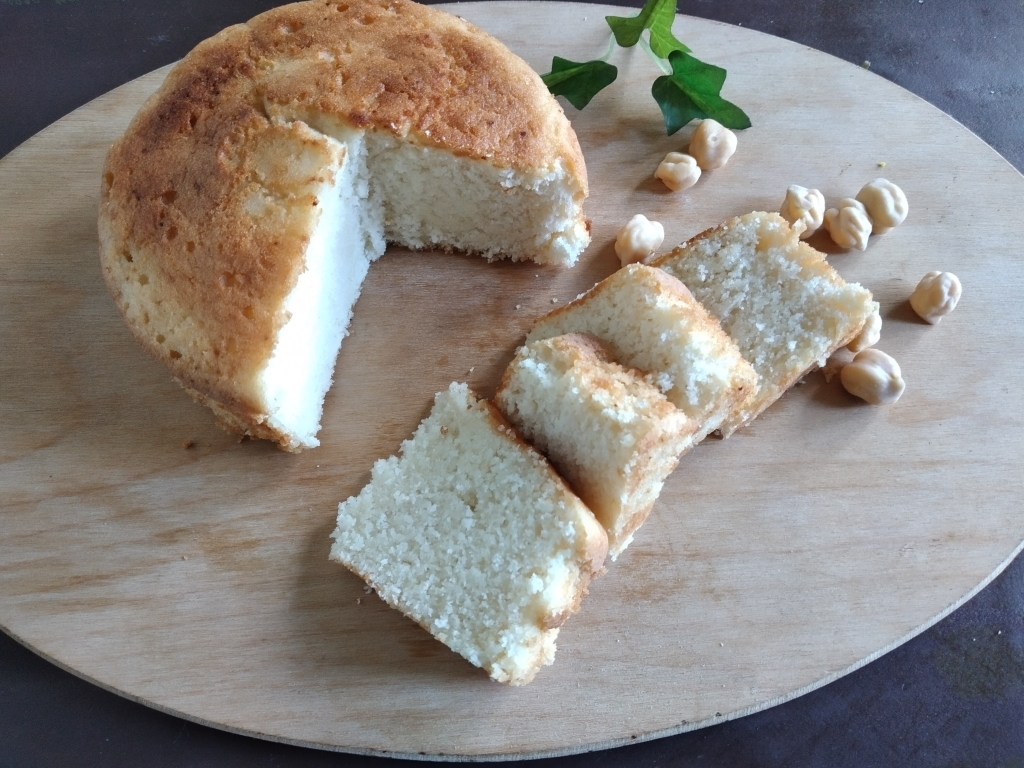
The White Cake with Aquafaba

Not very long ago, in “December 2014, a French man Joel Roessel discovered that liquid from cooked chickpeas can be whipped into foam” just like egg whites and that liquid is called aquafaba.

Dalonthetable tried out the White Cake with aquafaba instead of egg whites.

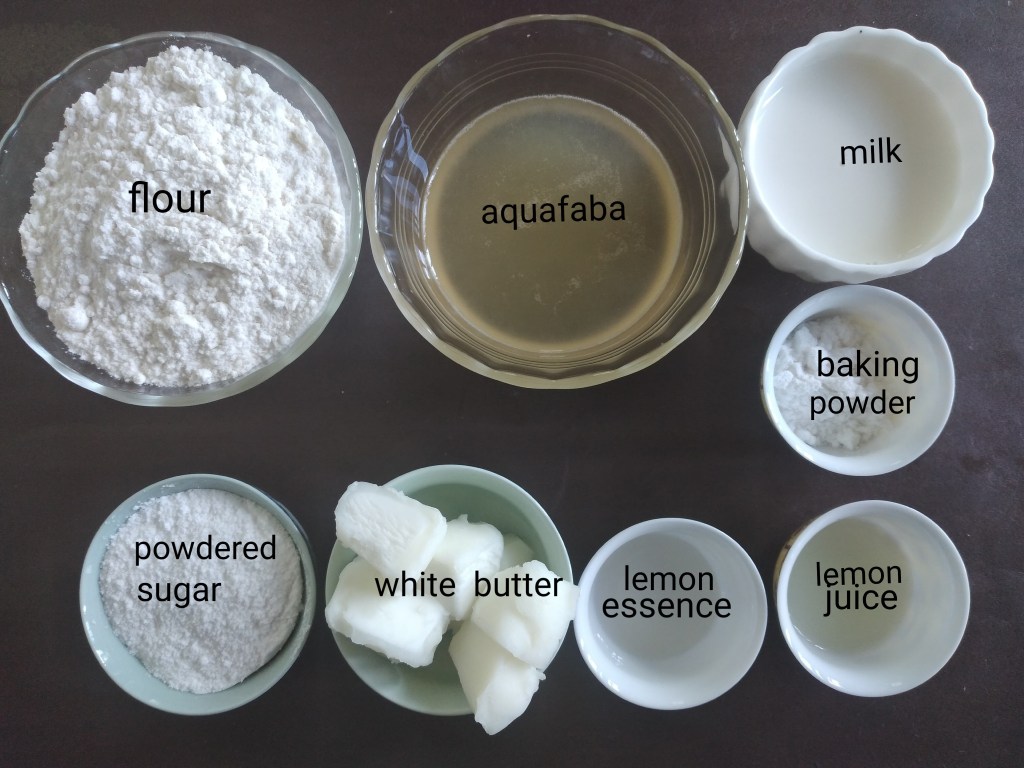
You need:

100 gm flour

1 tsp baking powder

50 gm butter

75 gm sugar

50 ml milk

4 Tbsp of Aquafaba*

½ tsp lemon/almond essence

1 tsp lemon juiced/ a pinch of cream of tartar

Method:

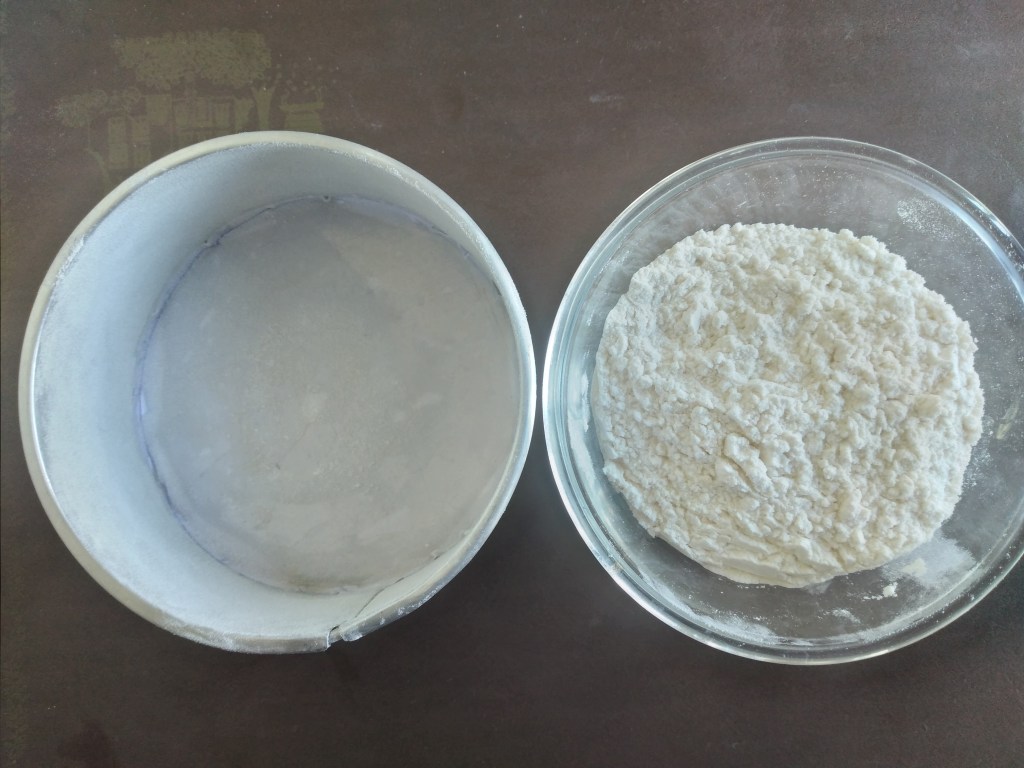
  1. Sieve flour and baking powder together and keep aside. 
  2. Line the base of the baking tin, grease and dust it with flour.

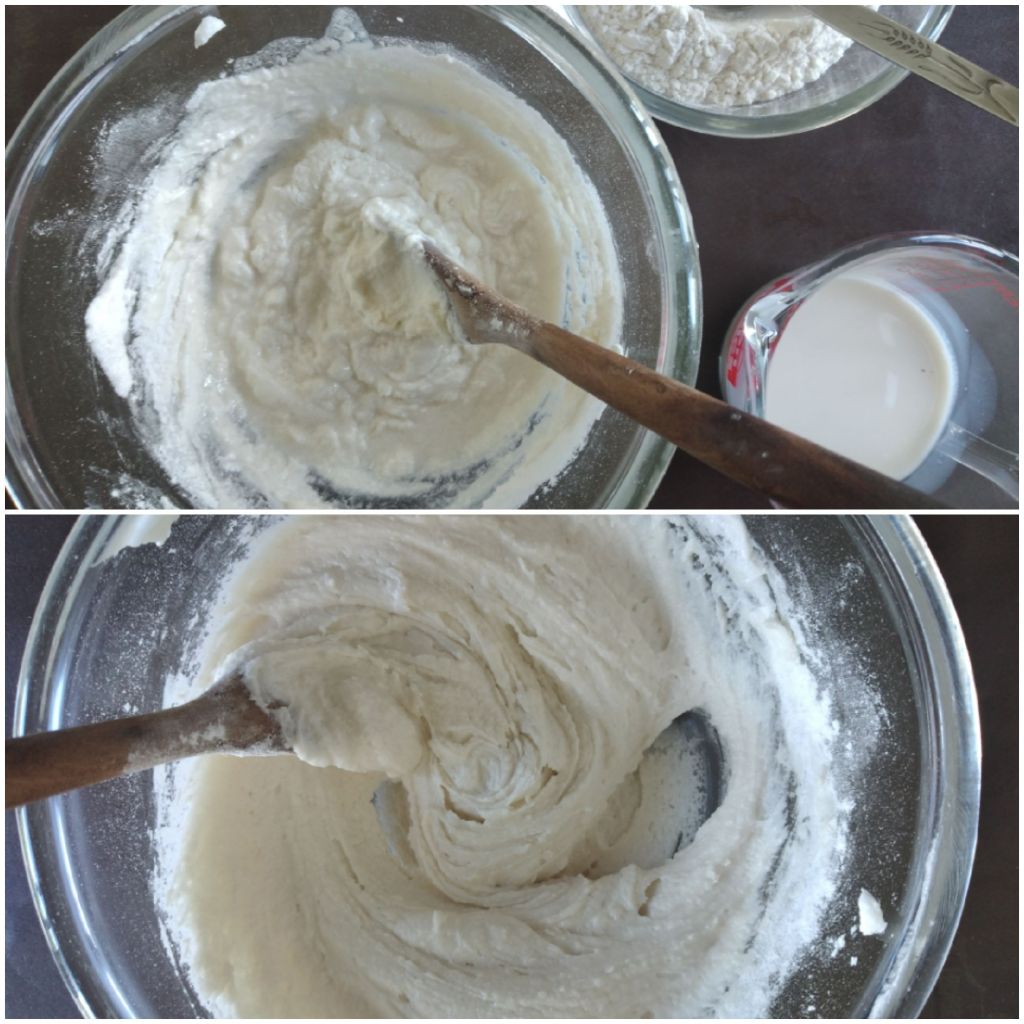
3. Bring butter to room temperature and beat with ¾ of the powdered sugar till fluffy and creamy.

4. Add the flour mixture gradually to the creamed buttered alternately with milk.

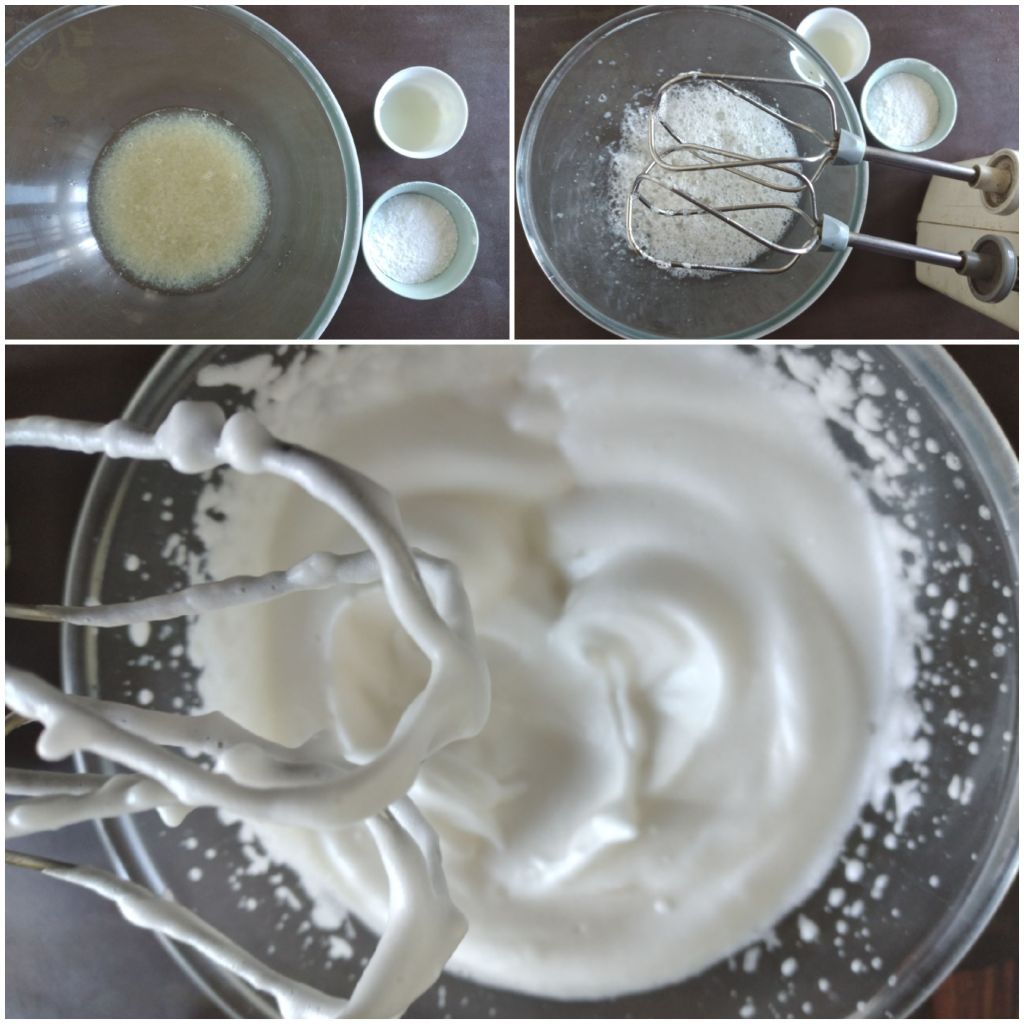
5. Beat aquafaba till foamy. 

6. Add lemon juice and the remaining sugar. Beat further until peaks are formed.

7. Fold in the foamed mixture into the cake batter with a small amount at a time. 

8. Preheat oven to 350 degree F, for 5 minutes prior to your baking. 

9. Pour the mixture into the prepared tin.  Tap the tin on a hard surface to remove air pockets if any. 

10. Bake for 30 minutes.

11. Cool it on a wire rack.  When cooled you may spread the cake with an icing of your choice

*Aquafaba

Aqua = water and faba =bean.

How to make your own aquafaba at home:

You need:

1 cup of chickpeas 

Water to cook

Method:

  1. Wash and soak chickpeas for about an hour. 
  2. Cook in a pressure cooker with water just enough to immerse the chickpeas. 
  3. After the first whistle,  lower the flame to its minimum and cook for another 40 minutes. 
  4. Switch of the flame and let the cooker cool.

5. Place a strainer over a bowl and pour the cooked chickpeas into it. 

6. Allow the liquid to drain out completely.  The liquid collected in the bottom bowl is the aquafaba.

You can store the aquafaba for some time in the deep freezer and use when necessary.

Store the aquafaba as ice cubes of 1 Tbsp each on ice trays or in small containers with 3 to 4 Tbsp aquafaba in each. 

Happy Baking !


The White Cake

A white cake looks just like any other cake until sliced.  Its soft and fluffy white texture is so blissful that the cake is used on special occasions like weddings and birthdays. 

The cake mixture is that of a plain cake except that only the egg white is used and not the yolk.

Can urad dal/white lentil be used in place of the egg white? Feel free to experiment!

You need:

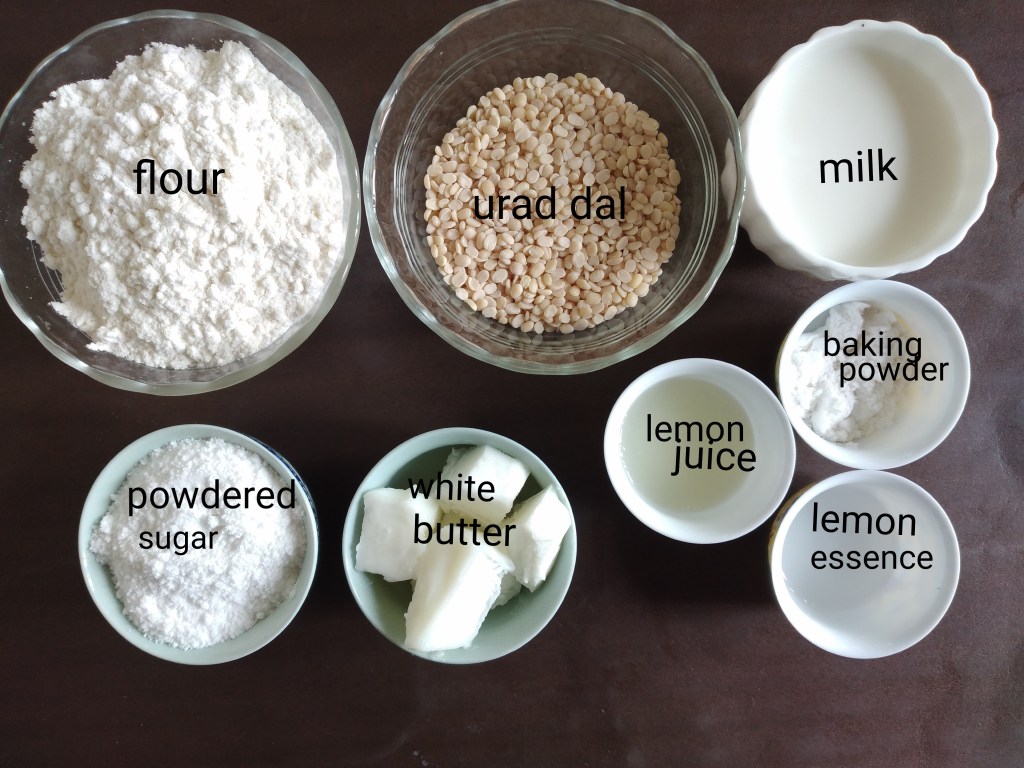
100 gm flour

30 gm urad dal

50 ml milk

75 gm sugar powdered

50 gm white butter

1 tspf baking powder

1 tsp lemon essence

1 tsp lemon juice

Method:

  1. Wash and soak urad for about 6 hours and then grind to a fine paste with as little water as possible.
  2. Beat urad paste until light and creamy.
  3. Sieve flour and baking powder and set it aside. Prepare your tin for baking. (Using 12 cm diameter tin).

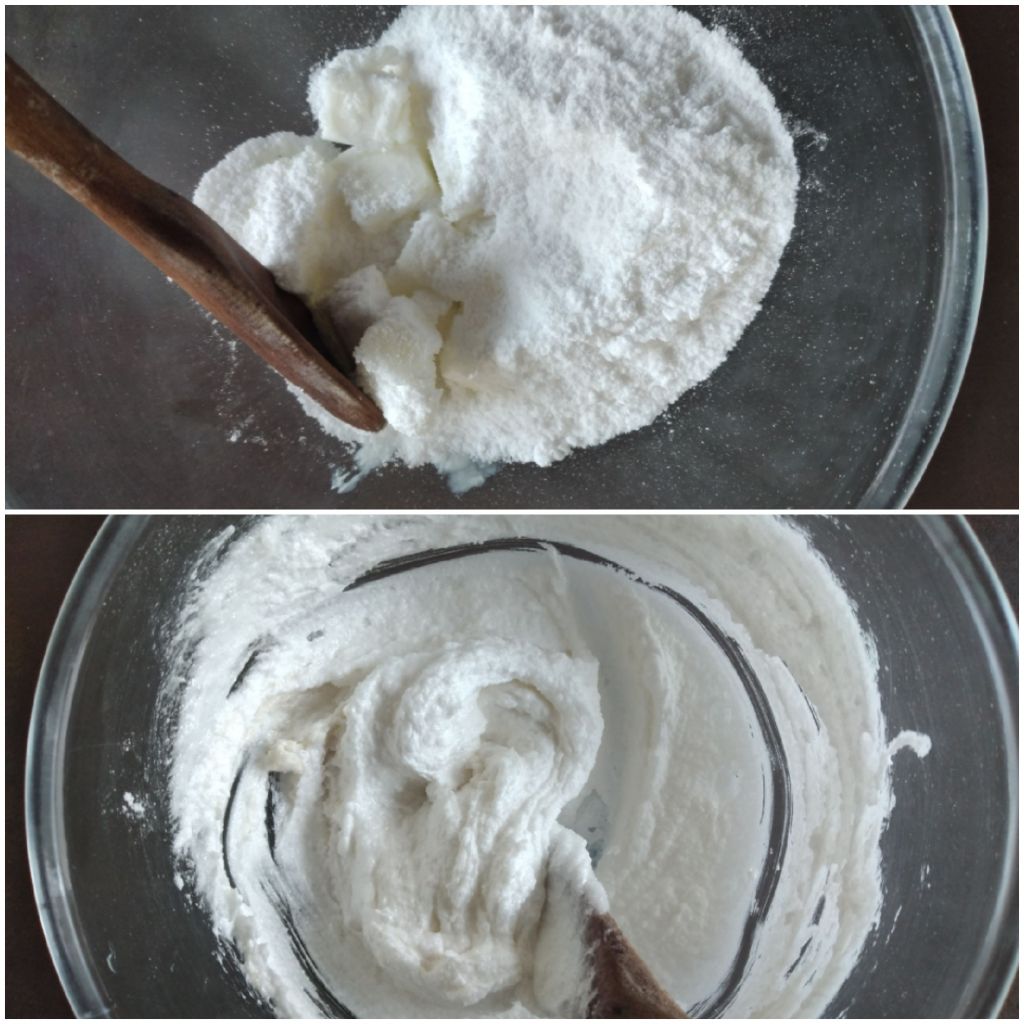
4. Bring the butter to room temperature and beat with powdered sugar till creamy and fluffy.

5. Add urad paste to the creamed butter.

6. Add lemon essence and mix it well. 

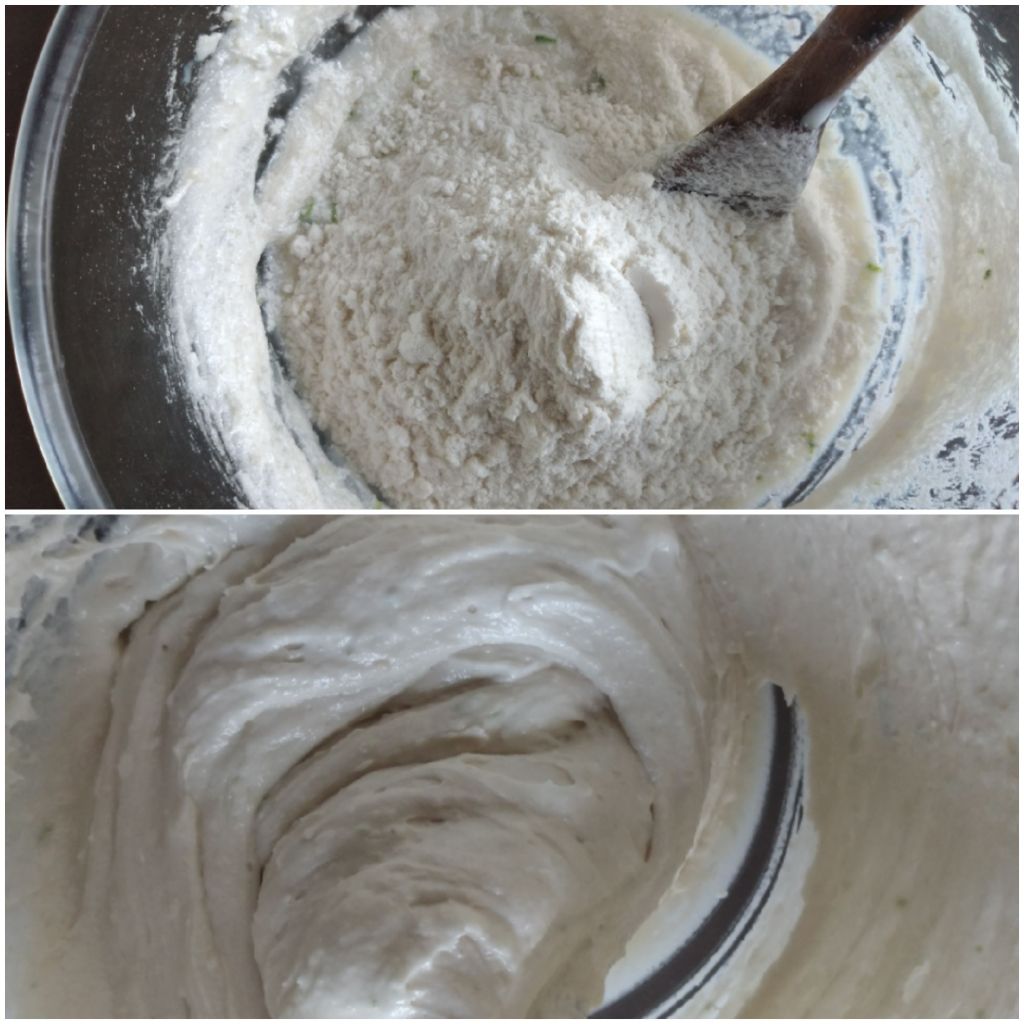
7. Fold in flour to the buttered mixture using milk alternately to a smooth batter.

8. Preheat your oven to 350ºF, 5 minutes prior to your baking.

9. Pour the mixture into the prepared tin and bake for 30 minutes.

10. Cool it on a wire rack. You may wrap the cake while still warm to trap the moisture inside.  Urad dal enriches the cake also.

Happy Baking !


Dahi Bara/Lentil dumpling in curd

Dahi baras – deep fried delectable lentil dumplings plunged into sweet-sour spiced curd keeps the hot summer at bay!  This popular dish is served in almost all occasions in India.

You need:

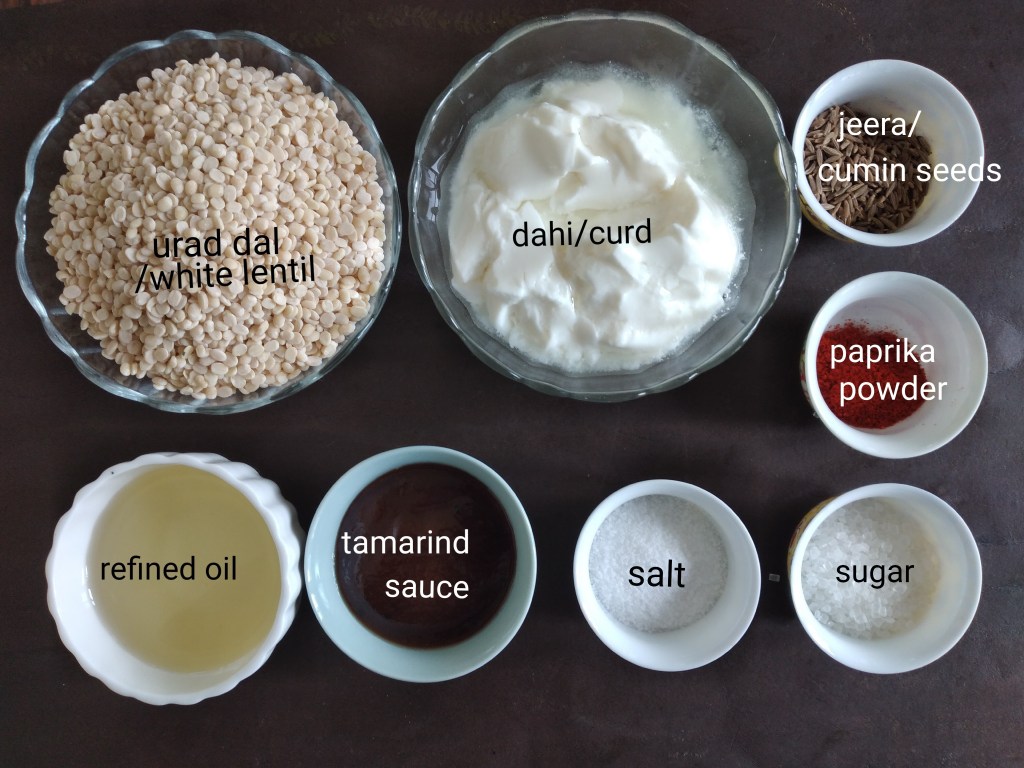
150 gm Urad dal/white lentil

250 ml dahi/curd

100 ml refined oil for frying

Tamarind Sauce*

1 Tbsp whole jeera/ cumin seeds

1 tsp paprika powder

Salt and sugar to taste

Method:

  1. Wash and soak urad dal for about 6 hours.
  2. Grind it with as minimum water as possible to a very fine paste.  Keep it in the fridge for an hour.
  3. Add little cold water if it is too thick and beat to a creamy thick mixture. (If a small portion of the mixture is dropped in water floats, then beating is complete.)

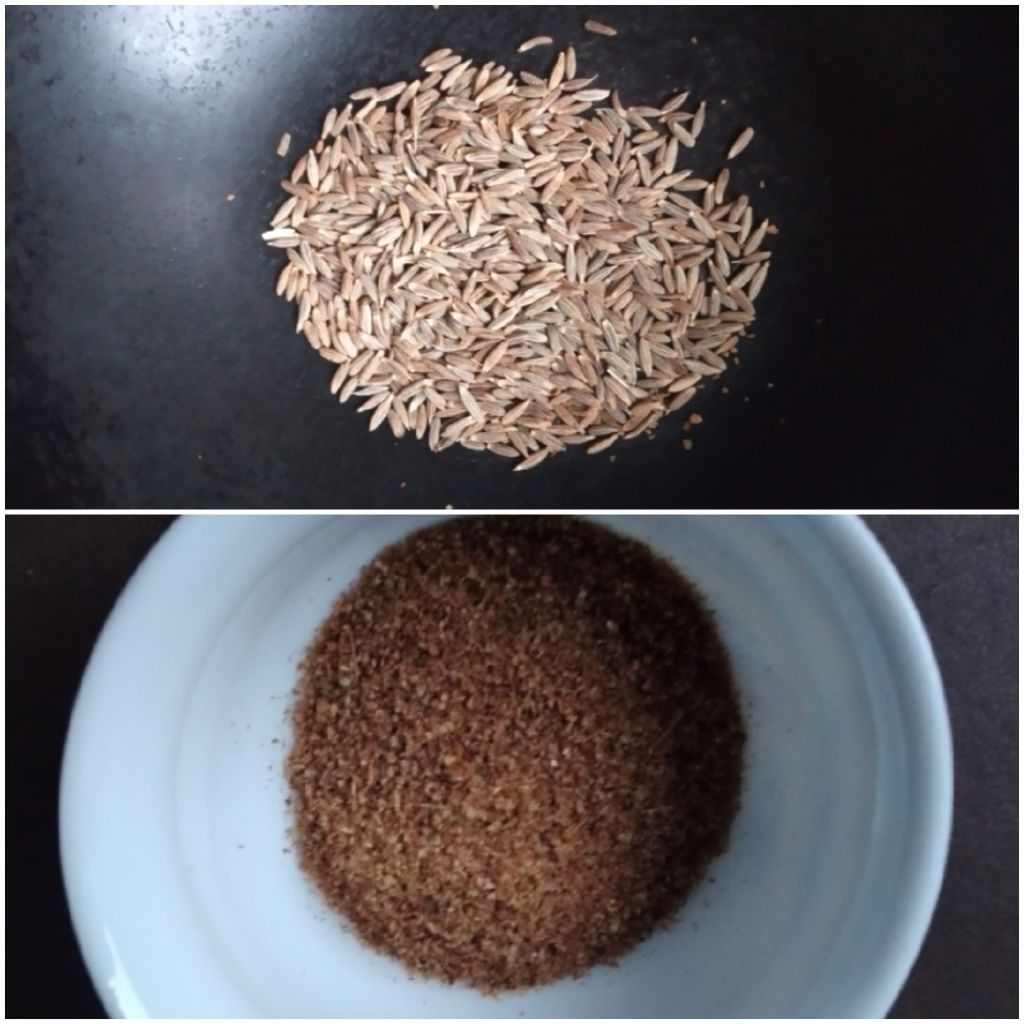
4. Roast  jeera on a heavy pan over medium heat till the aroma of jeera is released. 

5. Allow it to cool and then grind into fine powder. 

6. Add salt to taste and ½ tsp of jeera powder to the creamy dal mixture and mix well.

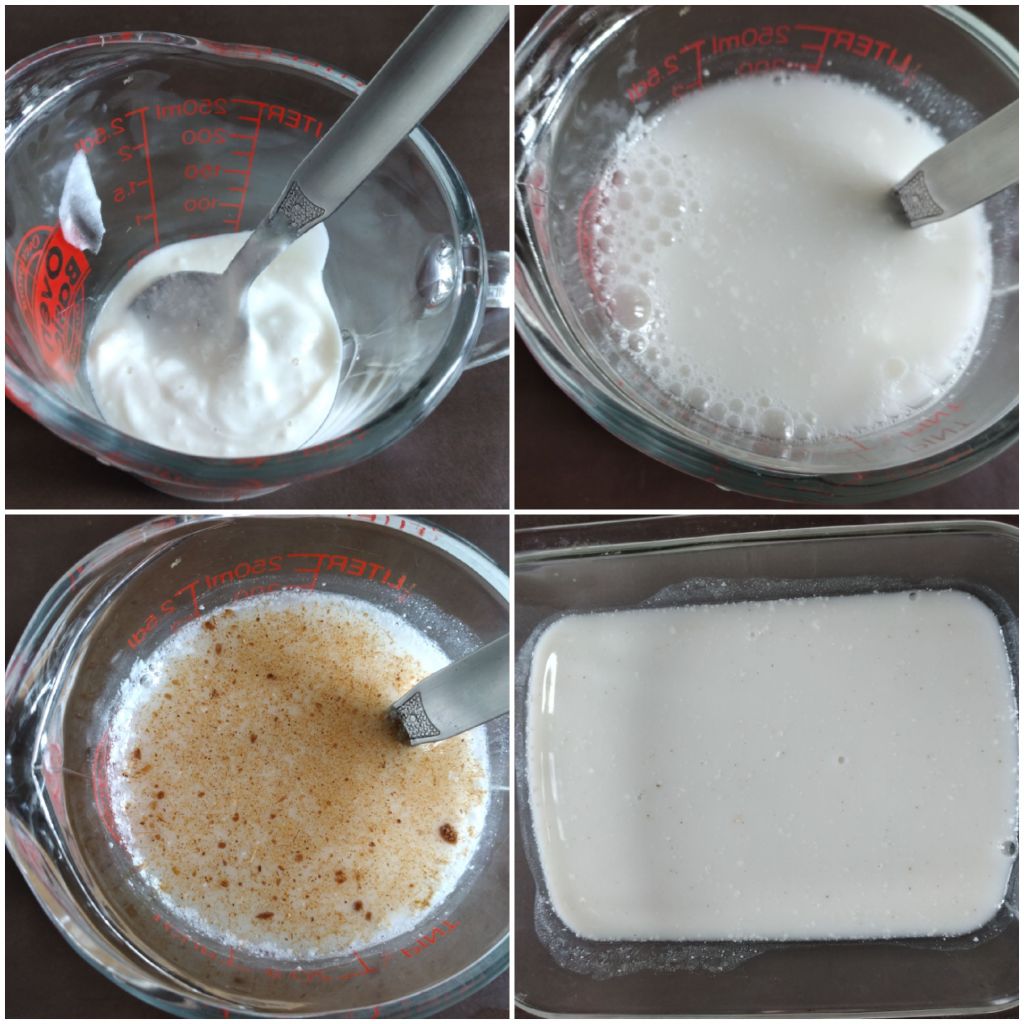
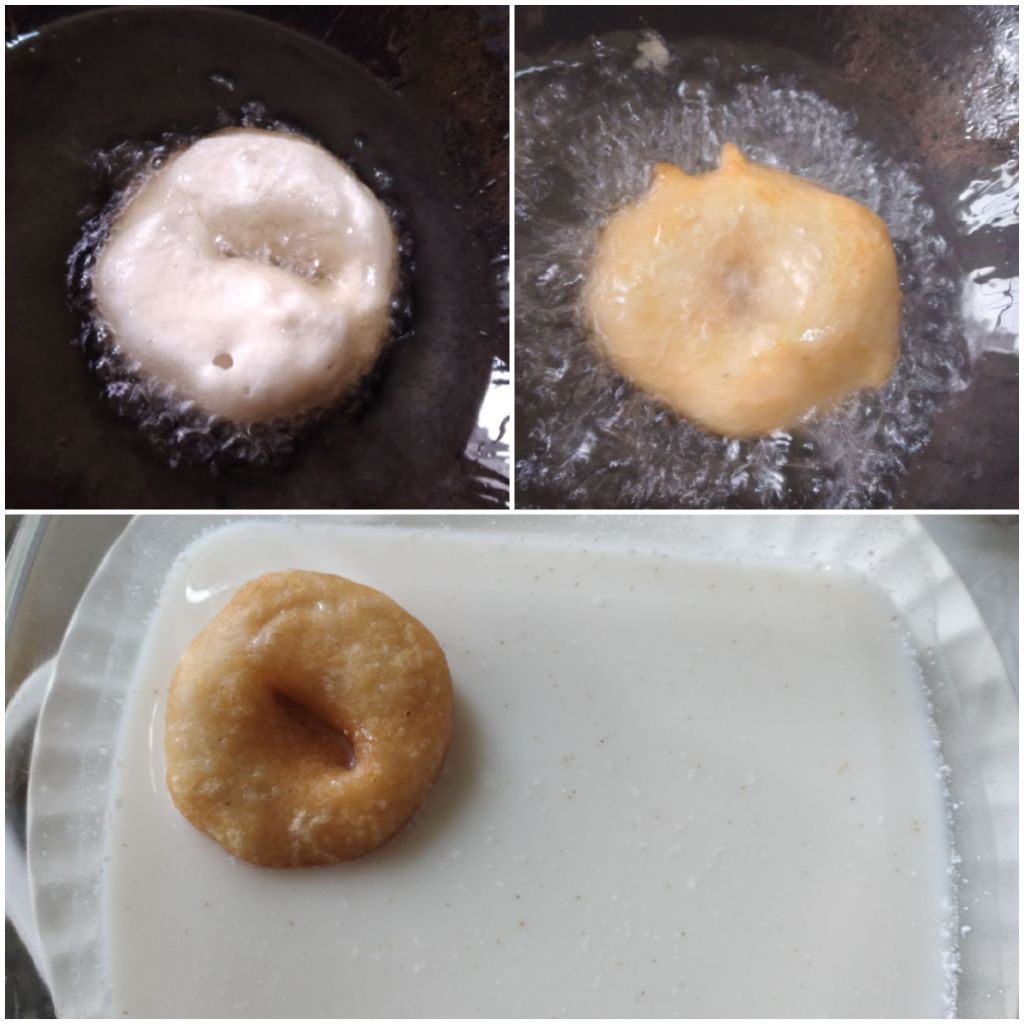
7. Make the dahi-water: take 2-3 Tbsp of curd and beat it until smooth.  Add 1 cup of water to it.  Add salt and sugar to your taste and ½ tsp of the jeera powder and mix well.  Pour dahi-water onto a wider container as shown in the picture.

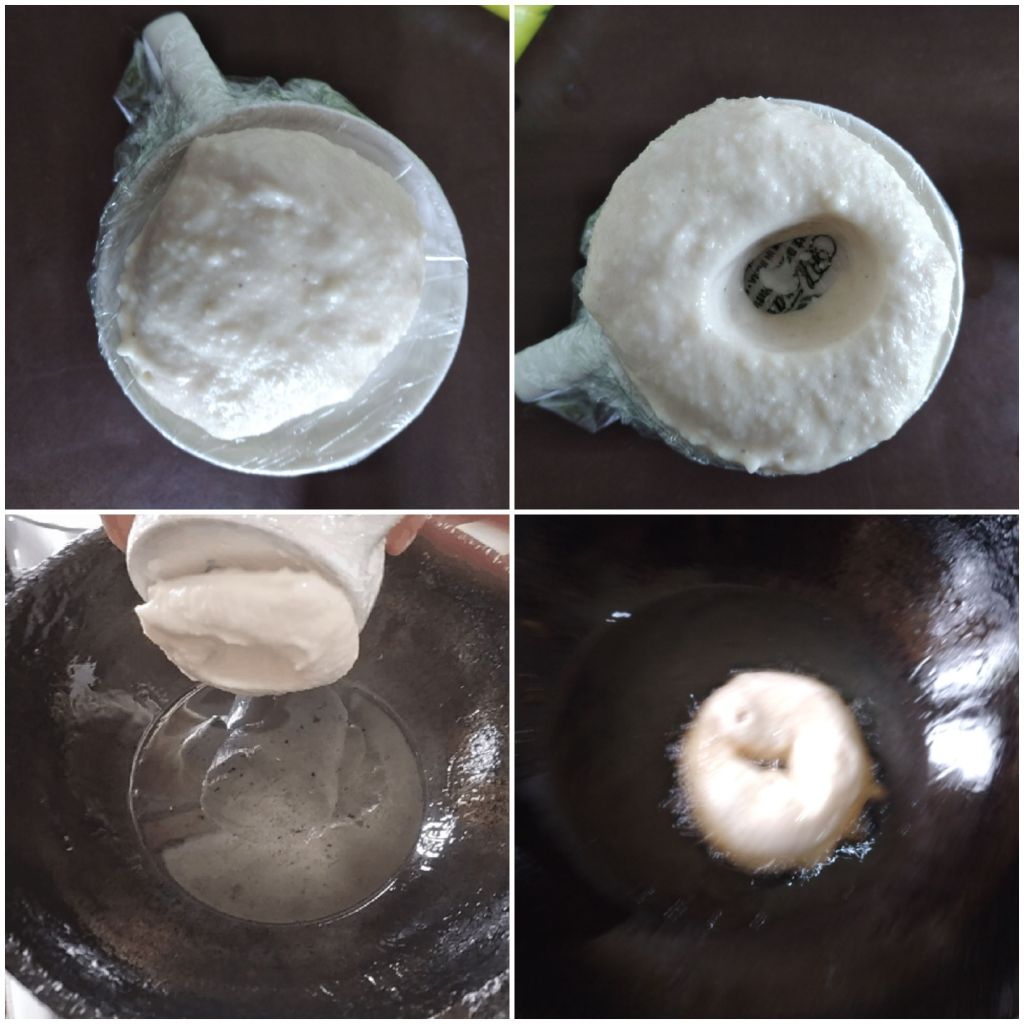
8. To shape the baras/dumplings: cover the bottom side of a tea mug with cling film as shown in the picture. 

9. Heat a heavy pan with the oil. Reduce the heat to medium. 

10. Oil the cling film on the mug. 

11. Spoon a small portion of the dal mixture on it and with a wet finger make a hole at the centre. 

12. Carefully slide over the bara into the hot oil.

13. Fry the bara over low heat until golden brown on both sides, turning it once. 

14. Remove from the oil and place it in the prepared dahi water. 

15. Let it get soaked for some time and turn over to the other side. 

16. When the bara is completely soaked, remove it to a dry plate. 

17. Repeat step 10 to step 16  til the mixture is done.

18. Place all the baras on a serving dish. 

19. Beat the remaining dahi well with salt and sugar to your taste. Add 1/2 tsp of little jeera powder and mix well. Pour the dahi over the baras. 

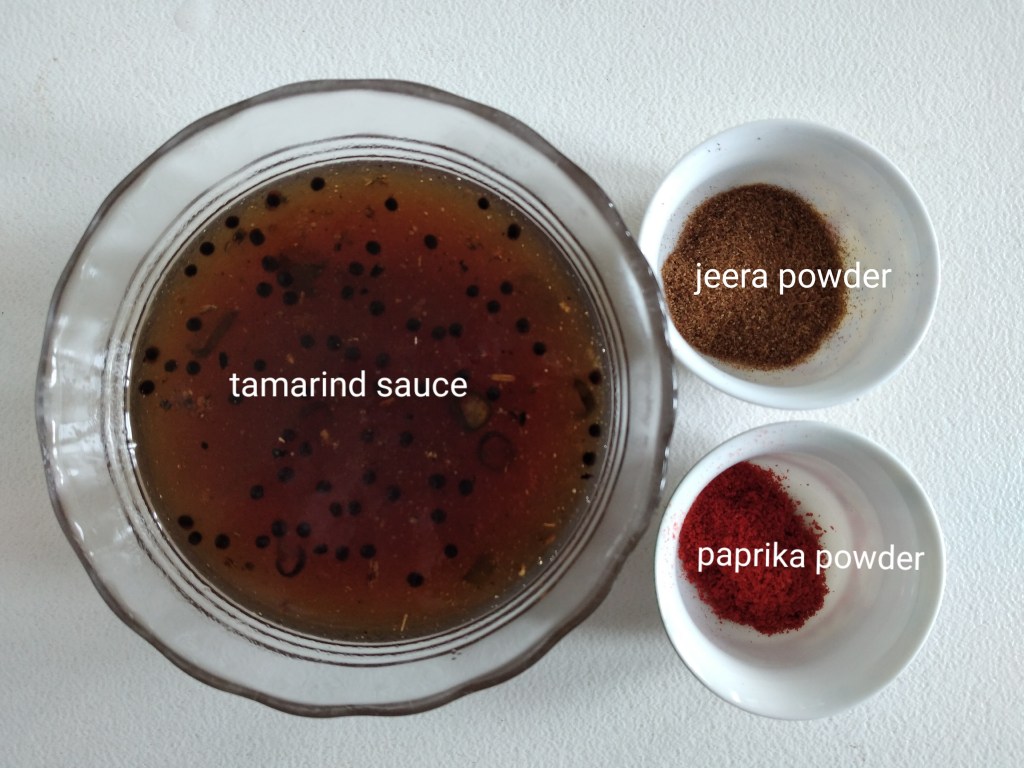
20. Lightly pour tamarind sauce over the dahi.  Sprinkle the remaining jeera and paprika powder on top and serve.

How to make *Tamarind sauce

Tamarind sauce is available in the market.  You can make your own sauce at home.

You need:

75 gm tamarind

120 gm sugar

1 Tbsp refined oil

½ tsp mustard seeds

½  tsp sauf/aniseeds

½ tsp kaljeera/black cumin seeds

½ tsp salt

1 tsp finely chopped green chillies

Method:

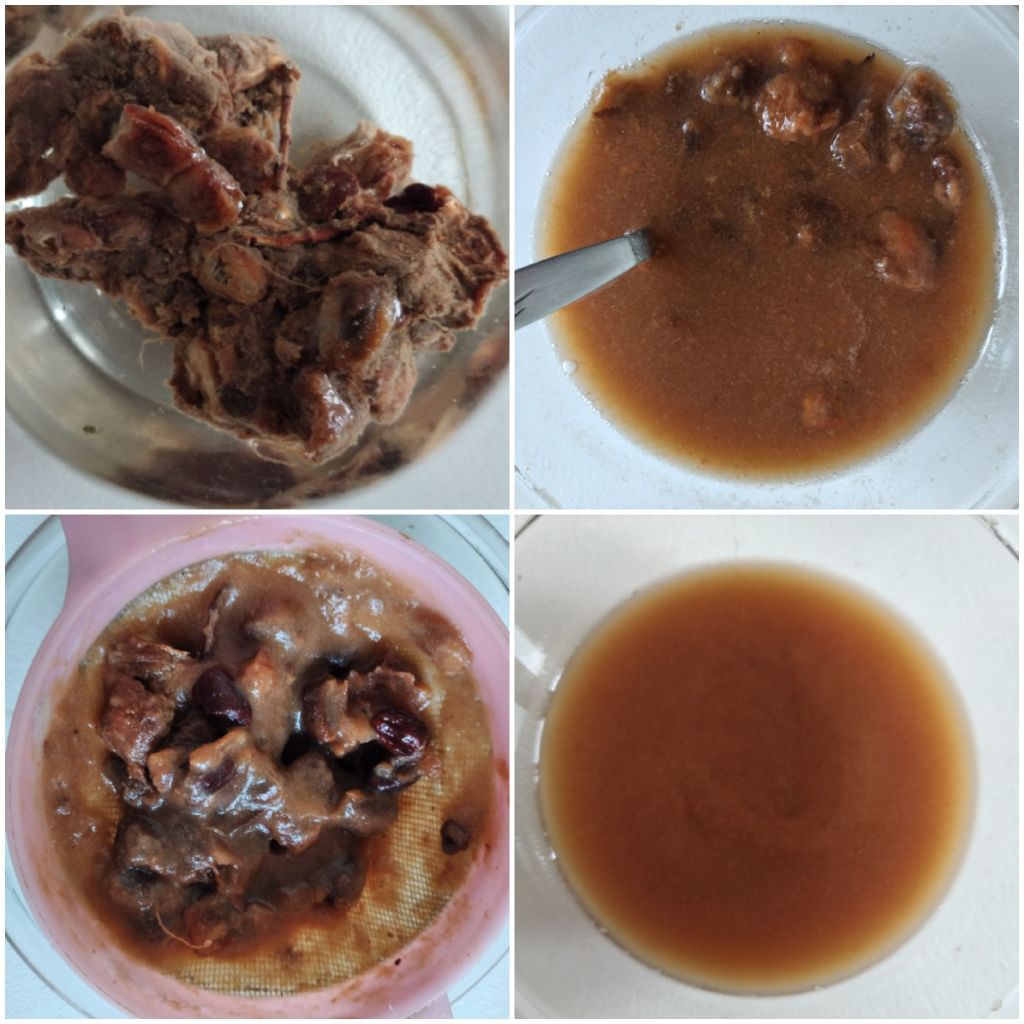
  1. Soak tamarind in 1 cup of water for about 30 minutes. Squeeze out the pulp and strain it.

2. Heat a heavy pan with 1 Tbsp of refined oil.

3. Add ½ tsp of mustard seeds.  When the mustard seeds crackle add the chopped chillies and then the tamarind pulp. 

4. Add ½ tsp of salt and allow it to boil. 

5. Add the sugar and simmer for about 3 minutes.

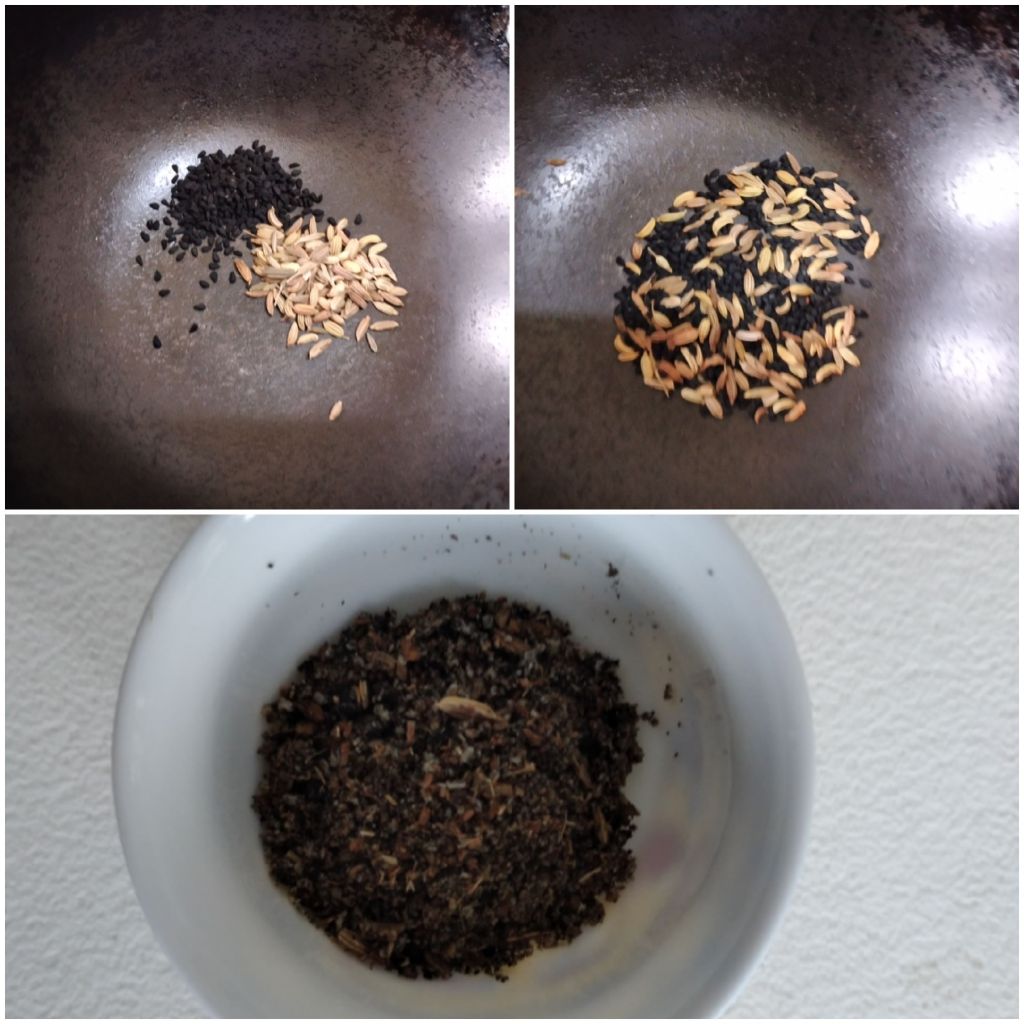
6. In the meantime roast kaljeera and saunf over low heat. When the aroma comes out, switch off the heat and allow to cool.

7. Grind to fine powder.

8. Add 1/2 tsp of the kaljeera  mixture to the tamarind sauce and remove from the heat. It is yummy !

Happy Cooking !


Sprouted Moong Salad

Here is a refreshing salad for the hot summer days made of sprouted sabut moong/green gram. It is easy to make and easy to digest.

Moong is delicious and versatile, so it is used in many savoury and sweet dishes.  It contains protein, vitamins, minerals and fiber.   Sprouting increases the nutrients.

You need:

50 gm sabut moong/Green gram

2-3 ripped tomatoes

Few lettuce leaves

1 tsp olive oil

1 tsp honey

1 tsp lemon juice

Salt to taste

Method:

Moong takes time to sprout, so start the salad 2 days prior to your need.  Sprouted moong can be kept in the fridge for a day or two.

Sprout the moong:

  1. Wash and soak the moong for 4-6 hours. 
  2. Pour moong into a strainer and wash gently. 
  3. Place the strainer over a bigger bowl so that there is a gap between the two for air circulation. 
  4. Cover moong with a damp cloth and keep in a warm place to sprout.  
  5. Wash the sprouted moong gently and keep it aside.

Prepare the tomatoes:

6. Wash and plunge the tomatoes into hot water for about 30 seconds.

7. Peel the skin carefully and cut them vertically into 2 halves. Scoop out the pulps. 

8. Rub the cavities with salt and keep them upside down for the salty water to drain out.

9. Wrap around lettuce leaves on each tomato halves with the help of wooden picks.

Prepare the salad dressing:

10. Make the salad dressing by adding 1 tsp honey, 1 tsp olive oil, 1 tsp lemon juice and salt to taste together and mix well. 

11. Lightly fold in the dressing into the sprouted moong.

12. Spoon the moong mixture into the prepared tomato halves. 

 A cool nourishing salad for all times!


Can dal replace the egg in a cake?

Egg plays an important part in cakes.  The yolk contributes to the richness and colour while egg white gives lightness and cohesiveness to the cake mixture.

Can dal do the same? 

1 egg contains 6 g protein (approx.)

30 gm moong dal contains 6 g plant protein (approx.)

Just like an egg, moong dal contains plant protein, minerals and vitamins, besides it has a beautiful yellow colour.

But does it have the cohesiveness like that of an egg white? If not, then extra starchy material should be added.

With this theory several experiments were done. The colour and flavour were easily taken care of. But the texture always remained on the heavier side.

One day, a beautiful idea came to our mind. 

We use dal batter to coat food before frying.  If the dal batter can give a coating, it has the ability to bind to certain extend.  So we decided to use moong with no other substitute for binding.

We succeeded – a beautiful cake with moong dal only.

The experiments were carried out on One Egg Cake recipes.

Moong Cake

You need:

30 gm moong flour

50 gm butter

100 gm flour/maida

60 ml milk

75 gm sugar powdered

1 tsp baking powder

1 tsp lemon juice

1 tsp lemon rind/vanilla essence

Method:

  1. Soak moong flour with 50 ml of milk for 1 hr.

2. Beat butter and powdered sugar till creamy and fluffy. 

3. Separately beat moong for some time. 

4. Add moong to butter mixture and mix well.

5. Sieve flour and baking powder together and keep it aside. 

6. Add lemon rind and little milk to the buttered mixture and mix well. 

7. Fold in flour gradually to a smooth batter and add the lemon juice and mix it well.

8. Preheat oven for about 5 minutes. 

9. Pour the cake mixture into the prepared tin.  Bake in a moderate oven 350 degree C, for 30 minutes.

10. Cool it on a wire rack.

Happy Baking !


Dhokla Curry

Dhokla curry is a delicious dish from Gujarat and its neighbouring states.   It is served  with rice or chapatti.  Dhokla is made with channa dal/chick peas.   Besan/ chick pea flour can also be used.  It is easy to make and full of nutrition.

You need:

For the Dhokla:

100 gm channa dal

Handful of curry leaves

2 tsp ginger juice

2 green chilli chopped

½ tsp salt

2 Tbsp refined oil

½ tsp jeera/Cumin seeds

Method:

  1. Wash and soak channa dal for about 4 hours.  Drain and grind the dal in the grinder with curry leaves, chopped chilli, salt and ginger juice to a fine paste with as little waster as possible.

2. Heat the oil in a heavy pan. 

3. Add the jeera and fry for few seconds. Add the channa paste.  Lower the heat and cook until the moisture evaporates. 

4. Oil a pan and spread the channa mixture while still hot into it and level it to 3 cm thickness.  Let it cool.  Cut into 3 cm squares.

For the curry:

¼ cup peanut milk* (given at the end of the recipe)

2 Tbsp onion finely chopped

1 Tbsp tomato ketchup

½ tsp turmeric powder

1 tsp green chilli finely chopped

2 Tbsp refined oil

Dhokla cubes

Salt to taste

5. Heat a pan and add the oil. 

6. Fry the dhokla pieces, few at a time, till slightly brown and keep them aside.

7. To the oil left, add the chopped onion.  Saute for few seconds.  8. Add the chopped chilli and fry. 

9. Add the ketchup.  Stir and fry until blends well the onion . 

10. Add ½ tsp turmeric powder and fry for few more seconds.

11. Add the peanut milk into the fried spices and stir well.  Add ½ cup of water and bring the mixture to boil. 

12. Add the dhokla pieces and allow to simmer till curry is done.  Add little water if necessary.  You may pep up the curry with ½ tsp of garam masala.(optional).  Garnish and serve hot

*Peanut milk:

  1. Wash and soak 30 gm of peanuts with the skin for about 10 minutes. 
  2. Cook it in a pressure cooker for 1 minute.  Switch off the heat and allow the cooker to cool. 
  3. Grind finely the peanuts with the water.

Happy Cooking !

Pink Idli

These purplish pink idlis are not only attractive to look at, but also soft and spongy in texture.  We used Kashmiri rajma which has a beautiful red colour and a skin that blends smoothly with the idli batter.  The idlis have a mildly coarse and nutty flavour which can be improved with suitable spices.

Kashmiri rajma is a smaller variety of rajma/kidney bean with a beautiful sparkling red colour with thinner skin instead of reddish brown. It is a good source of protein.

You need:

100 gm Kashmiri rajma

30 gm urad dal

75 gm rice

Few methi/ fenugreek seeds

½ tsp salt

Method:

  1. Wash all the 3 ingredients rajma, rice and urad dal separately, add few methi to the urad dal and soak all of them for about 4 hours.

2. Rinse and drain them well.

3. Separately grind rajma and urad dal to  fine pastes and rice to a slightly coarse paste like soji/semolina.  Use as little water as possible while grinding.

4. Mix all the three ingredients well with ½ tsp of salt.

5. Cover and set them aside in a warm place to ferment for about 8 hours – overnight is the best.

6. Once the batter is fermented, stir it well. 

7. Oil the idli moulds and spoon the batter into them. 

8. Heat the pressure cooker with 2 cups of water, place the idli stand inside and close the lid. 

9. When steam escapes through the vent of the cooker, time it for 6 minutes and then switch it off.  Allow the cooker to cool.

10. Take out the idli stand from the cooker and carefully remove the idlis on to a plate. 

11. Serve them hot with chutney.

Happy Cooking !

Rajma Rice

An interesting way of serving rice is as Rajma rice.  It is a full meal by itself.  It is delicious and nutritious and easy to make.

You need:

150 gm rice

100 gm kashmiri rajma/kidney bean

1 Tbsp chopped onion

5 Tbsp tomato puree*

2 Tbsp refined oil

Few curry leaves

1tsp chopped green chillies

Salt to taste

Method:

  1. Wash and soak the rajma for about 4 hours. 
  2. Pressure cook the same with ½ tsp salt and ½ cup water.  After the first whistle, reduce the heat and cook for 4 minutes.  Allow the cooker to cool.
  3. Drain the water and keep it aside.

4. Wash and cook the rice with ½ tsp of salt.  When done separate the rice with a fork. (You may also use leftover rice.)

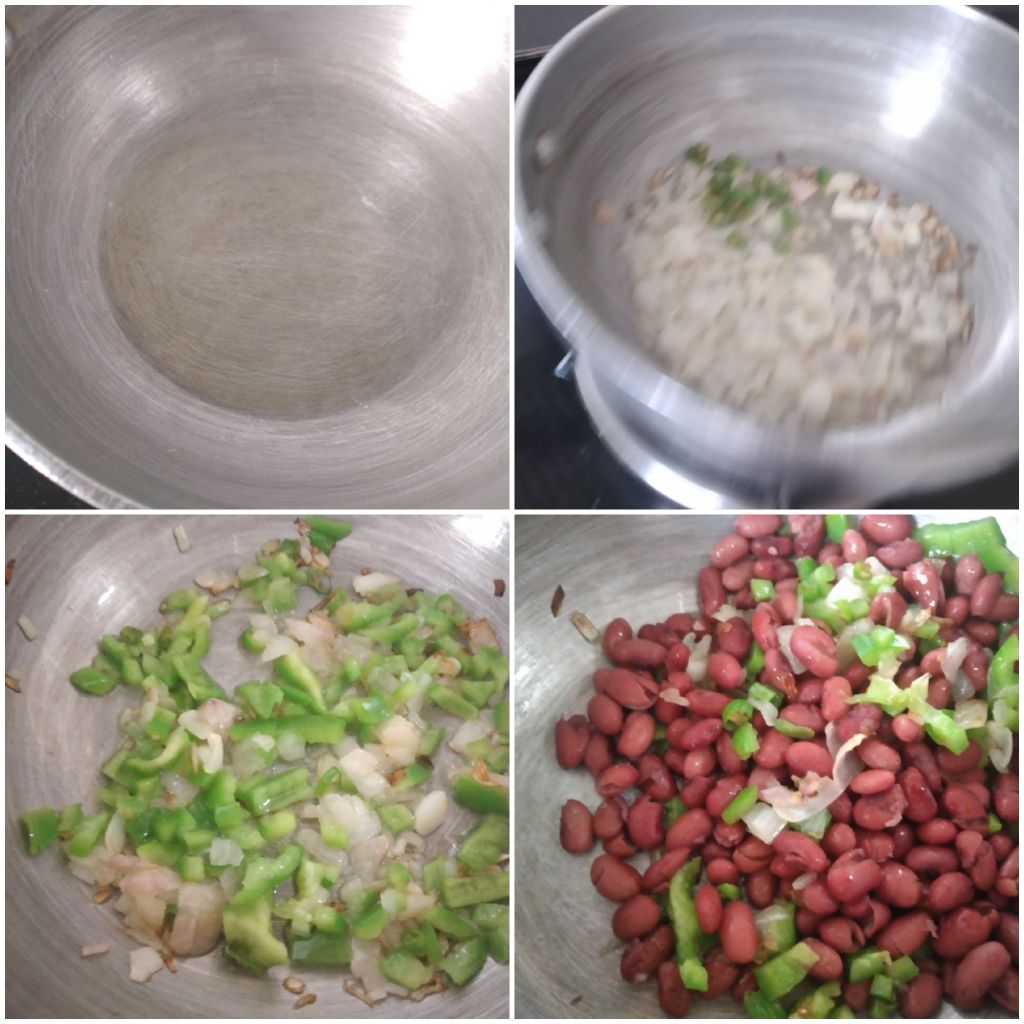
5. Heat the oil in a heavy and big pan.

6. Add the mustard seeds. When the seeds crackle and turn black, add the chopped onion.  Stir fry the onion for few seconds and then add the curry leaves and the chopped chillies. 

7. Add the tomato puree. Stir and fry until the colour of the tomato turns red.

8. Add rajma to the fried spices and keep frying over low heat for few seconds. 

9. Fold in the cooked rice gently and mix well. Switch off the heat.  10. Serve hot.

*Fresh Tomato puree tastes better.

2 medium size ripe tomatoes. Wash, Chop and grind.

Happy Cooking !


Yellow Idli

We tried out these yellow Idlis with toor dal/ pigeon peas. The colour is more vibrant than the presentation.  They are soft, spongy and tasty besides being nutritious like the traditional white idli.

Toor dal is one of the most popular pulse in India. It has a sweet nutty flavour and is a good source of protein. 

You need:

100 gm toor dal.

70 rice

30 gm urad dal

Few methi/fenugreek seeds

Salt to taste

Method:

  1. Wash toor dal, urad dal and rice separately.  Add a few methi seeds to urad and soak them all for about 4 hours.

2. Rinse and grind them with as little water as possible- toor and urad to fine pastes and rice slightly coarse like sooji/semolina. 

3. Mix all of them together with ¼ tsp of salt to a dropping consistency batter. Add little water if needed.

4. Cover and leave it in a warm place to ferment for 8 hours or overnight.

5. Once the batter is fermented, stir it well.

6. Oil the idli moulds and fill them up with the batter.  If you feel that the fermentation is not complete, you may add ½ tsp of baking powder and mix well

7. Heat the pressure cooker with 1 cup of water.

8. Place the idlis inside and close without the pressure weight. 

9. Once the steam escapes from the vent of the cooker, time it for 6 minutes and then switch off the cooker.

10. Allow it to cool for a minute or so.

11. Take the idlis out  from the cooker. 

12. Carefully remove them onto a plate.  Serve hot with chutney.  Go well with jam and butter

Happy Cooking !