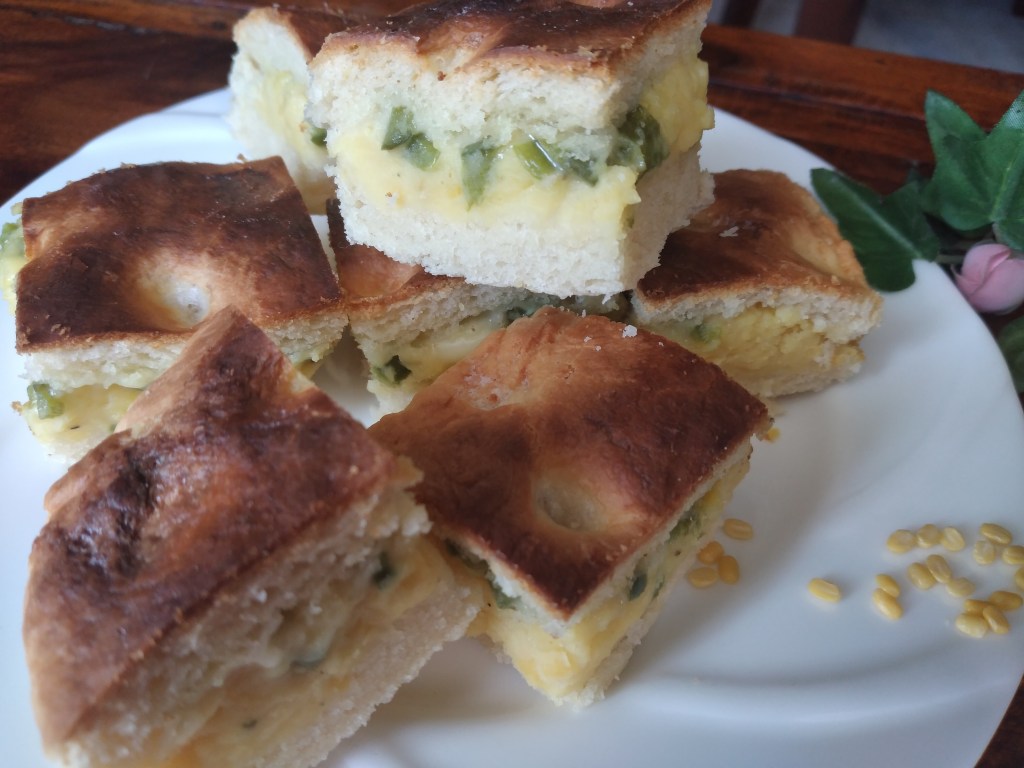
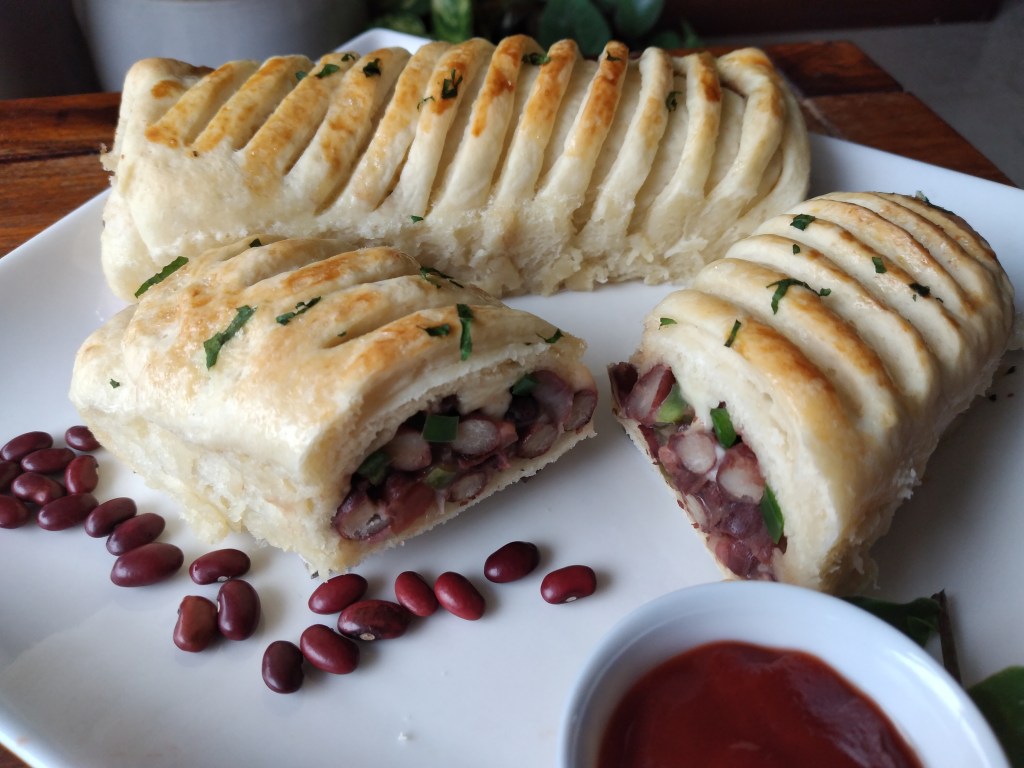
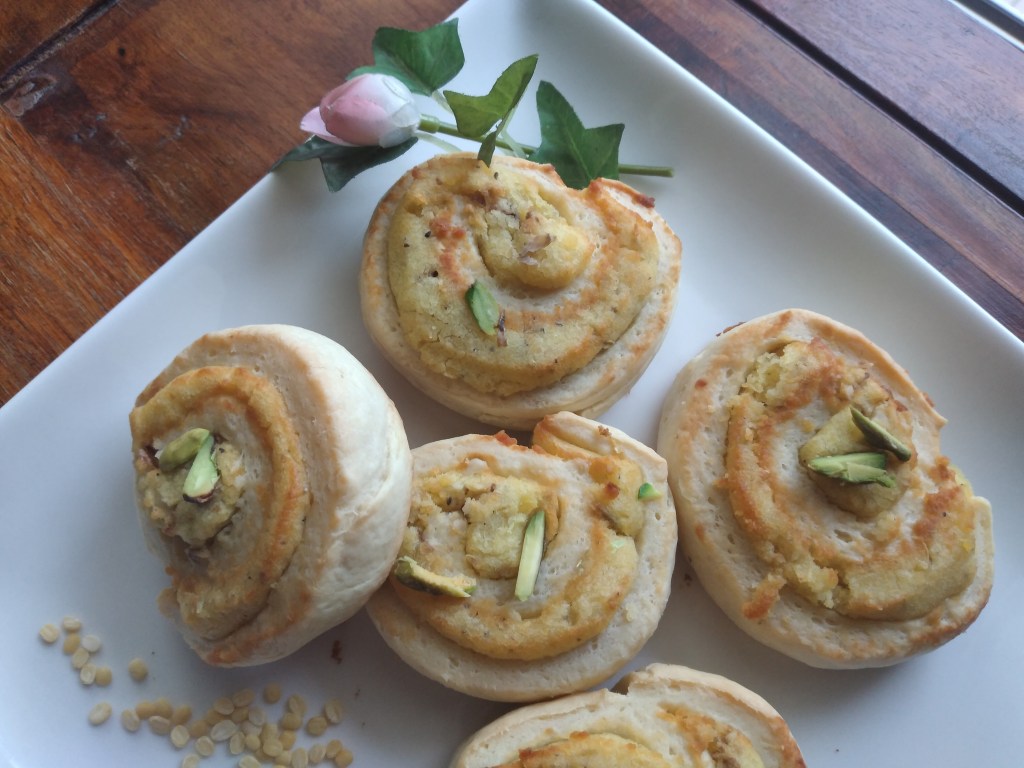
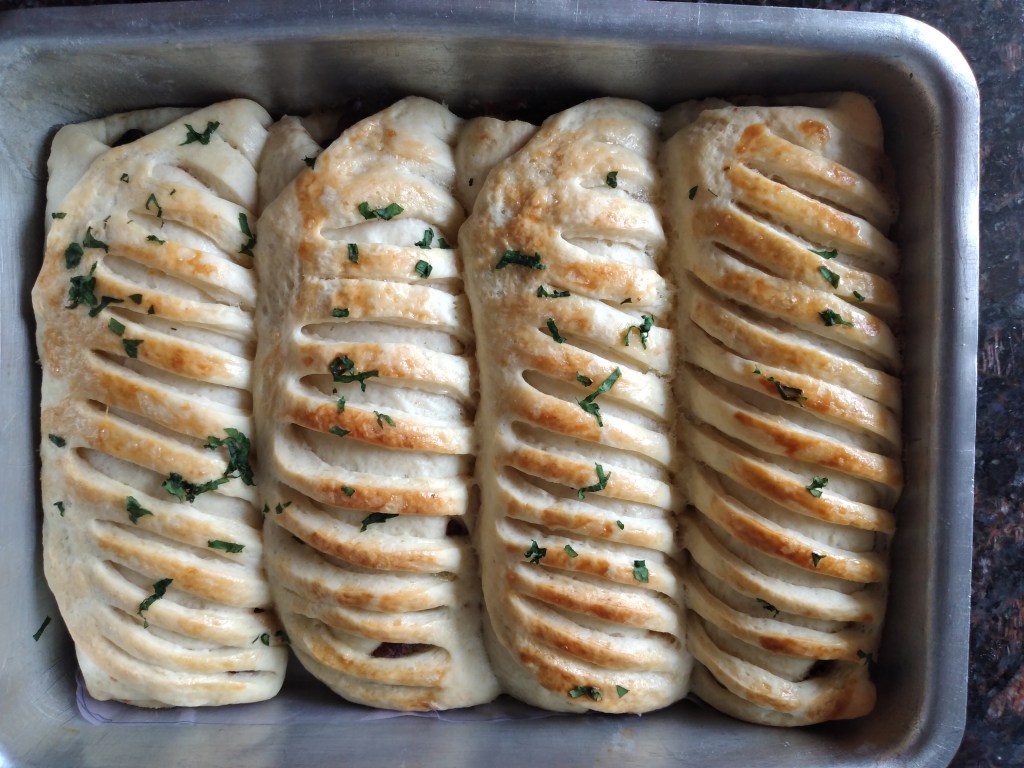
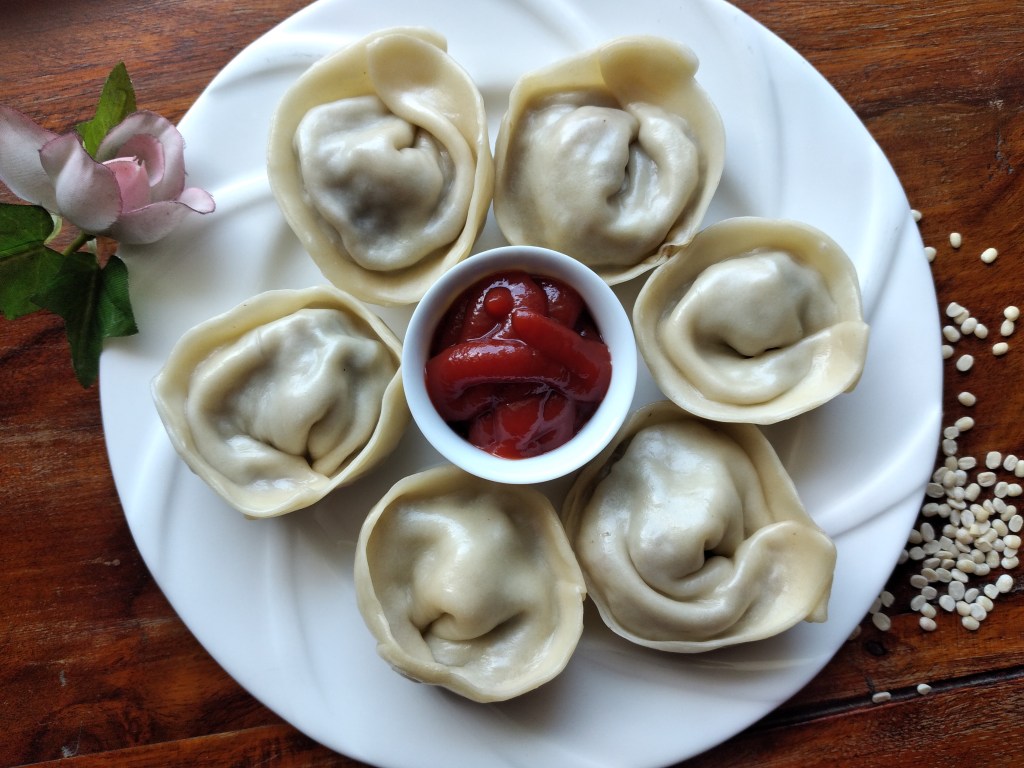
These Bread Moong Rolls melt in the mouth. They are delicious and nutritious. White bread slices spread with rich creamy moong, delicately flavoured with cardamom and soaked in milk thickened with moong. Try it out. You will do it again.
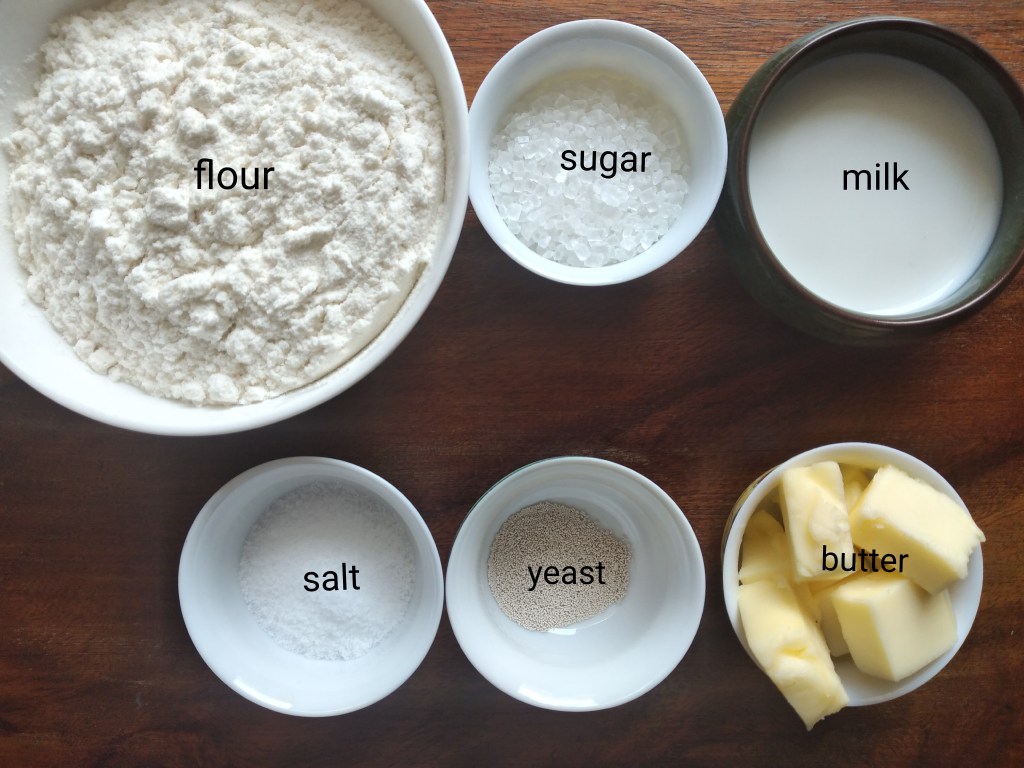
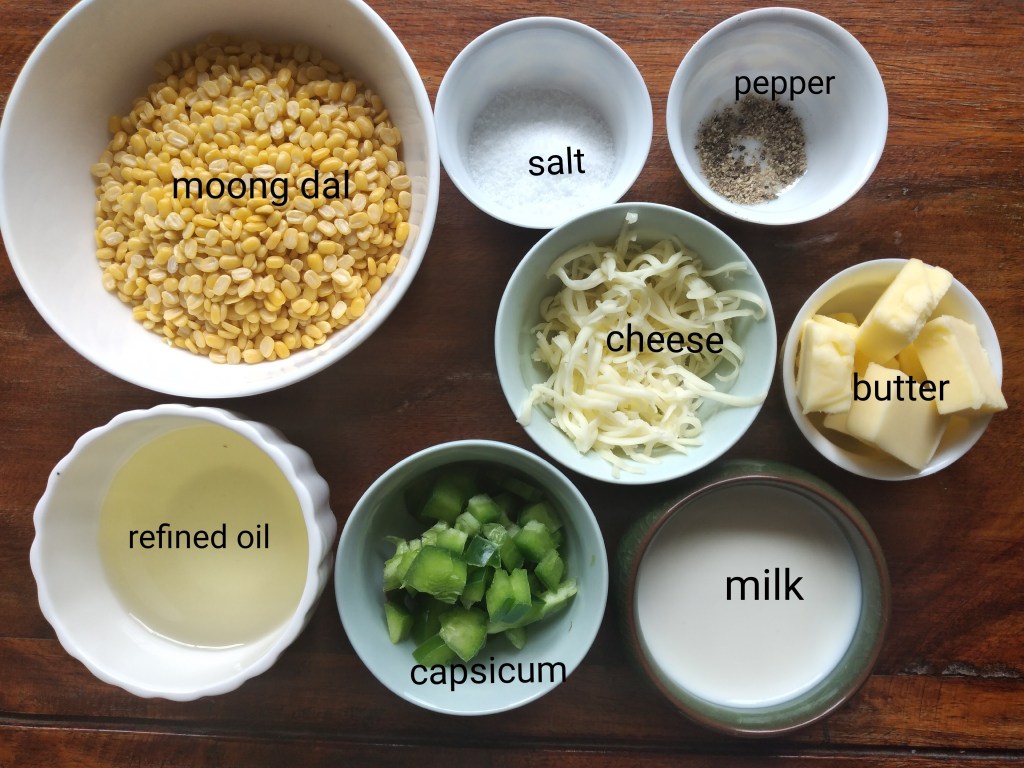
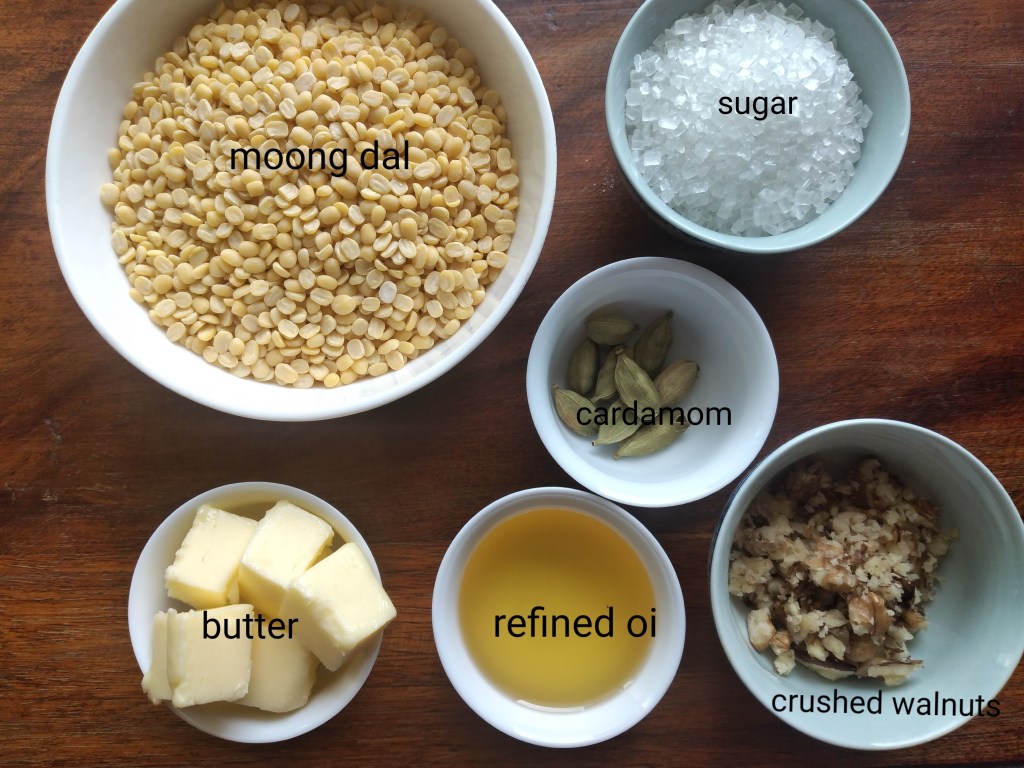
You need:

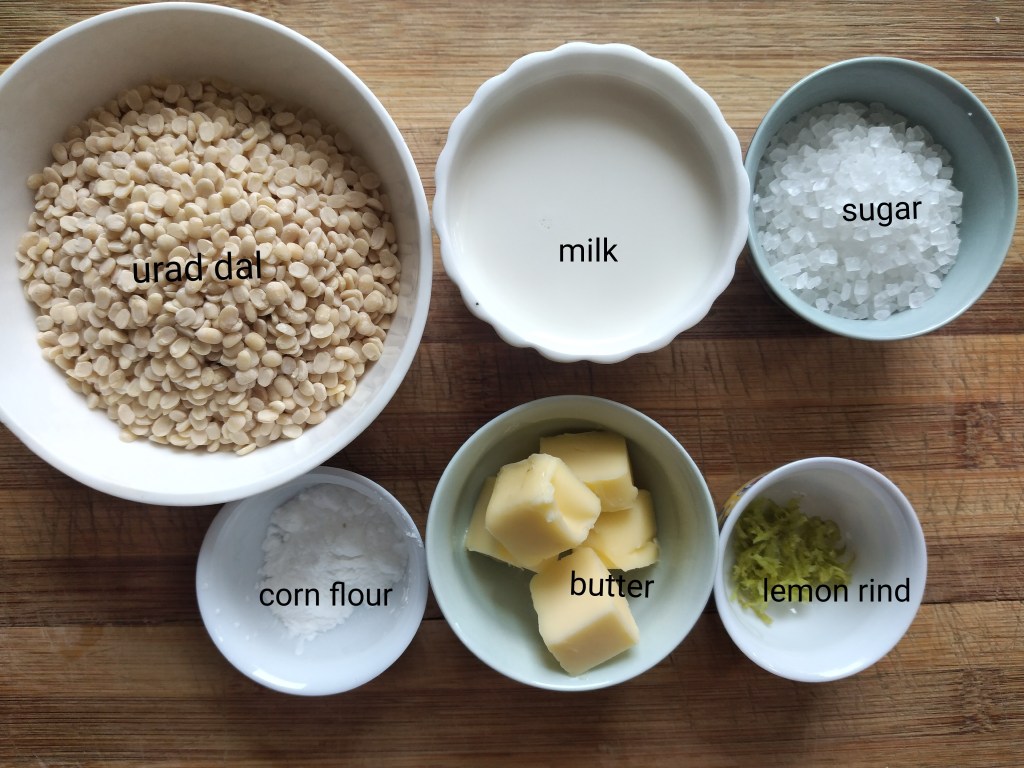
5-6 slices of bread
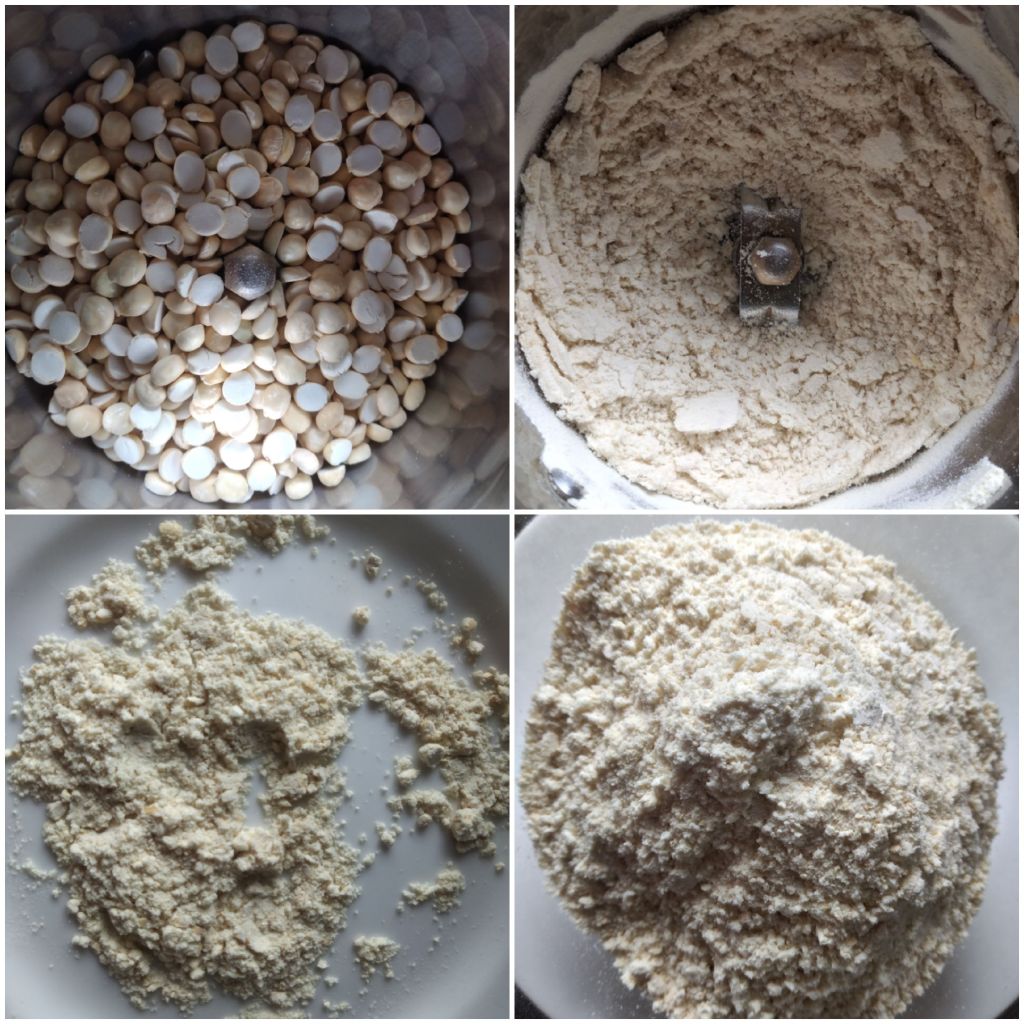
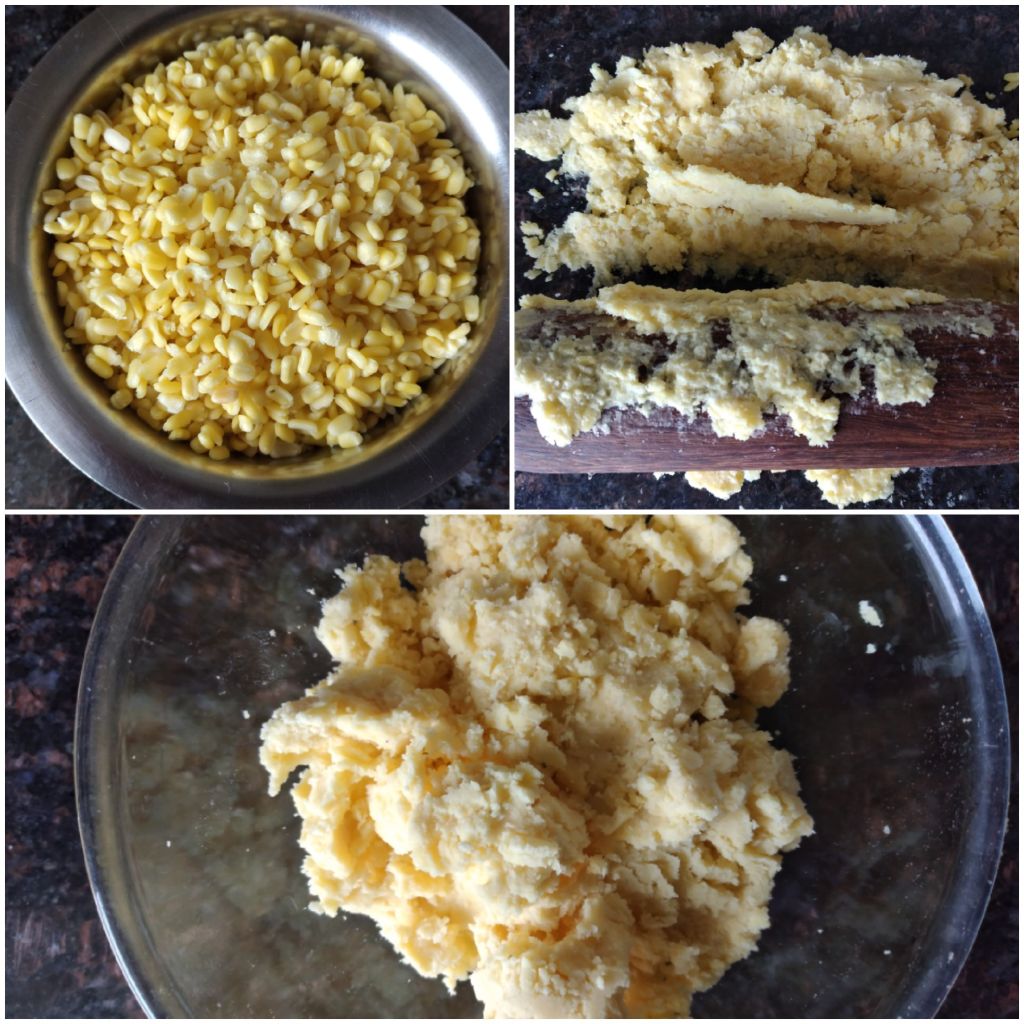
50 gms moong dal
2 Tbsp sugar
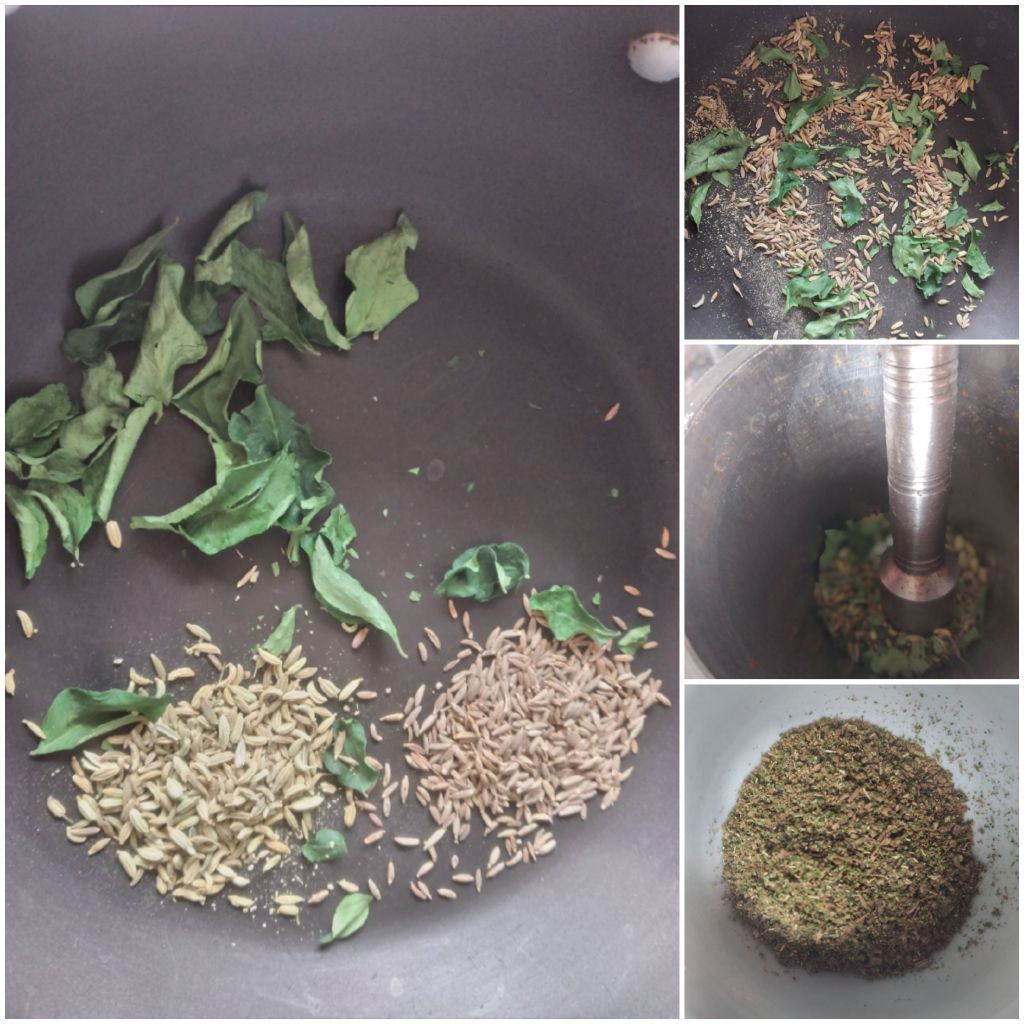
5-6 green cardamom
1 Tbsp of ghee/clarified butter
½ litre Milk
Few finely chopped pistachios
Method:

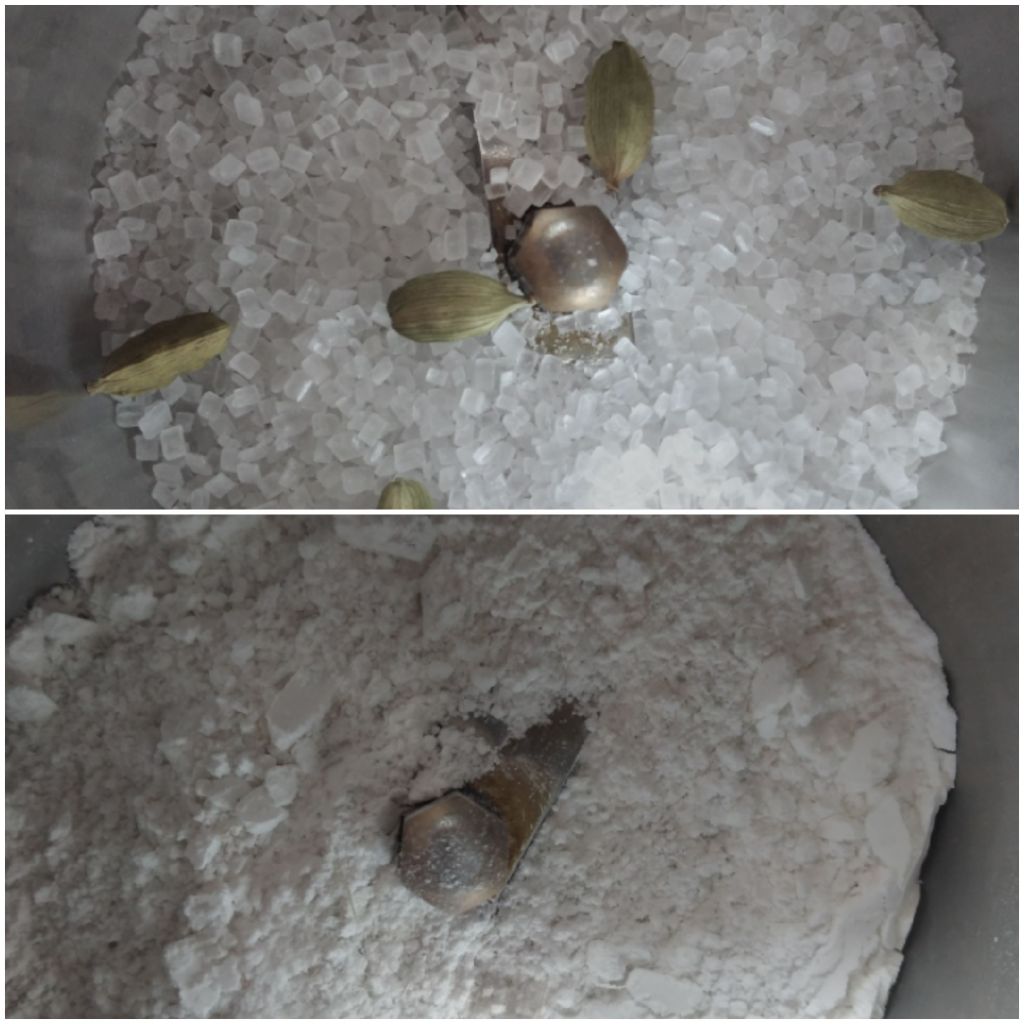
- Grind sugar and cardamom to powder.
- Sieve and discard the skins of cardamom.
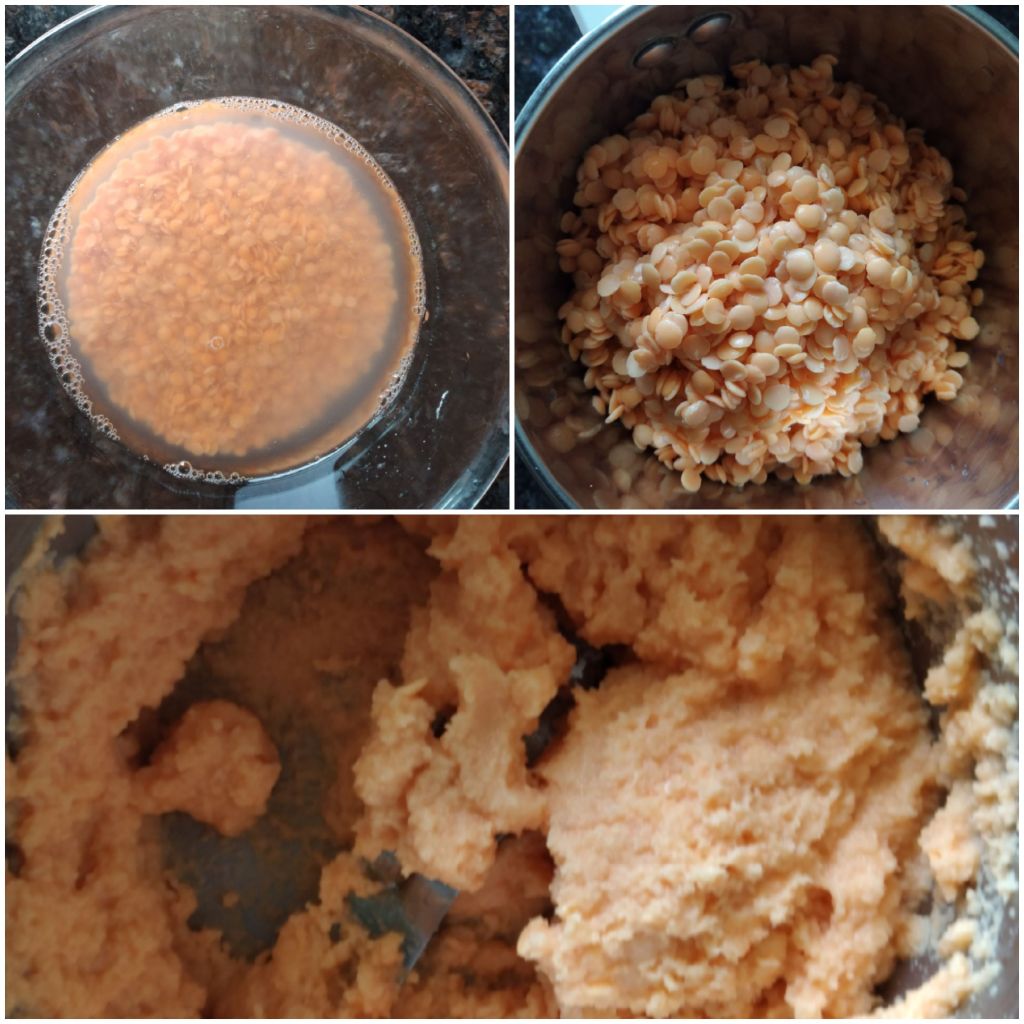
Prepare the moong filling:

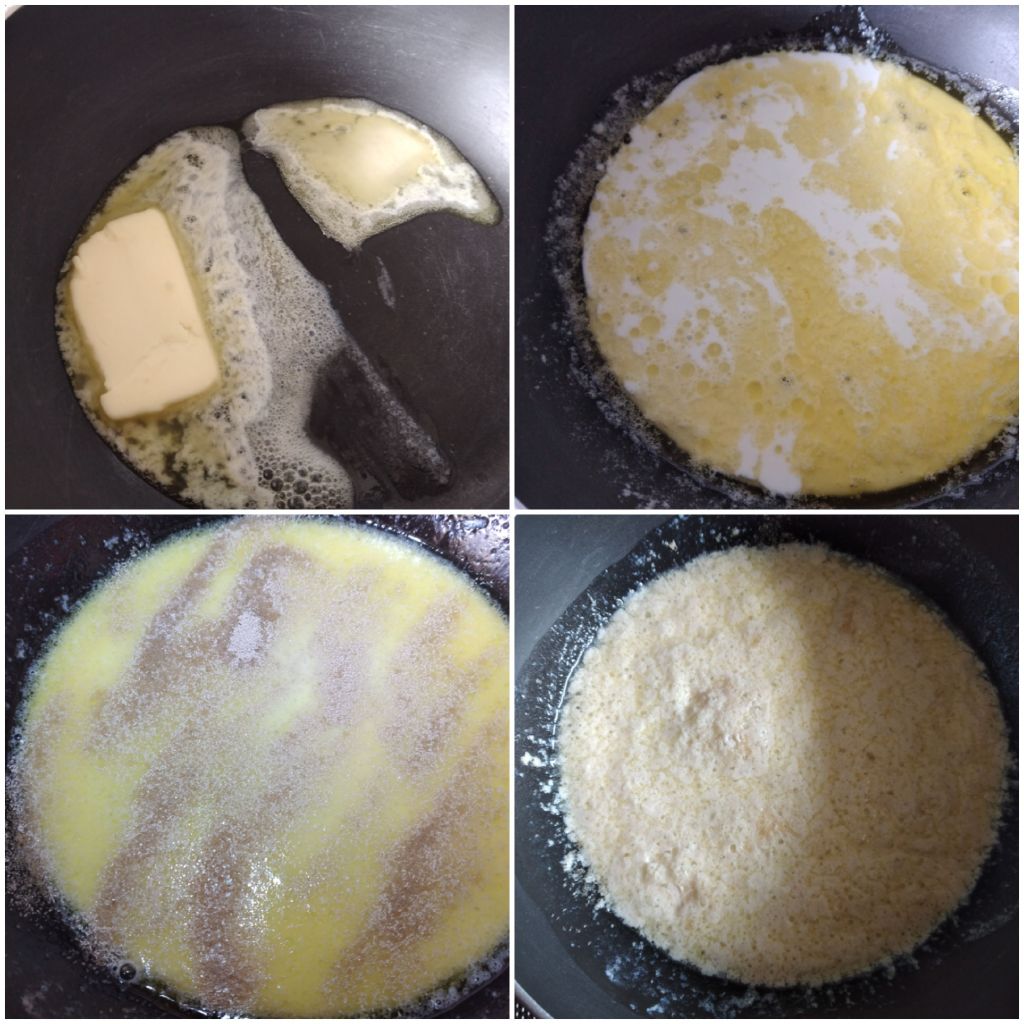
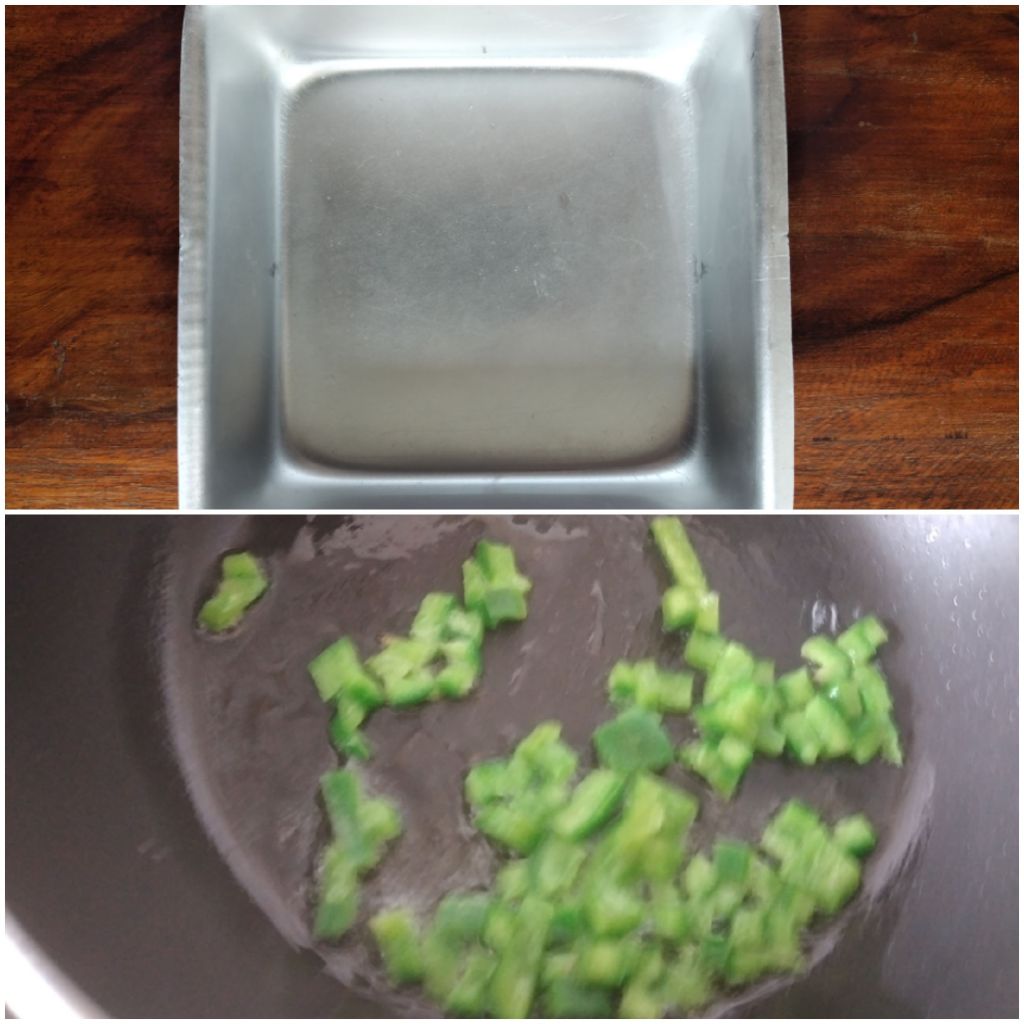
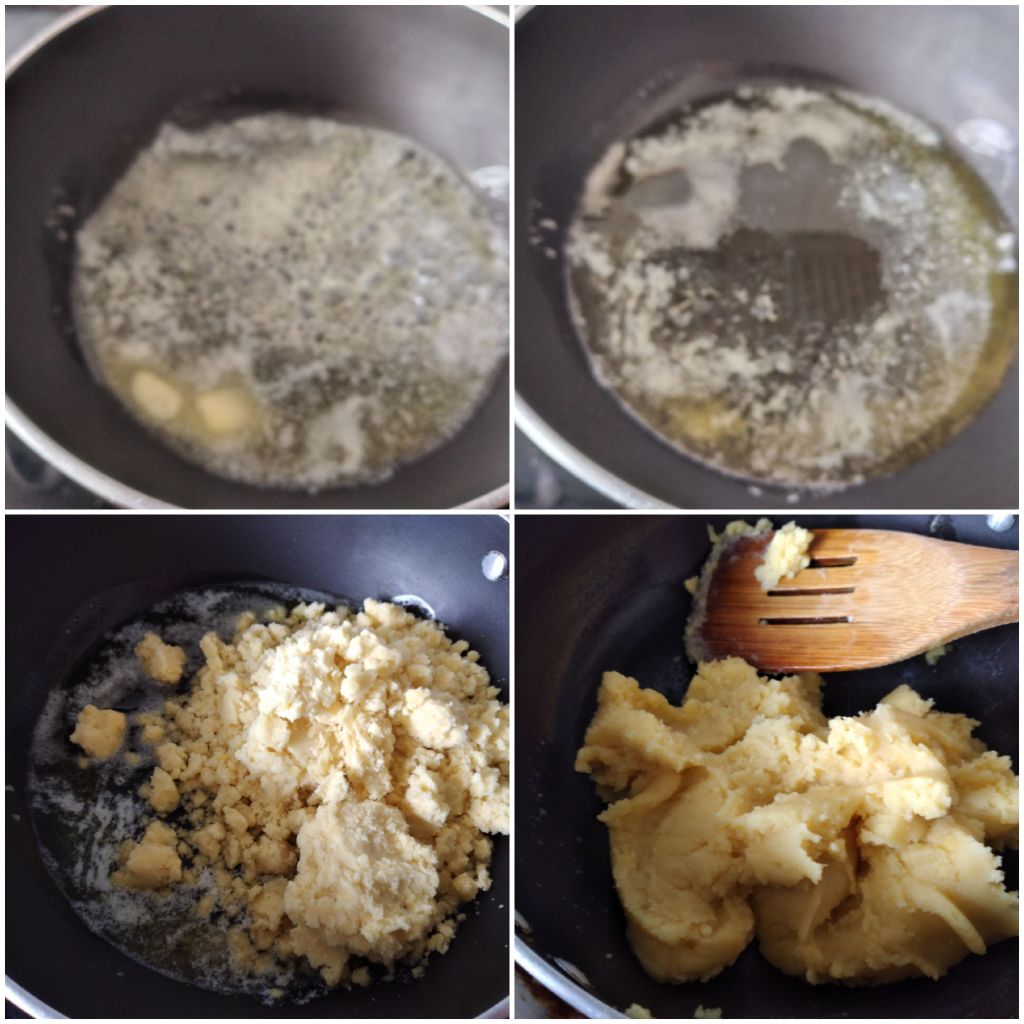
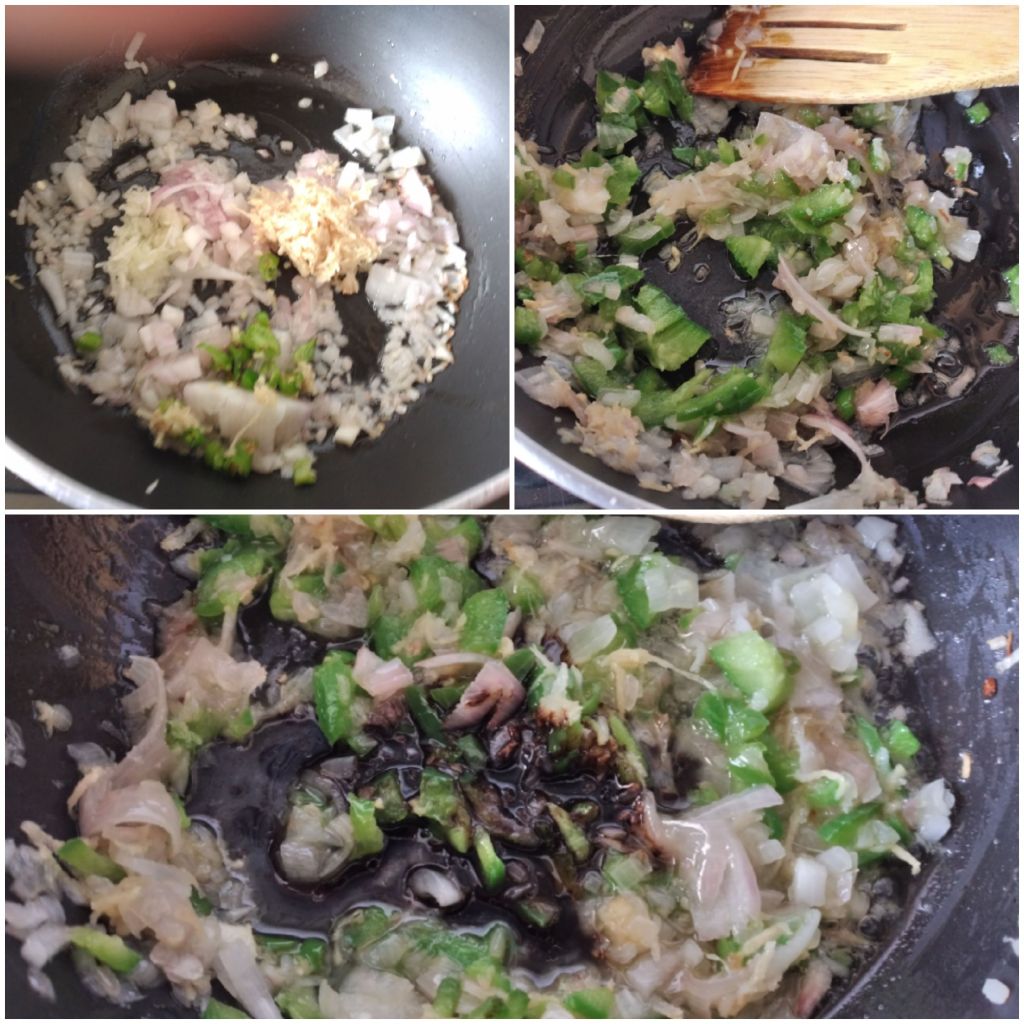
3. Wash and cook the moong dal with as little water as possible. 4. Heat a pan with 1 Tbsp of ghee.
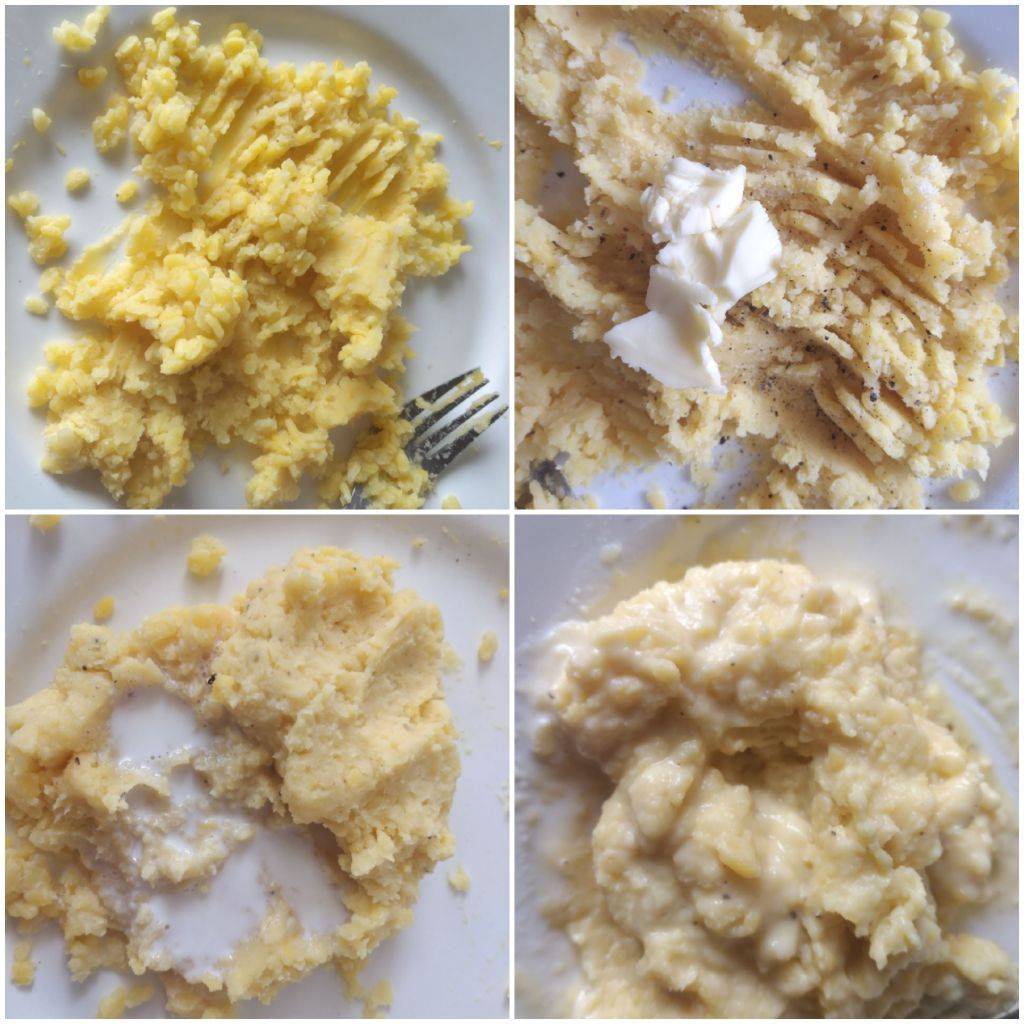
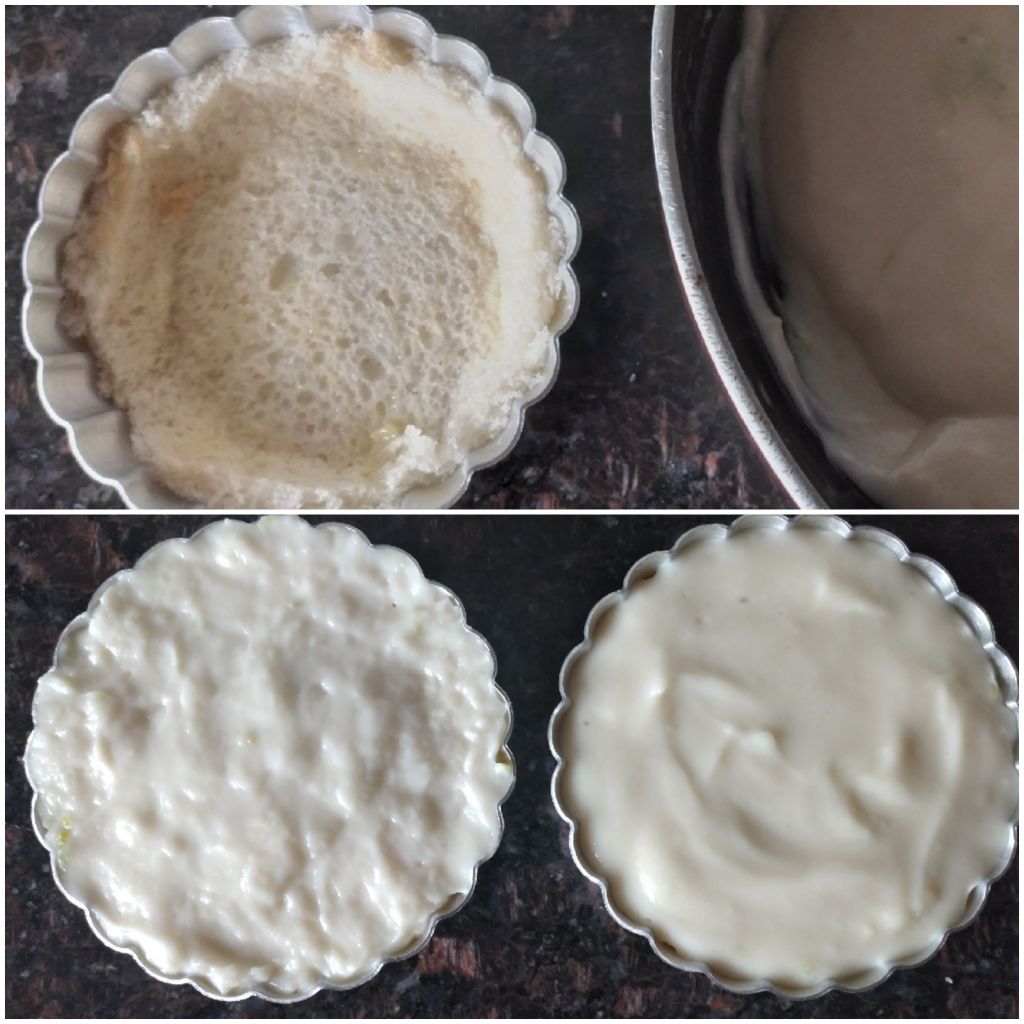
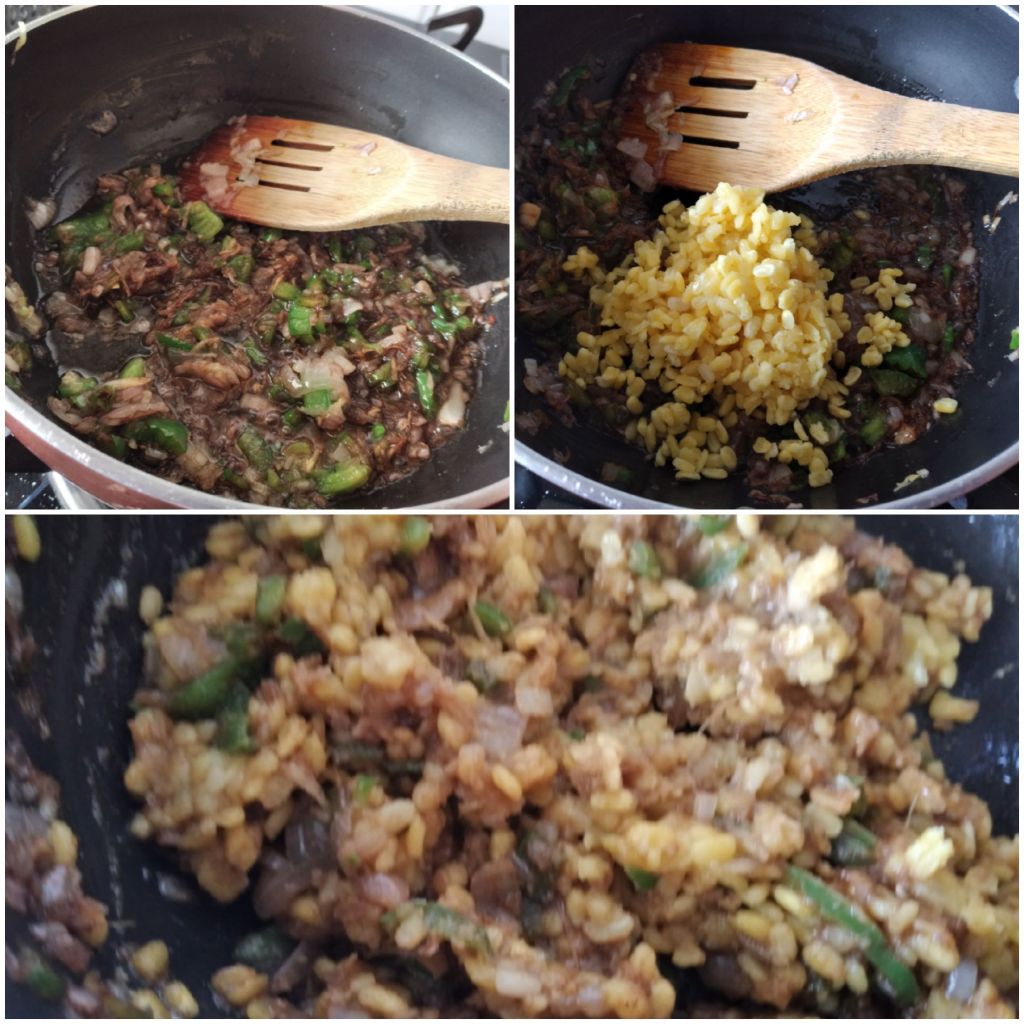
5. Fry the cooked moong until the moong stick together and oil comes out.
6. Keep aside 1 tbsp from it, for using with milk later.

7. Take half of the milk and add to the remaining moong. Cook till it thickens.
8. Add the sugar mixture and mix well. Cook further for a minute or so until big bubbles appear on the surface.
9. Allow the filling to cool.
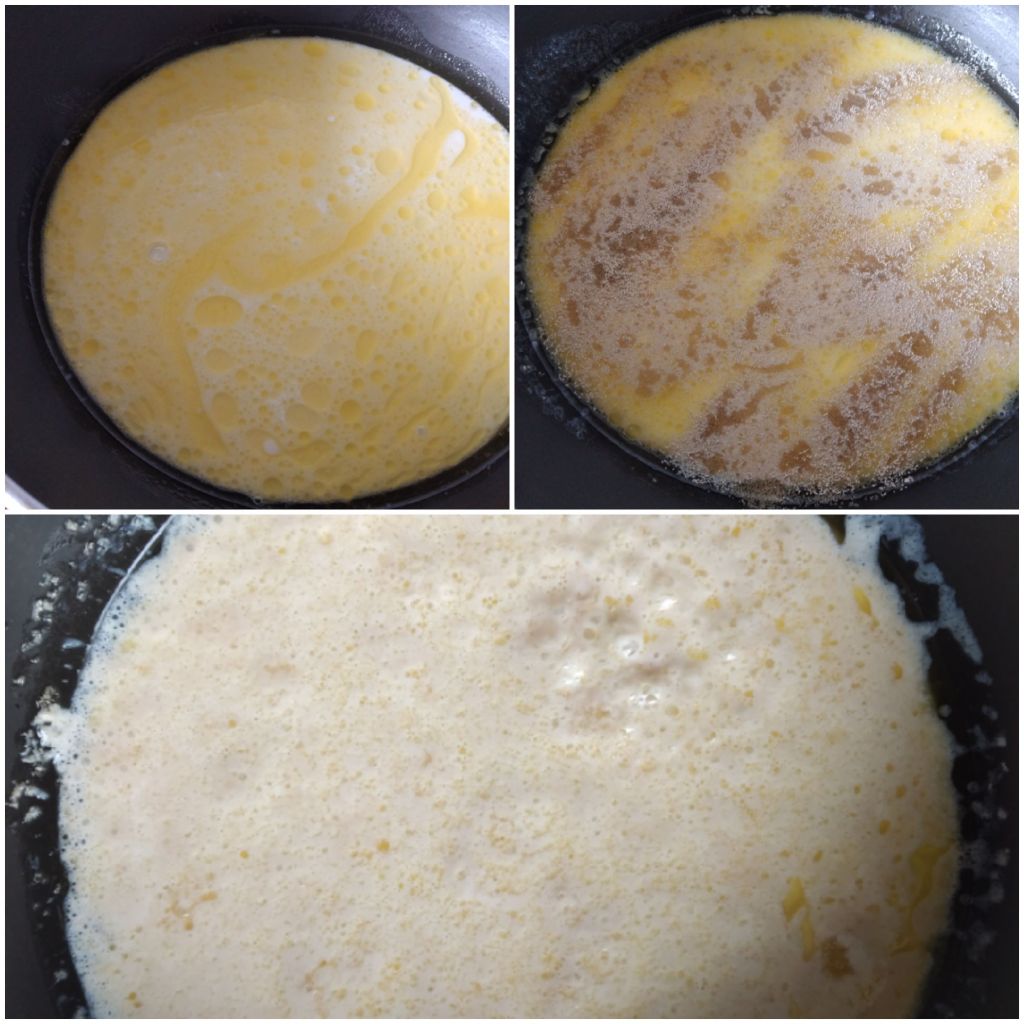
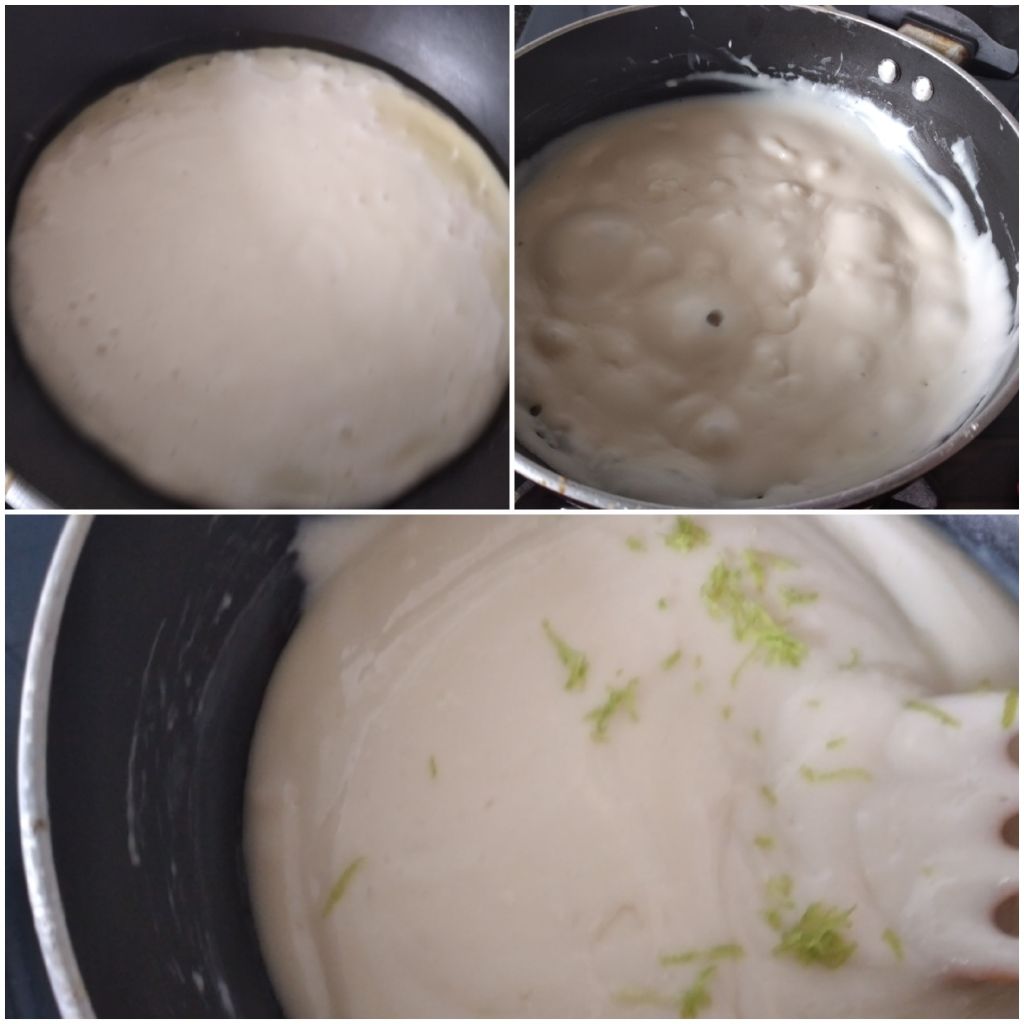
Prepare the moong-milk:

10. Take little milk and 1 tbsp of the reserved moong filling and blend into a smooth paste.
11. Add this to remaining milk and bring it to boil in a pan.
12. Add sugar according to your taste. The moong will thicken the milk and also give a beautiful light yellow colour.
13. Cool it down before using.
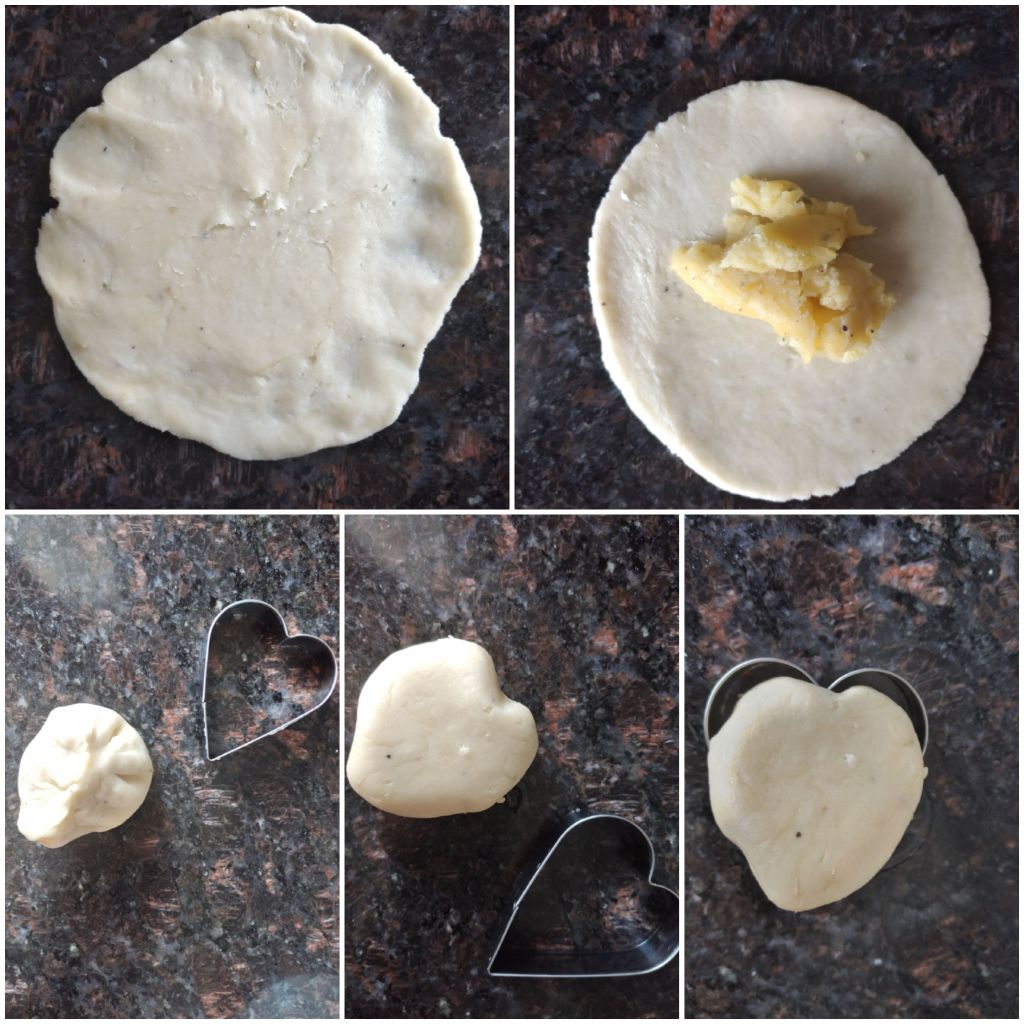
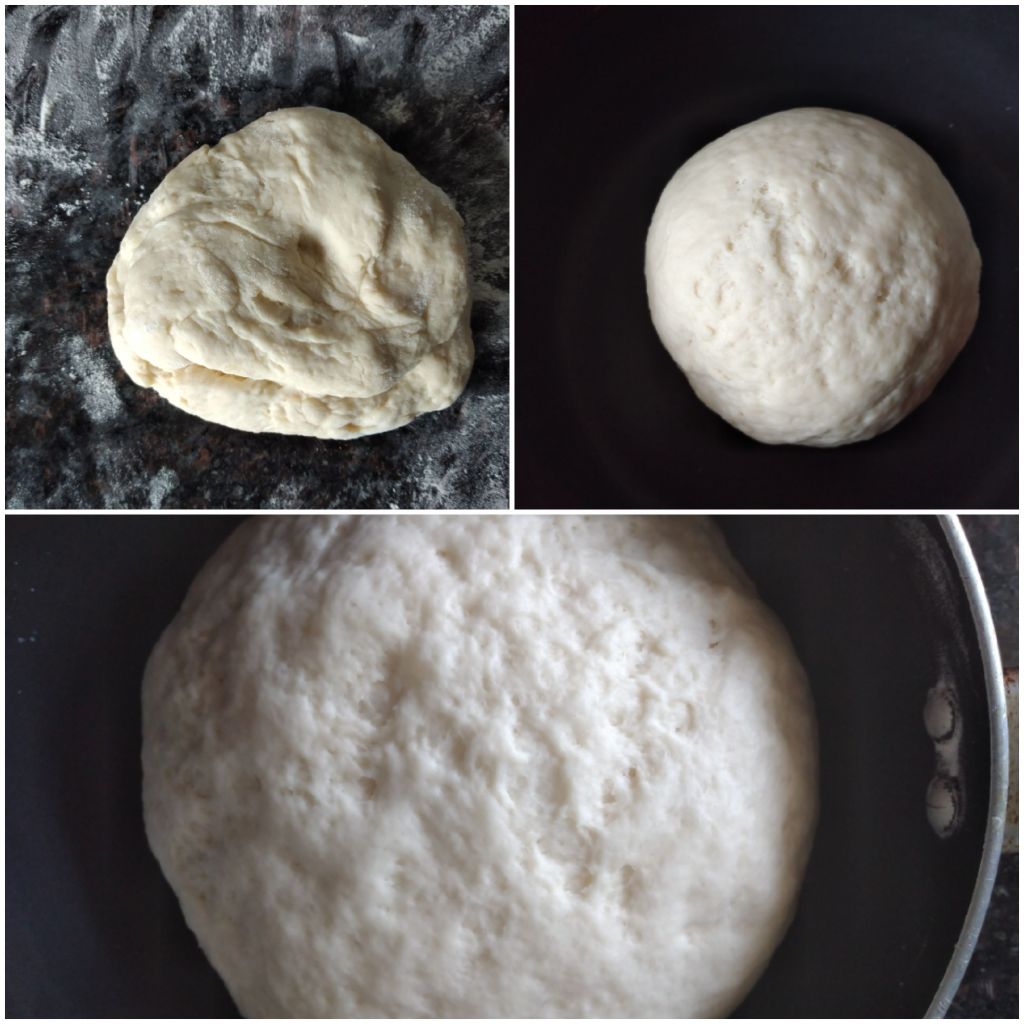
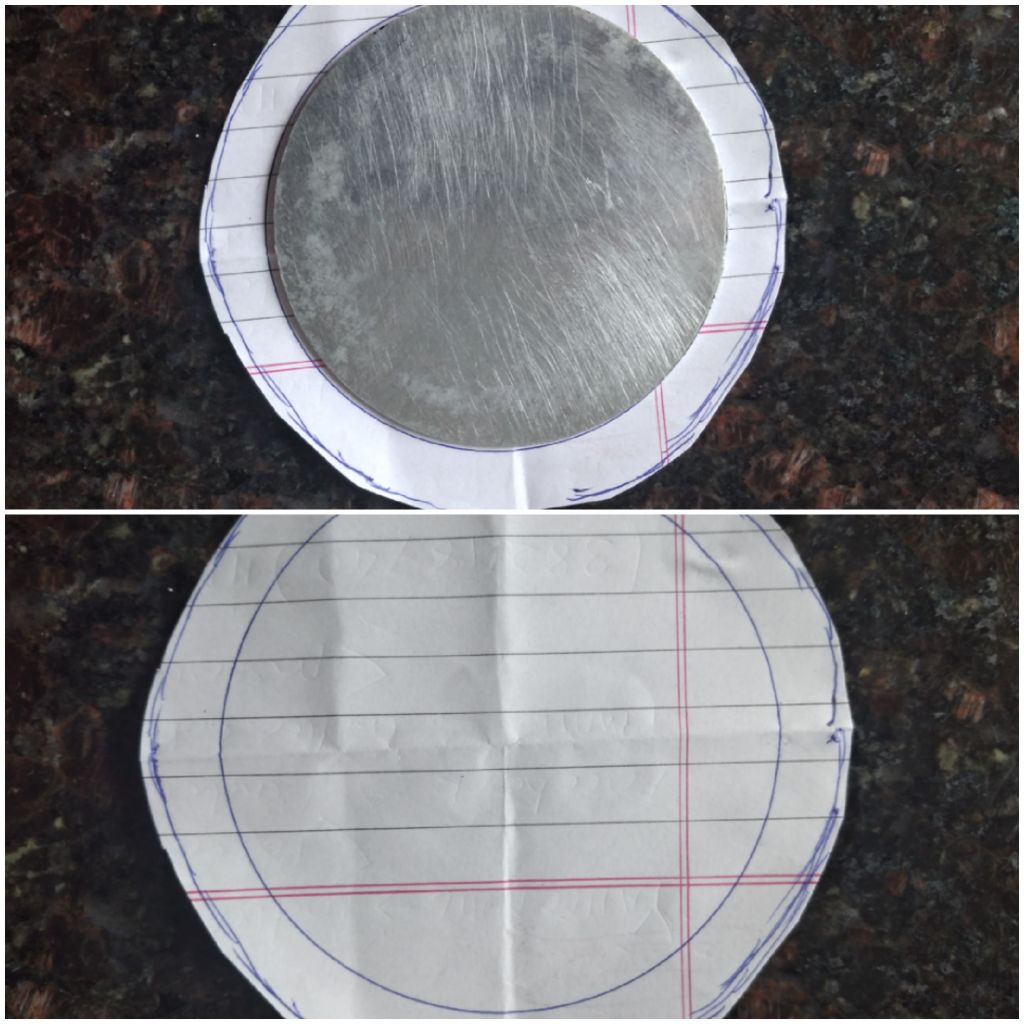
Prepare the bread slices:

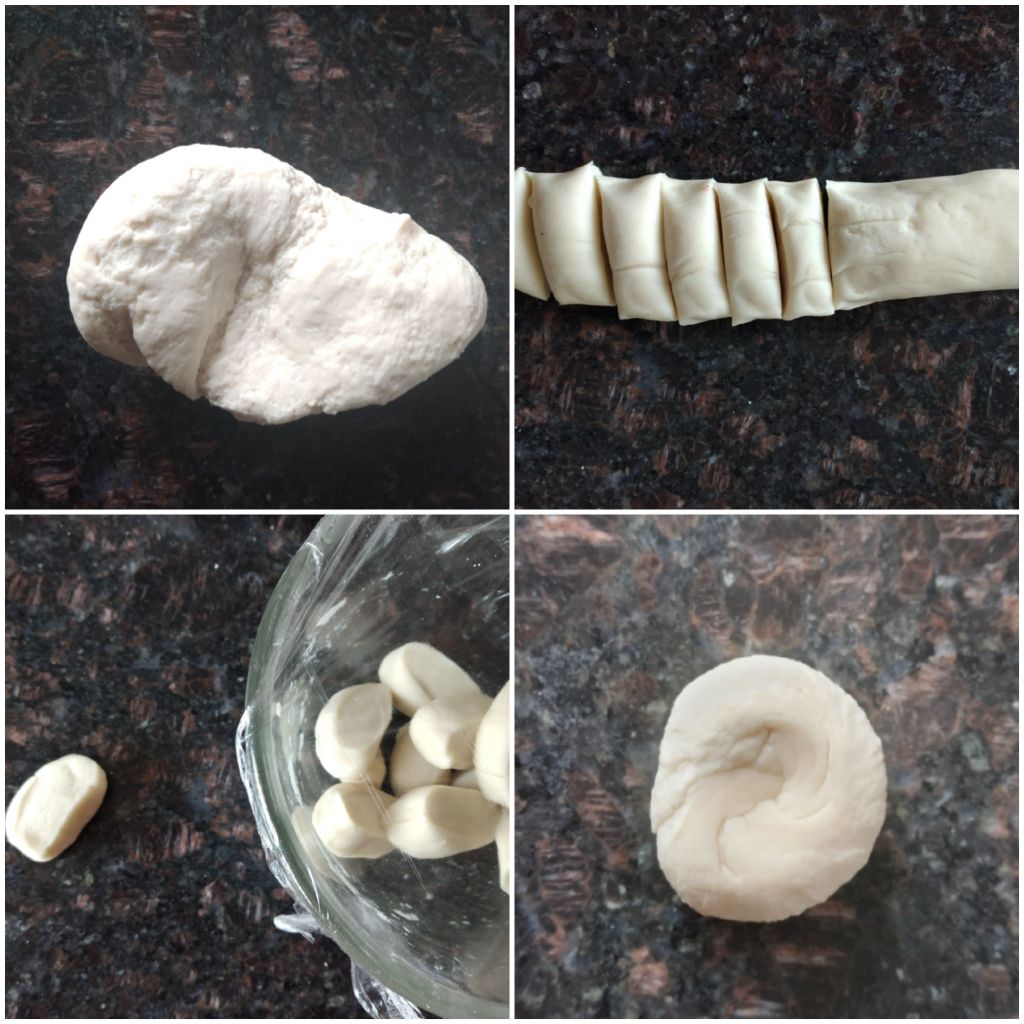
14. Cut the sides from the bread slices.
15. Flatten them out with a rolling pin.
16. The sides should be thinner than the centre.
17. Wrap them up with a damp kitchen cloth.
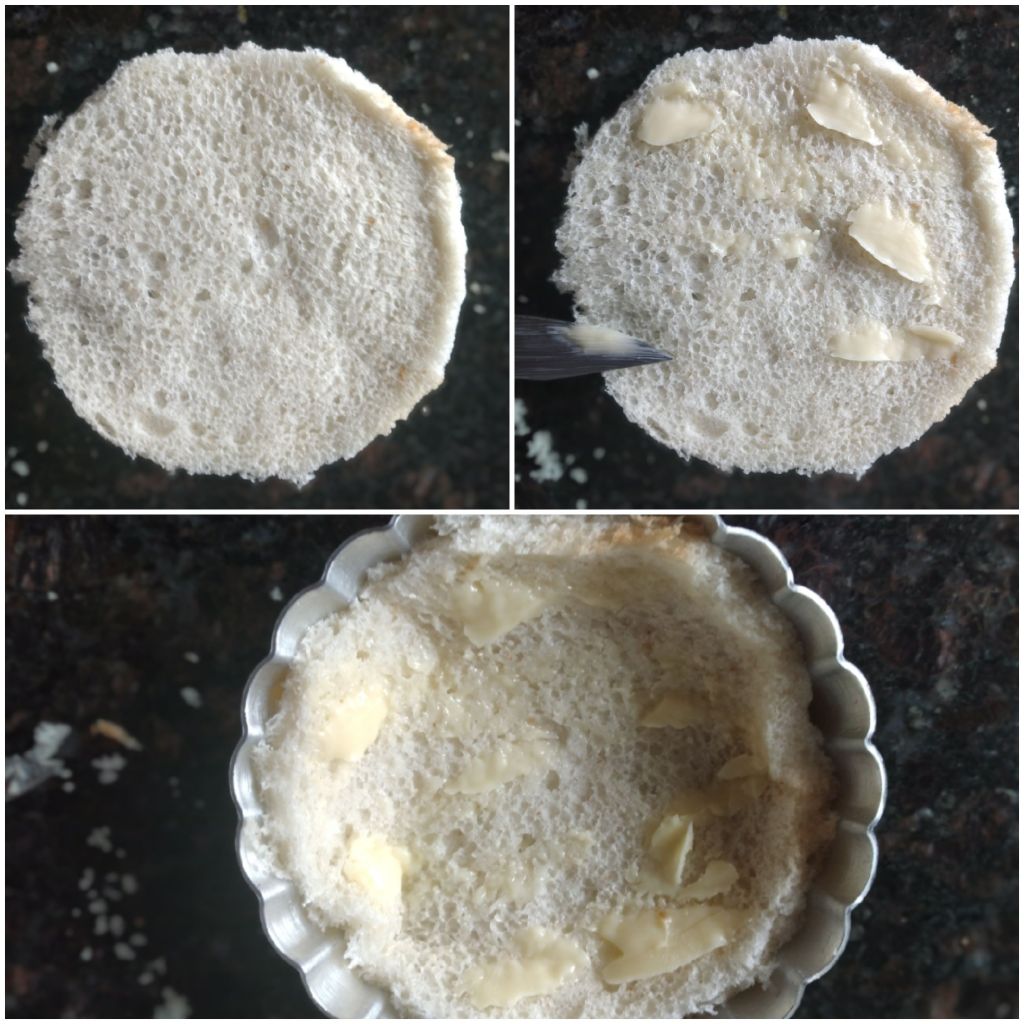
Assemble the rolls:

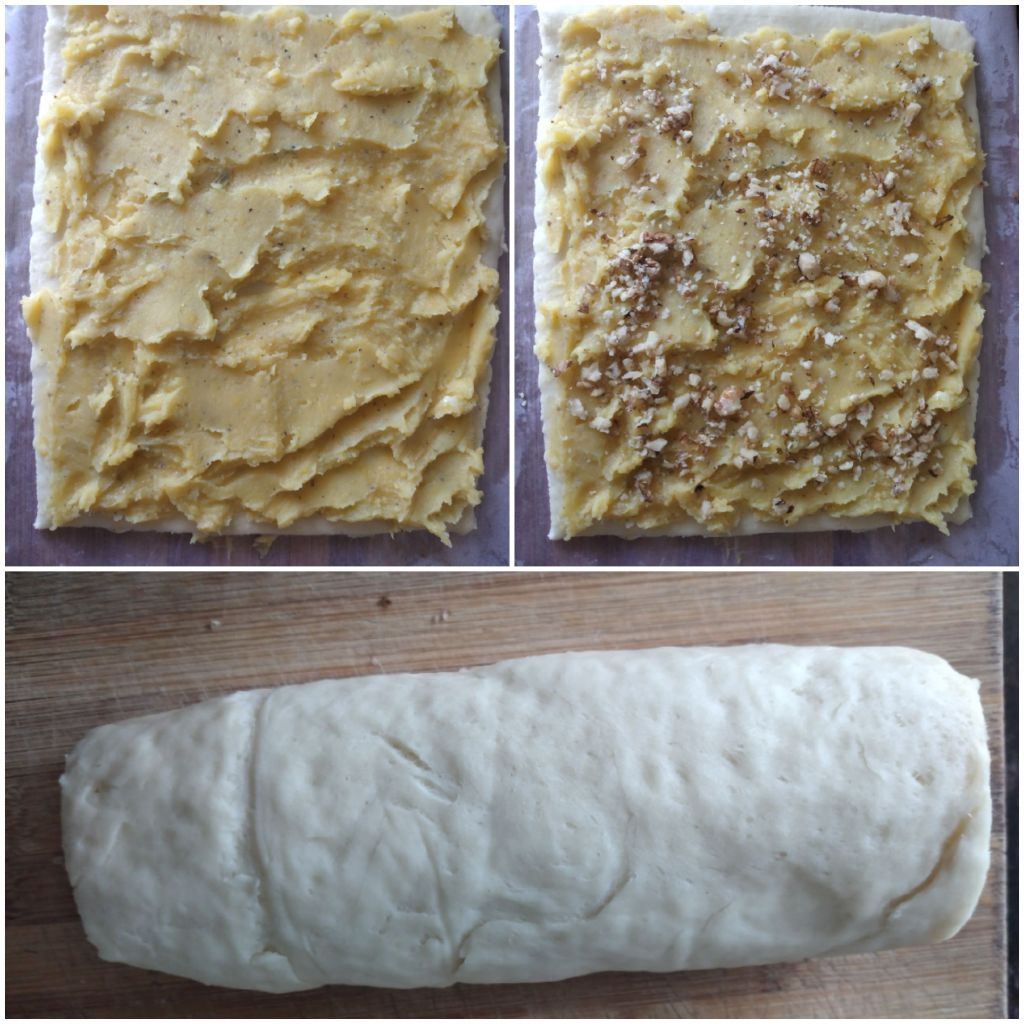
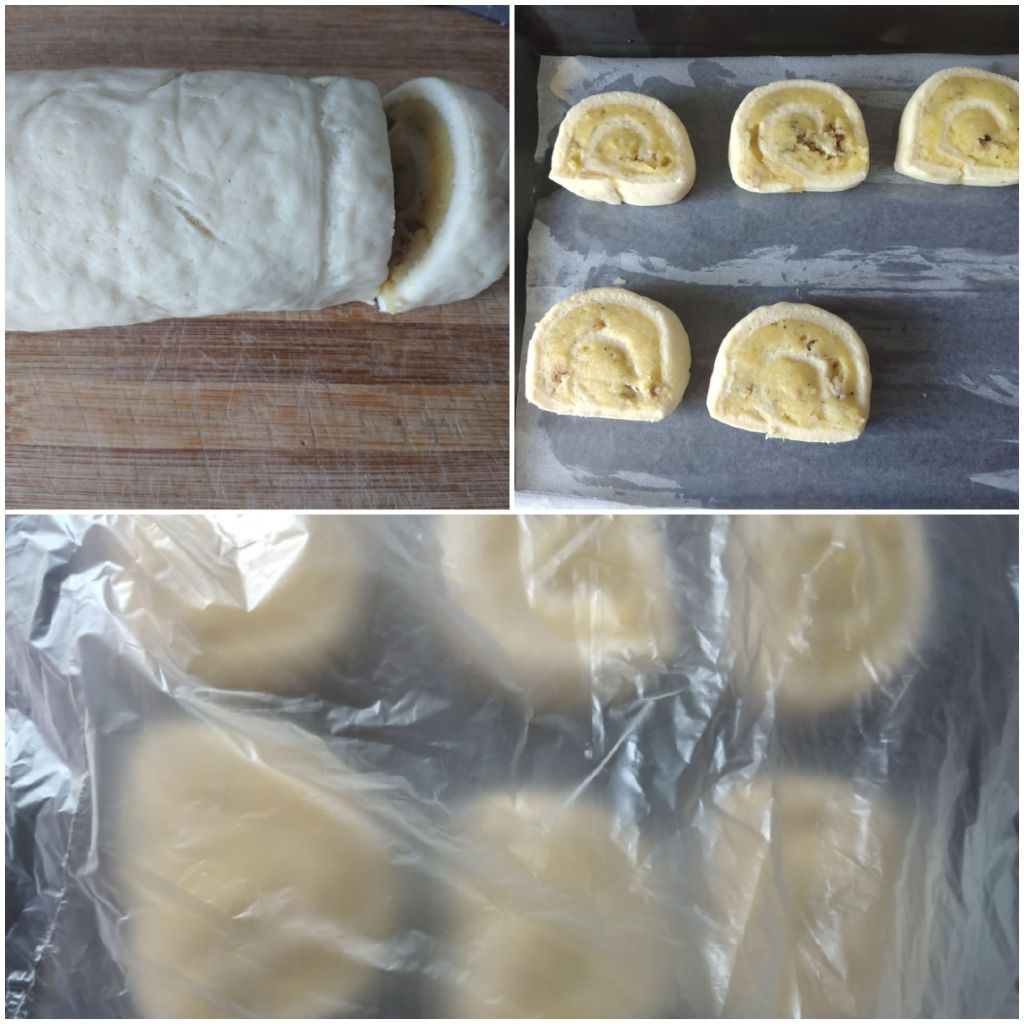
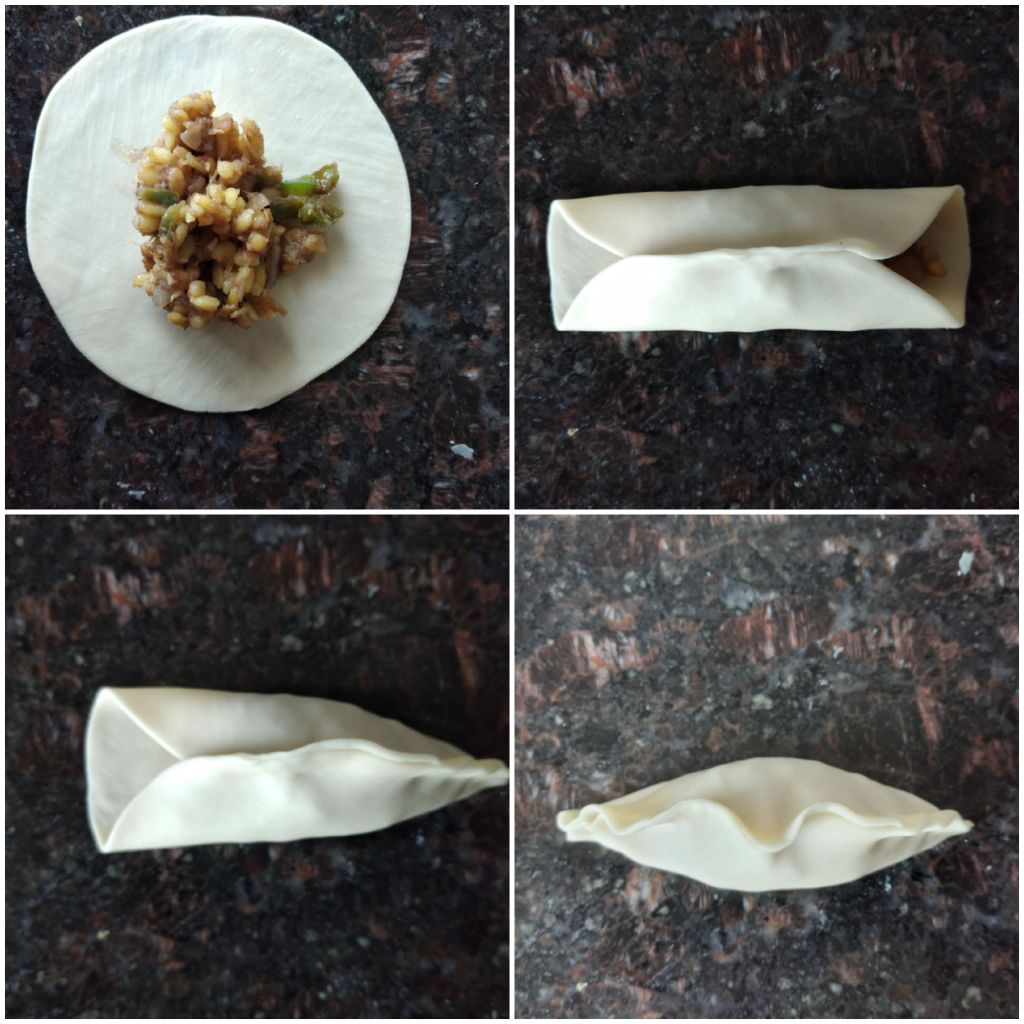
- Place 1 tbsp of the prepared moong filling on one side of the prepared bread slice and roll it up like a Swiss roll.
- Keep the roll downward so that it does not open up.

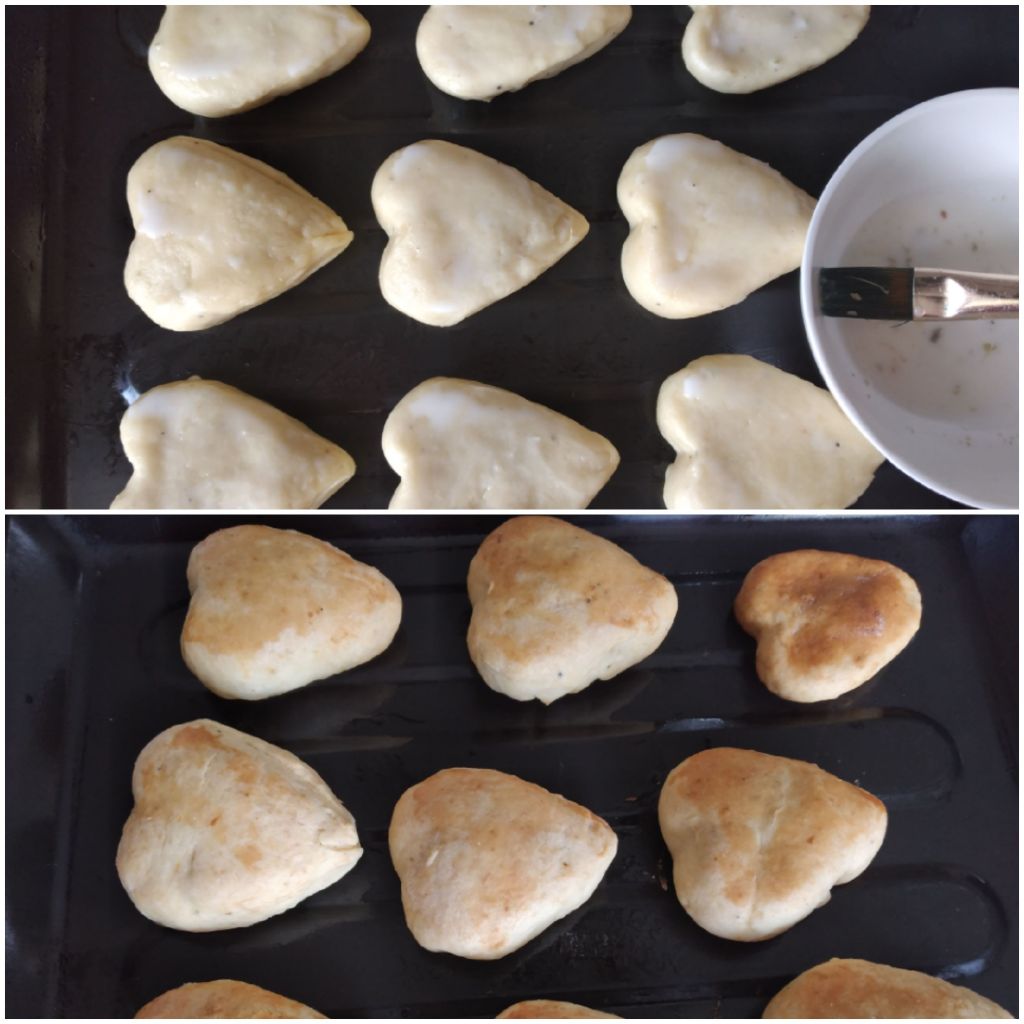
3. Place it on dish and spoon the moong-milk over it.
4. Repeat the same steps for the other slices.
5. Cover it and keep it in the fridge to cool.

6. Before serving, transfer the rolls to a serving dish.
7. Pour the remaining milk over the rolls and sprinkle the chopped pistachios on top.
Course: snack
Country: India
Type: Dessert
Nutritional Information: Moong dal is rich in protein and the milk enhances more.
Happy Cooking !