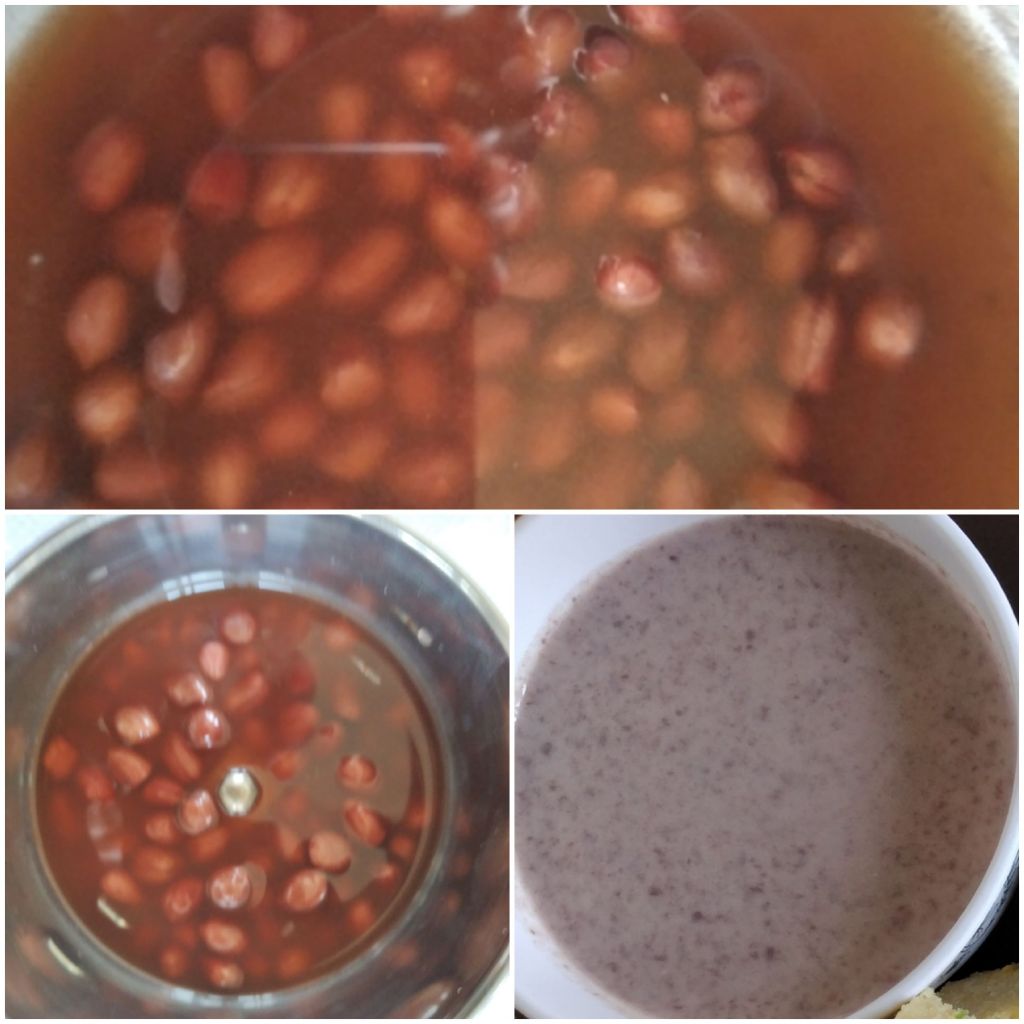
Dalonthetable used the Kashmiri rajma/ kidney bean in making the filling of the flan. Kashmiri rajma has a beautiful red colour. Its taste and skin is much softer than regular rajma.
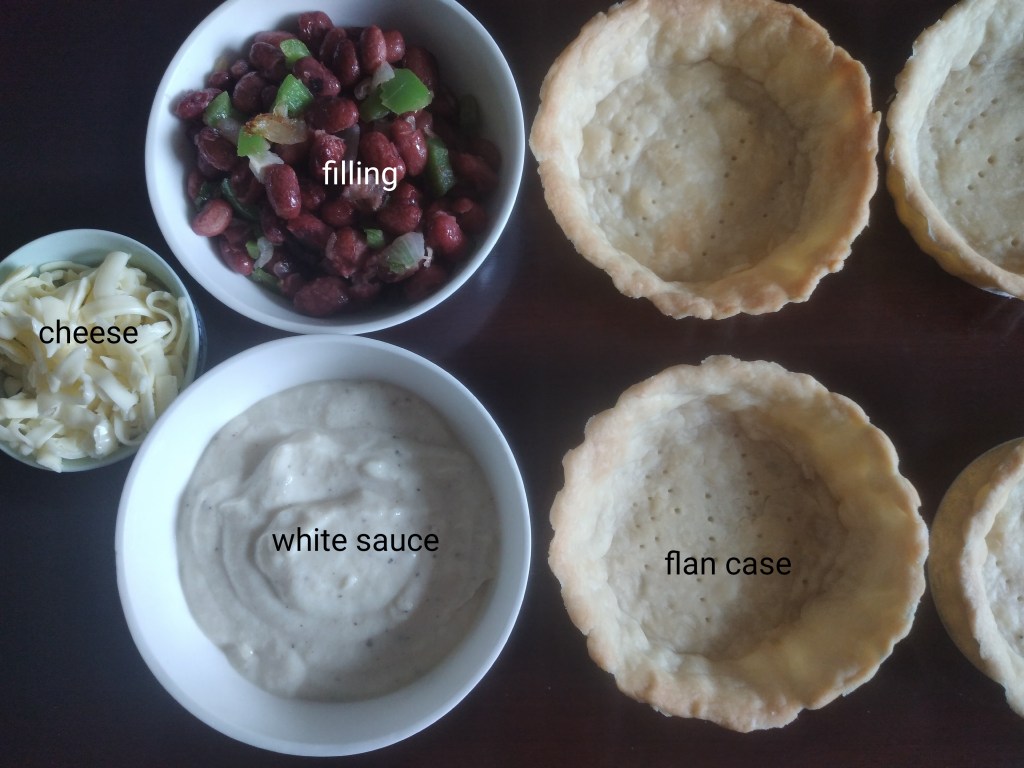
You need:

Flan cases
Filling made from rajma
White sauce made from urad dal flour
Grated cheese for the topping
For the filling you need:

75 gm Kashmiri rajma
25 gm finely chopped oinion
25 gm finely chopped green capsicum
1 tsp finely chopped green chilli (optional)
2 Tbsp of refined oil
Salt to taste
Method:

- Wash and soak Kashmiri bean for about 4 hours.
- Rinse and pressure cook with little water and ½ tsp of salt.
- After the first whistle lower the heat to minimum and cook for about 5 minutes. Switch of heat.
- Allow to cool. The rajma bean should be soft. If it is not, then cook for another minute.
- Drain and keep it aside.
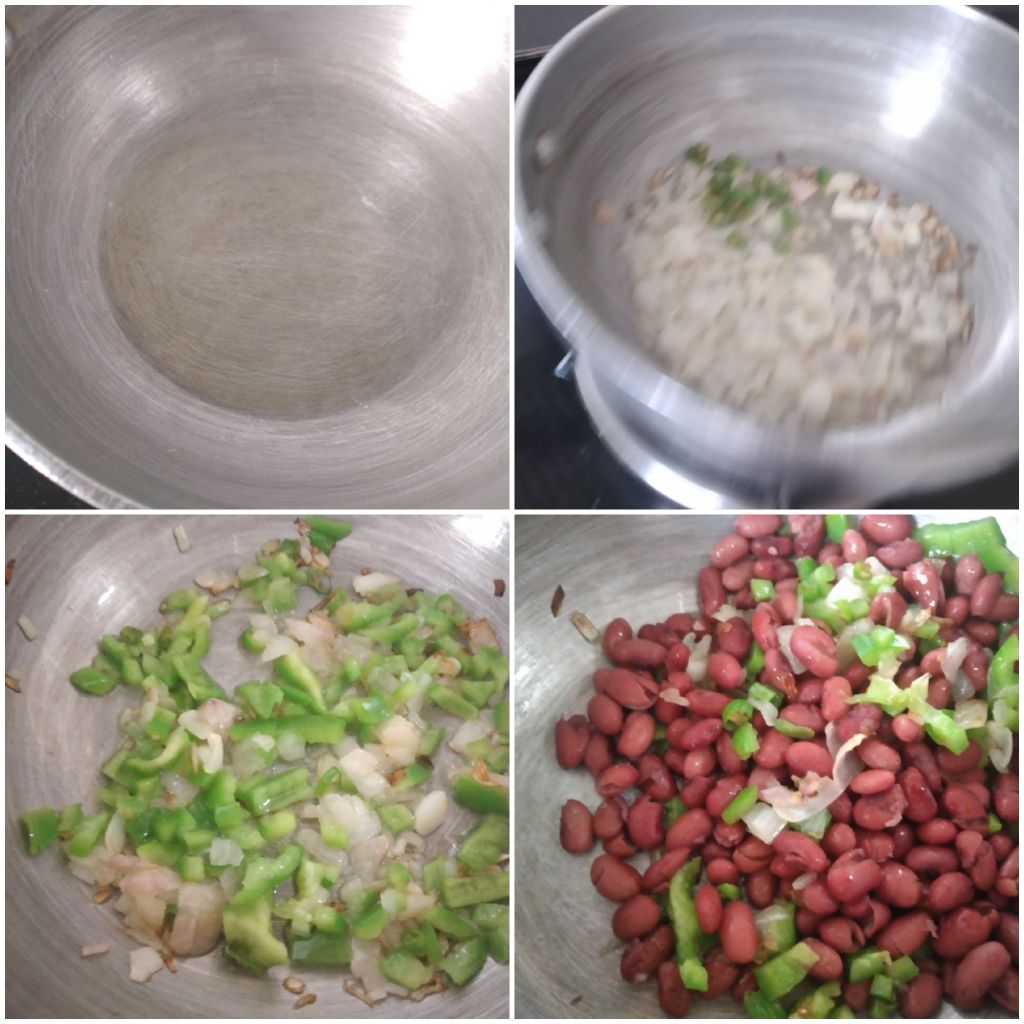
6. Heat the oil in a heavy pan over medium heat.
7. Add the onion and sauté for few seconds.
8. Add the chopped chilli and then the capsicum. Stir-fry for few seconds.
9. Add the rajma bean and mix well. Continue to stir-fry for a minute.
10. Remove from the heat and keep it aside.
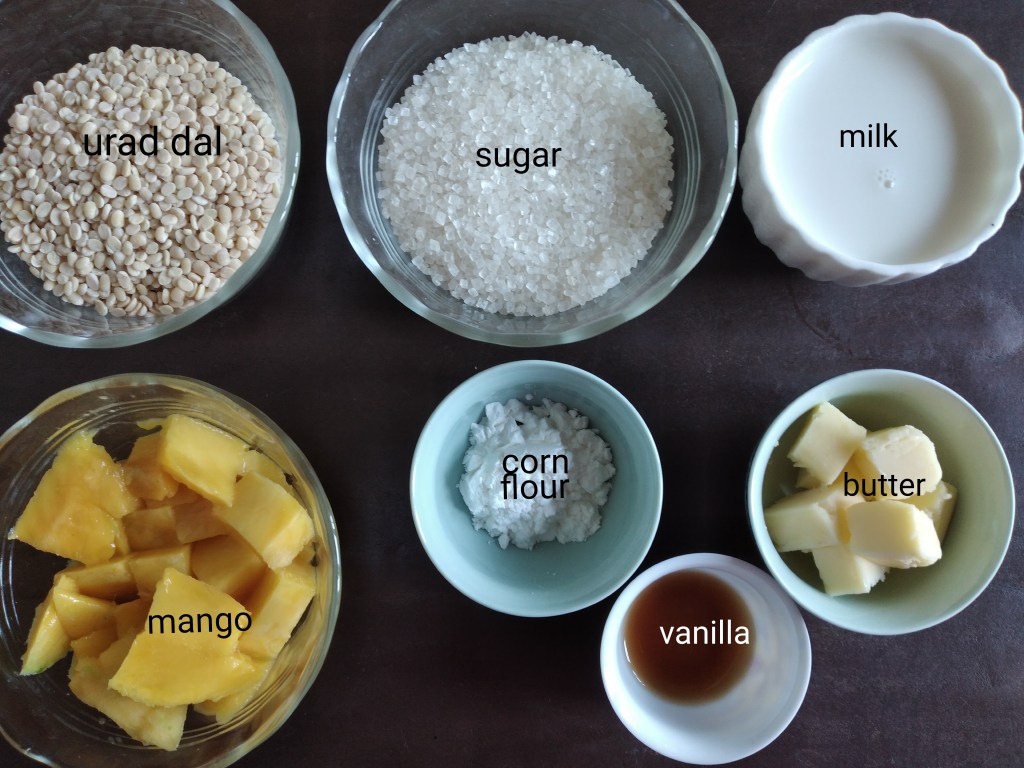
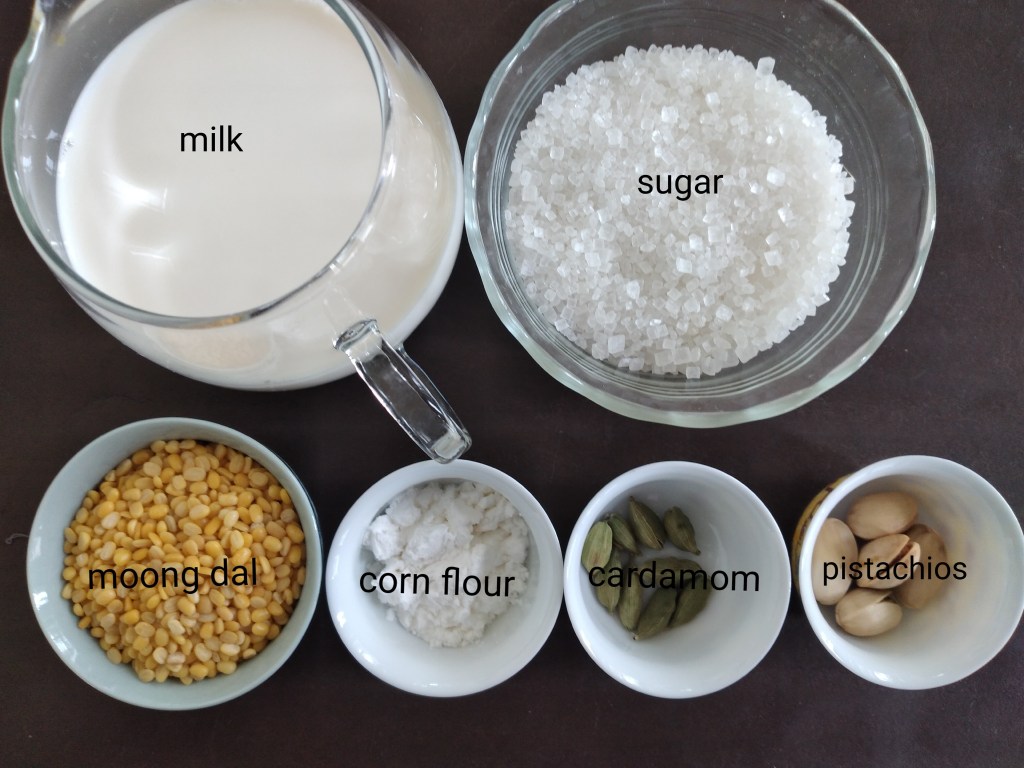
For the sauce you need:
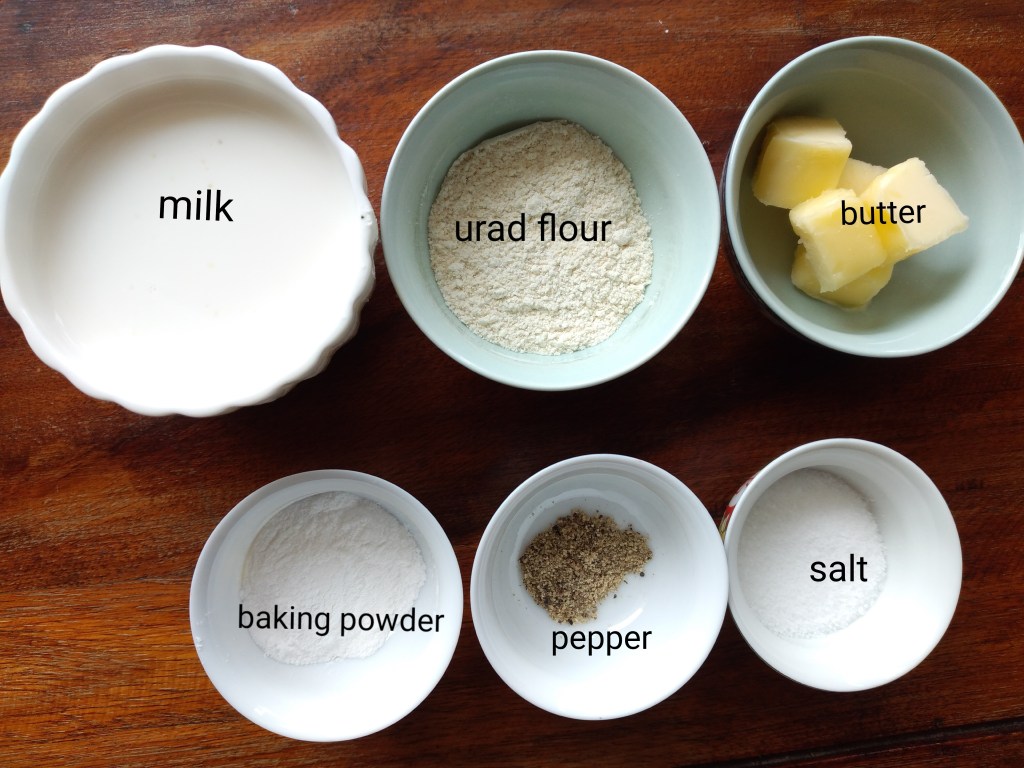
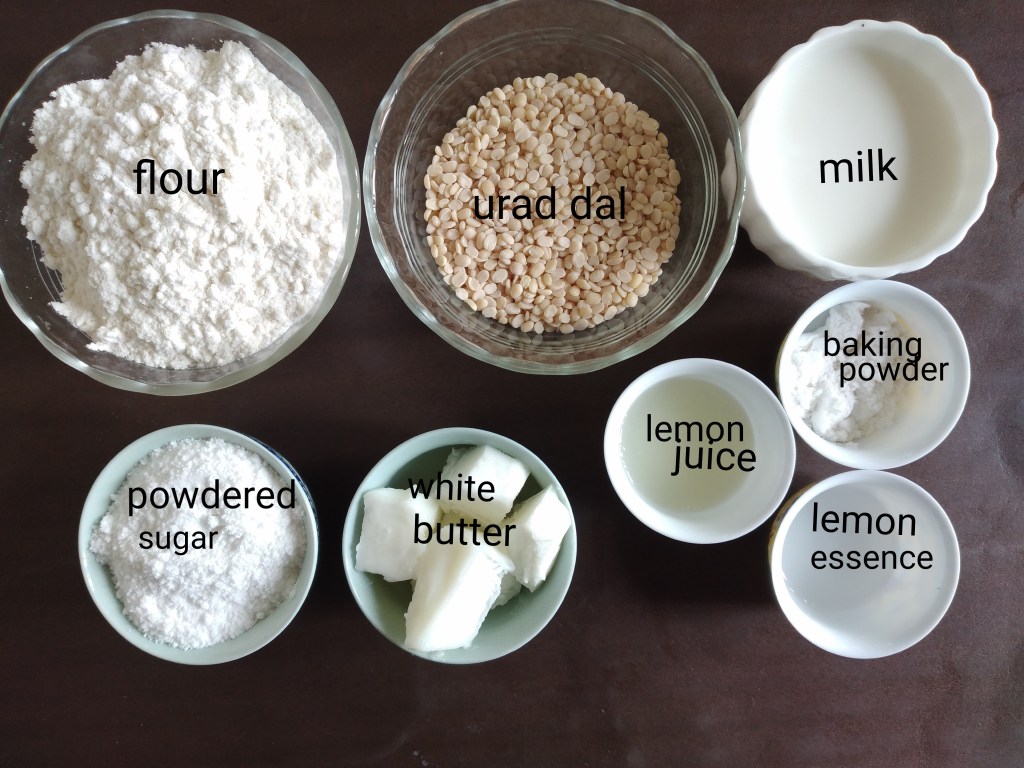
10 gm/1 Tbsp of urad flour
250 ml milk
15 gm butter
Salt and pepper to taste
Method:
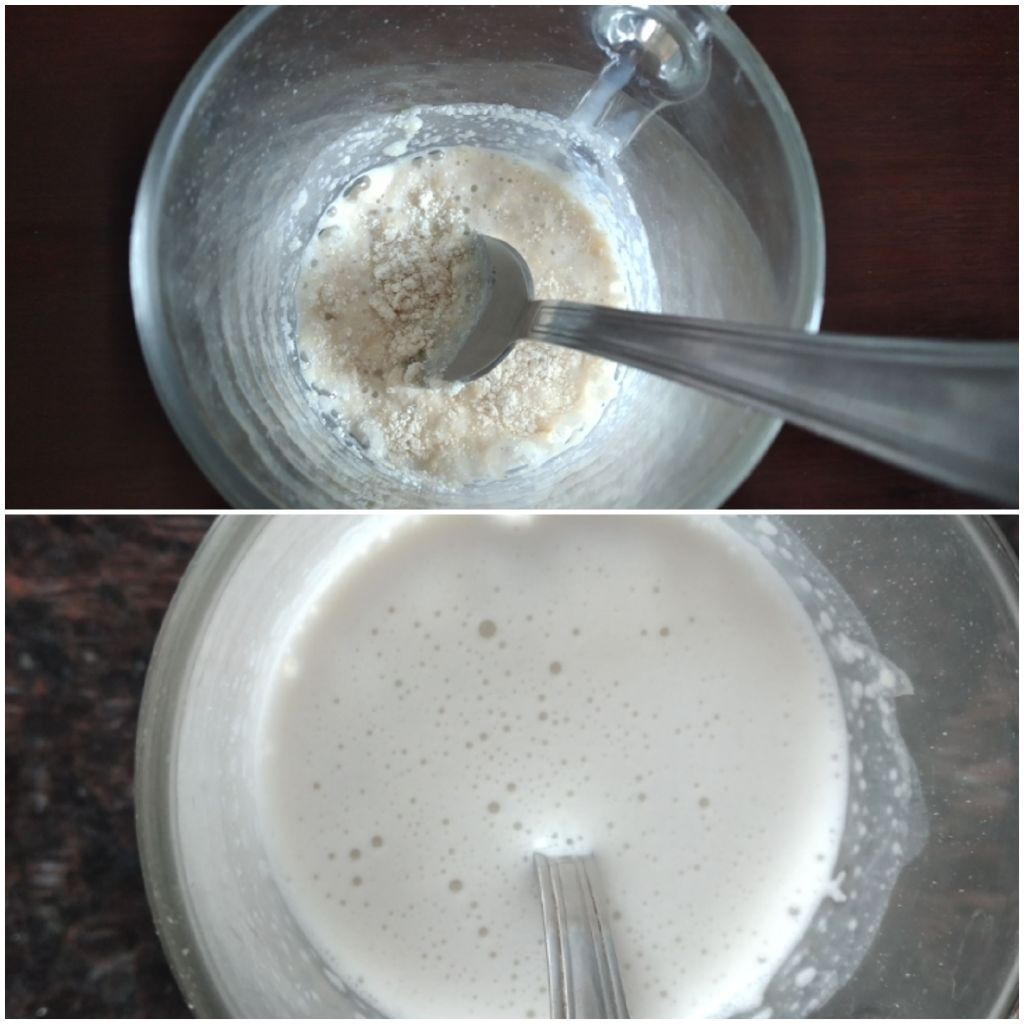
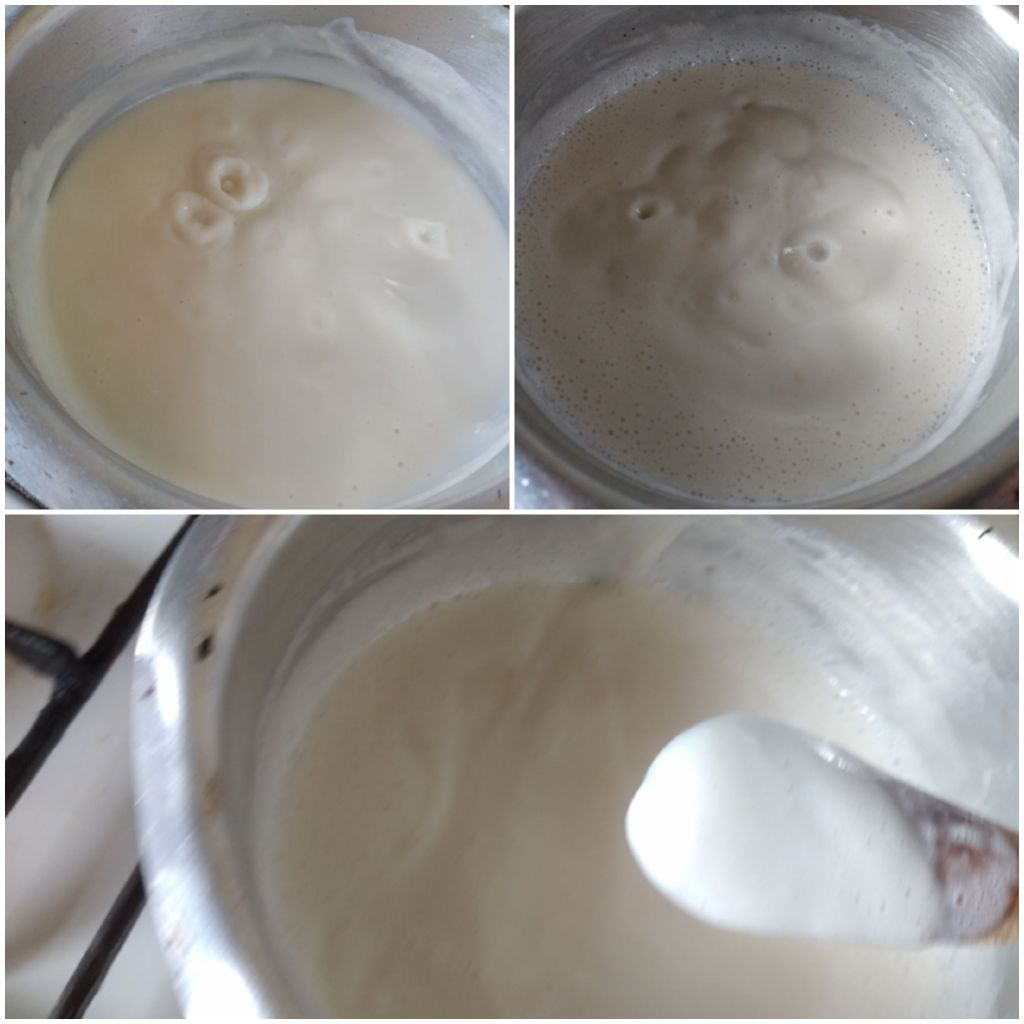
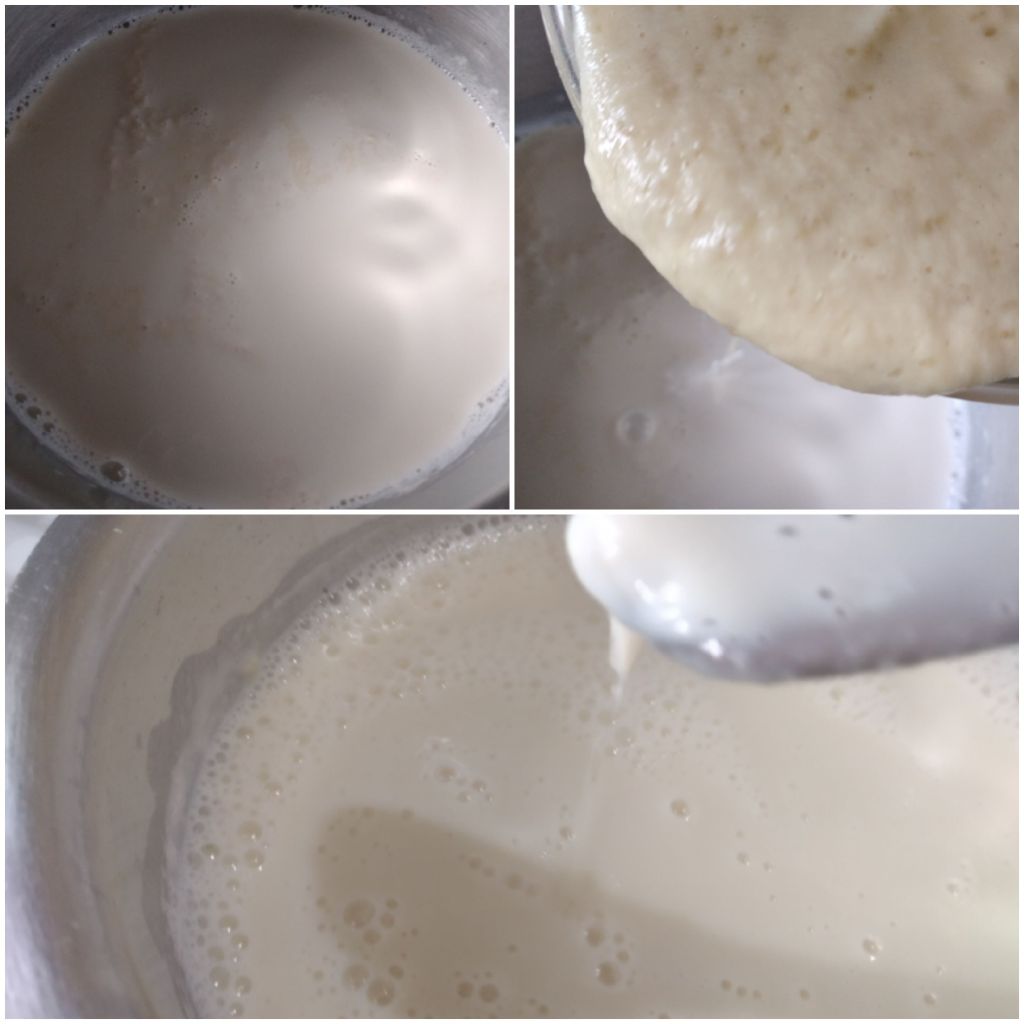
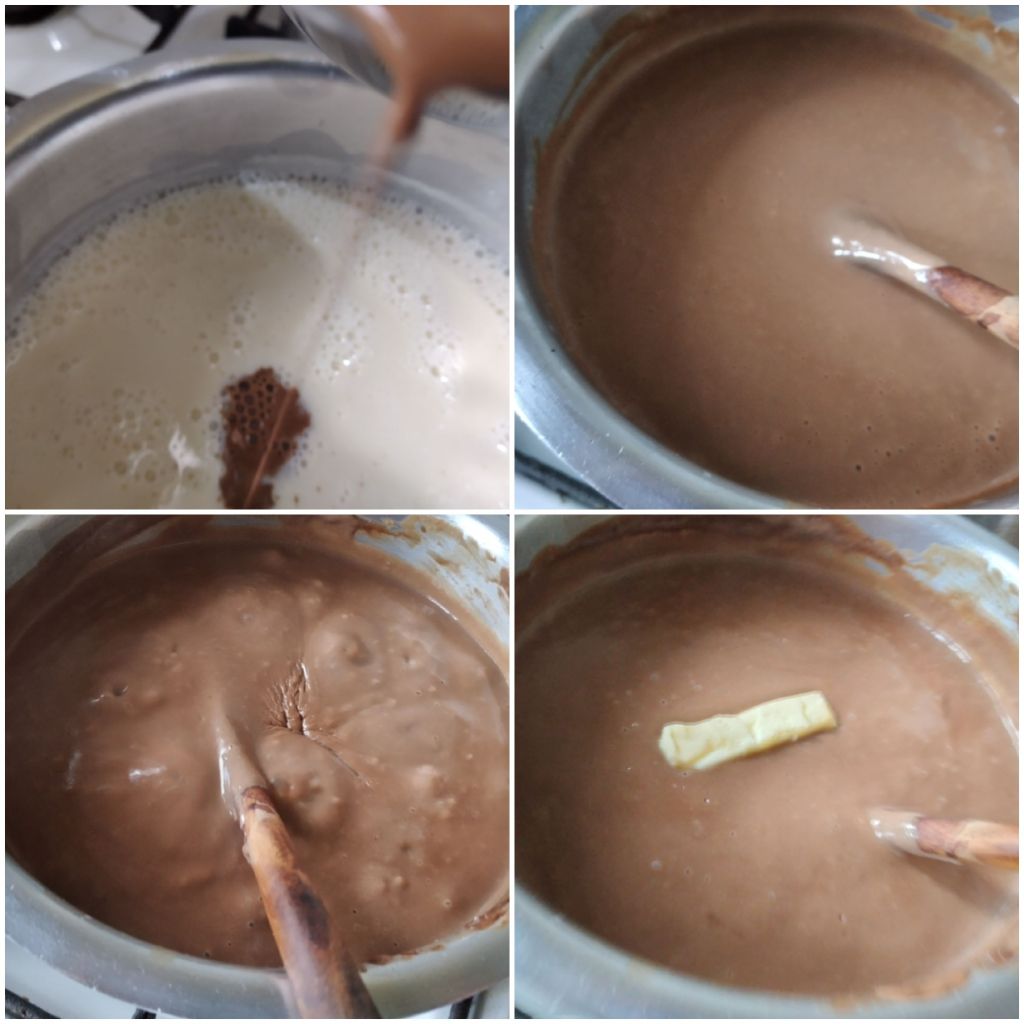
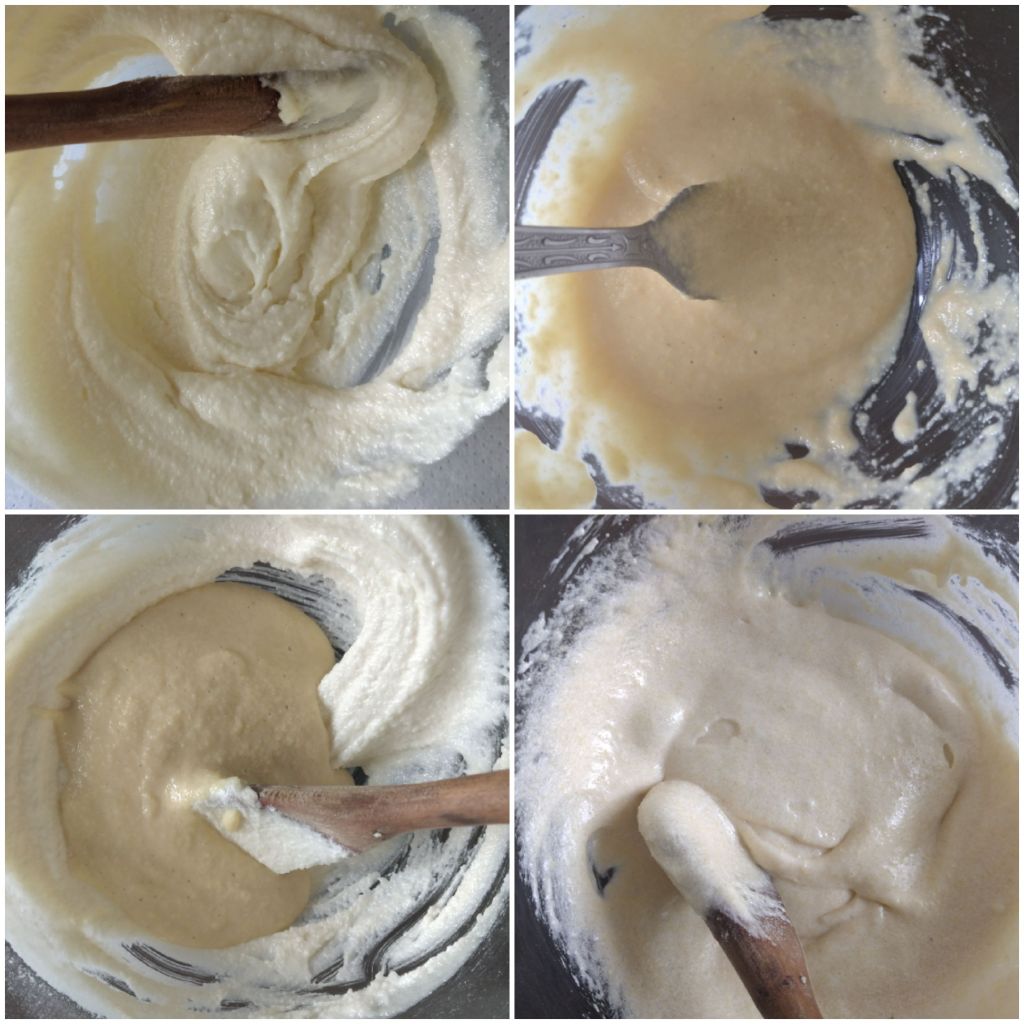
- Mix the urad flour with milk to a fine paste.
- Beat it well for few seconds and then add the remaining milk.

3. Heat a pan over medium heat. Add the butter.
4. When it melts add the urad-milk into it.
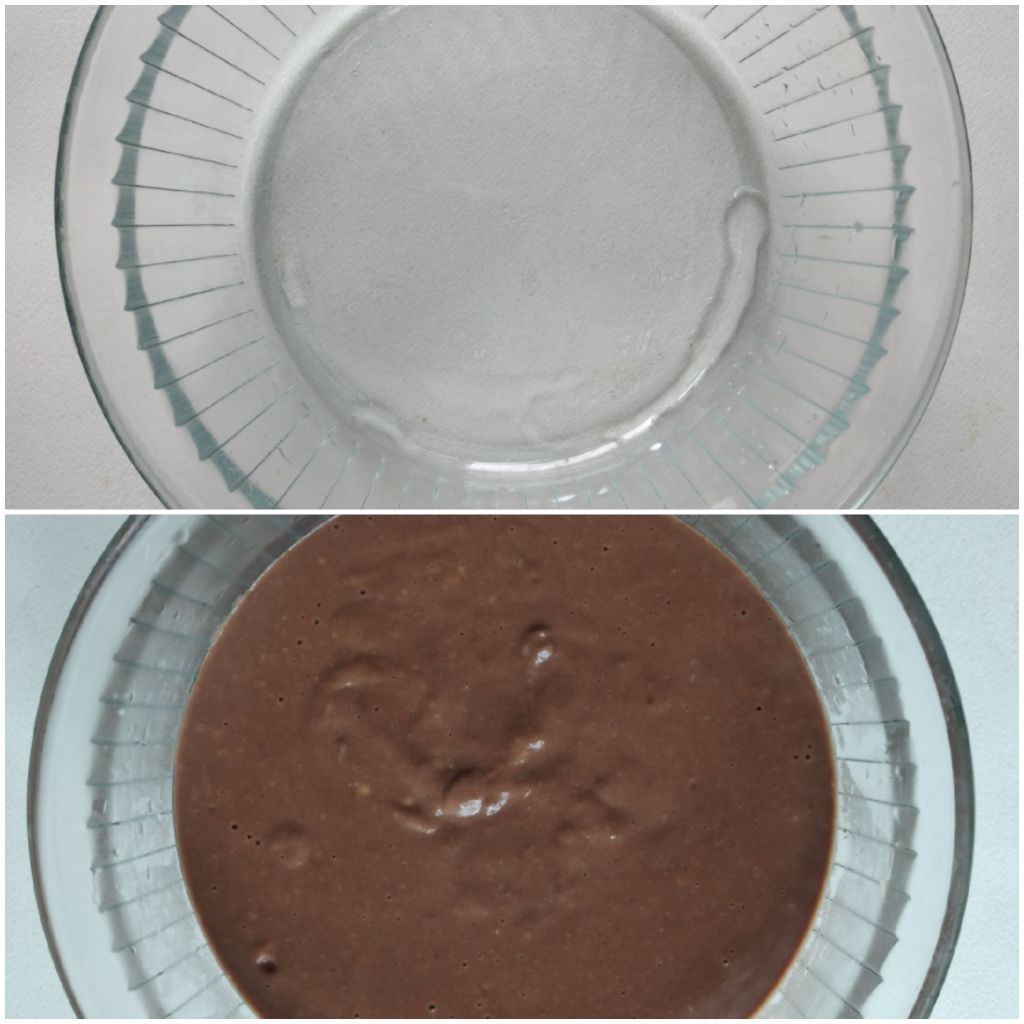
5. Cook to a smooth consistency.
6. Add salt and pepper to your taste. When the sauce thicken switch off the heat.
7. Allow it to cool.
For the Flan you need:
We need short crust pastry which you can buy from the market or make your own.

120 gm flour
60 gm butter
½ tsp baking powder
¼ tsp of salt
3 Tbsp of cold water
Method:
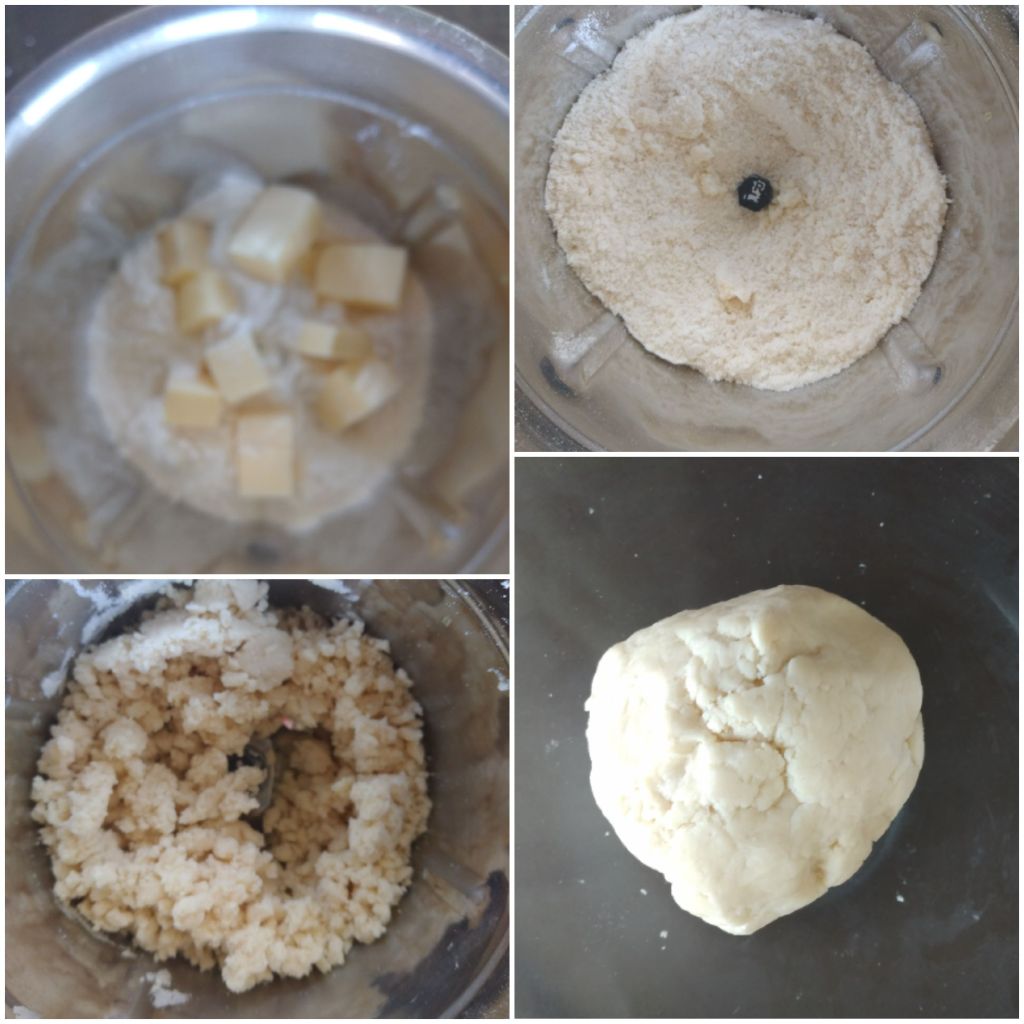
- Sieve flour, baking powder and salt together. You can make the dough with your hand, but in a blender it is much easier and faster.
- Place the sieved flour and the cold butter into the blender. Just give 3 short pulses, the flour-butter will combine and resemble like that of bread crumbs.
- Add 3 Tbsp of cold water to it and give another 5 short pulses.
- Take out the mixture from the blender. Make a ball and wrap with cling film.
- Keep it in the fridge for about 10 minutes.

6. Take out the dough from the fridge and divide into 4 equal pieces.
7. Make them into balls.
8. Cover with cling film again and keep them in fridge.

9. Take a ball, flatten and roll out to round shape. The round should be about 2 cm larger in all direction than the base of the flan case.
10. Trim the sides. Carefully drop the pastry at the centre of the case and press it well into the case.
11. Put the flan case back into the fridge.
12. Repeat the same process with the other three balls.

13. Preheat the oven to 200 degree C.
14. Prick the pastry base and line with butter paper.

15. Fill the cases with rice and blind bake for 10 -15 minutes until slightly browned.
16. Remove the paper and rice before filling.
Putting together the flan:

- Spoon the sauce and then the filling into the flan cases.

2. Top with grated cheese.
3. Bake in a hot oven for 10 minutes until the cheese melts.
4. Serve hot.
Happy Cooking !