Moonglates are moong balls coated with chocolate. They are delicious and easy to make. Just try it out, something new and interesting !
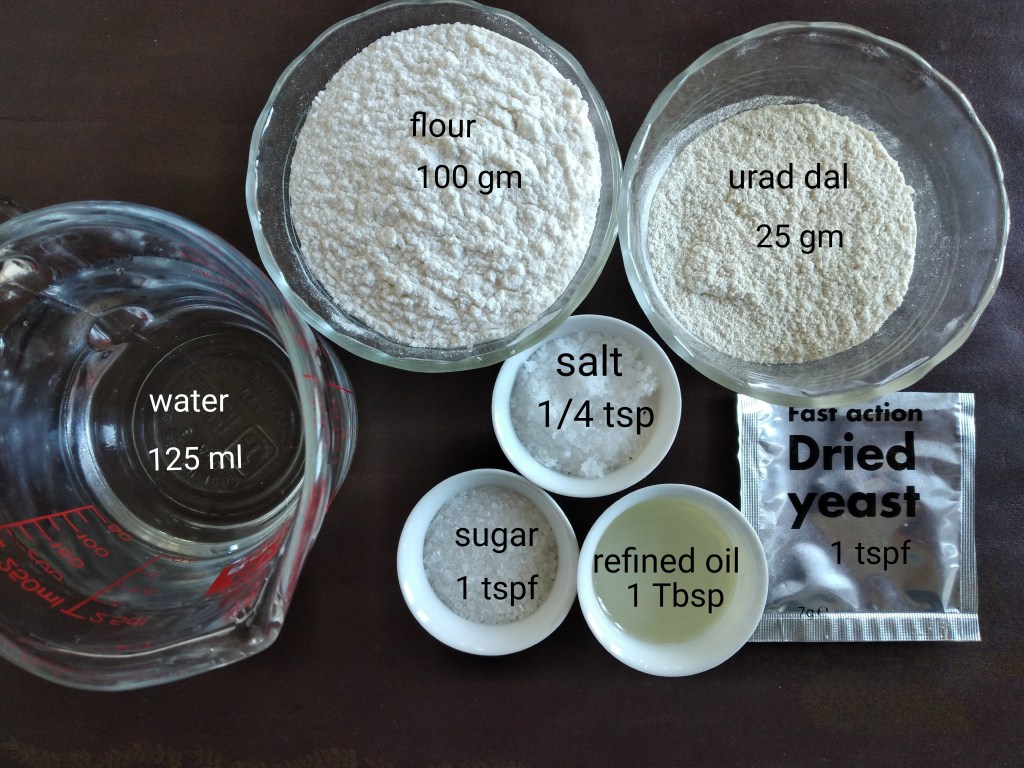
You need:
For the moong balls
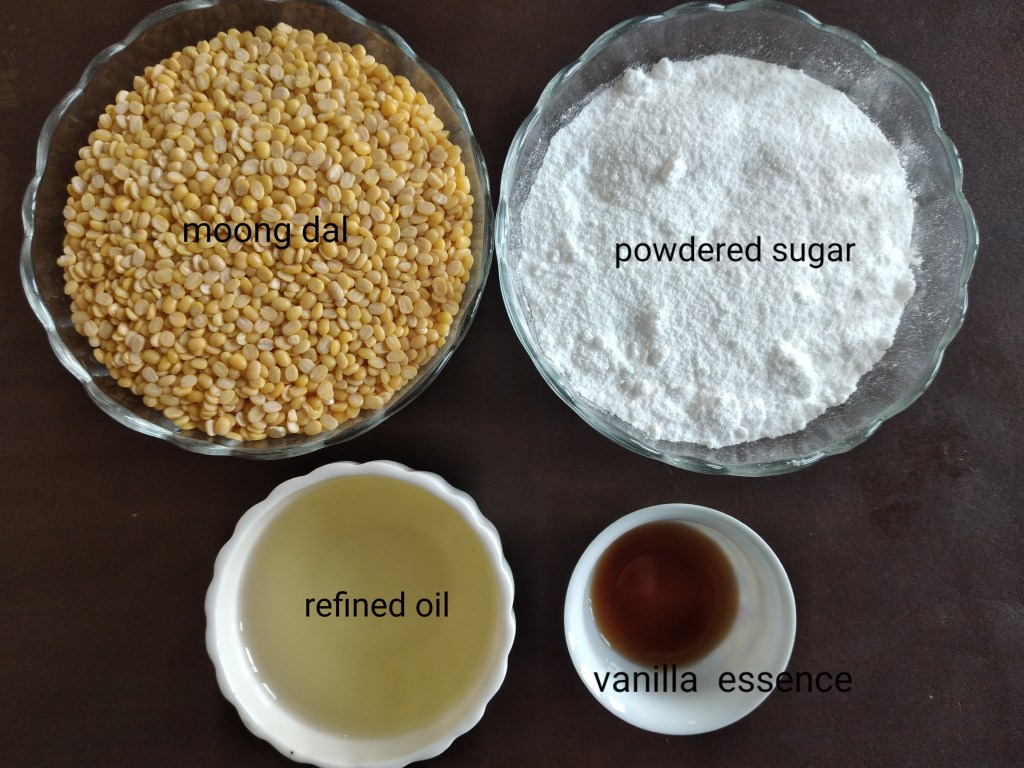
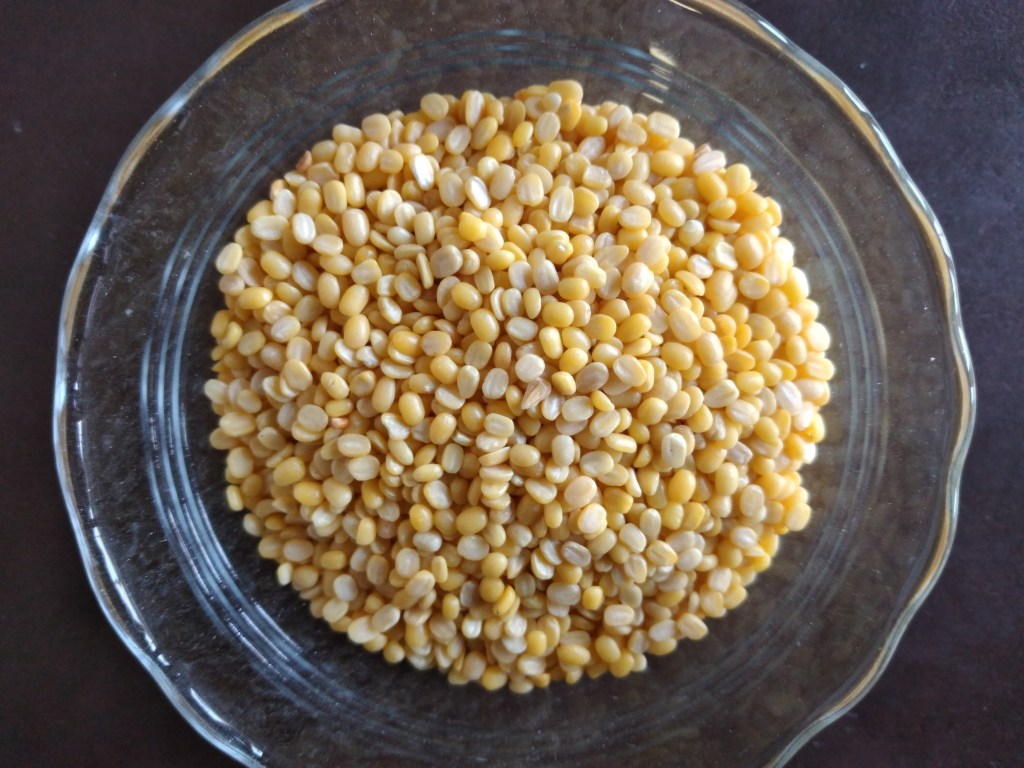
75 gm moong dal/yellow lentil
50 gm powdered sugar
1 tsp vanilla
5 Tbsp refined oil
Method:

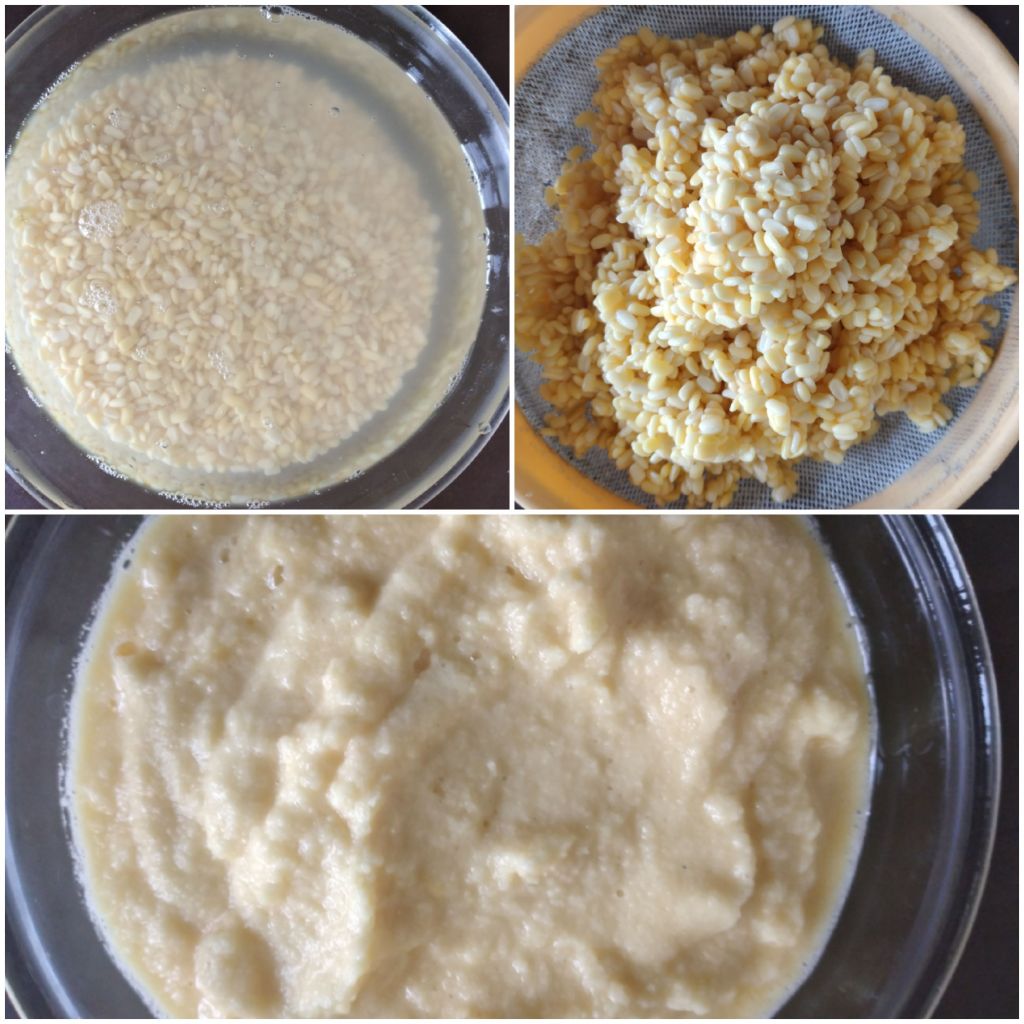
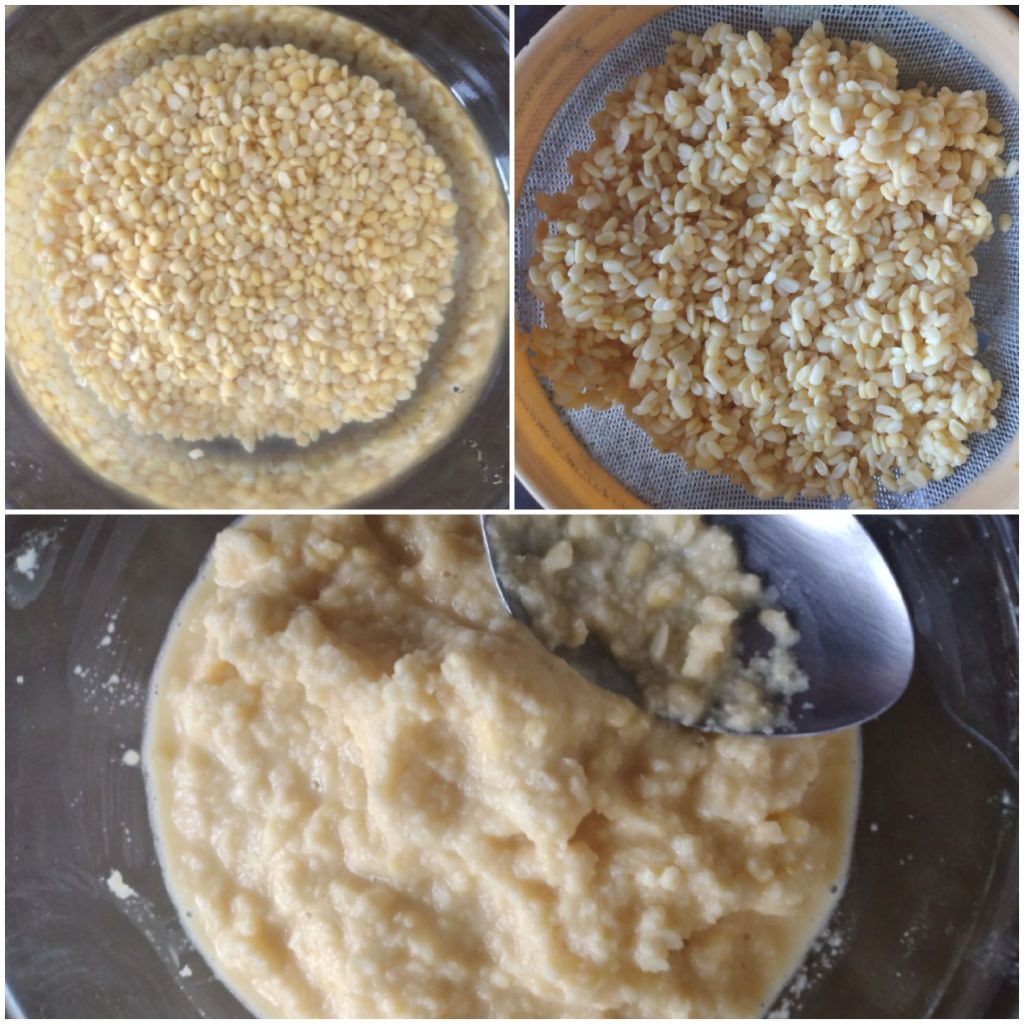
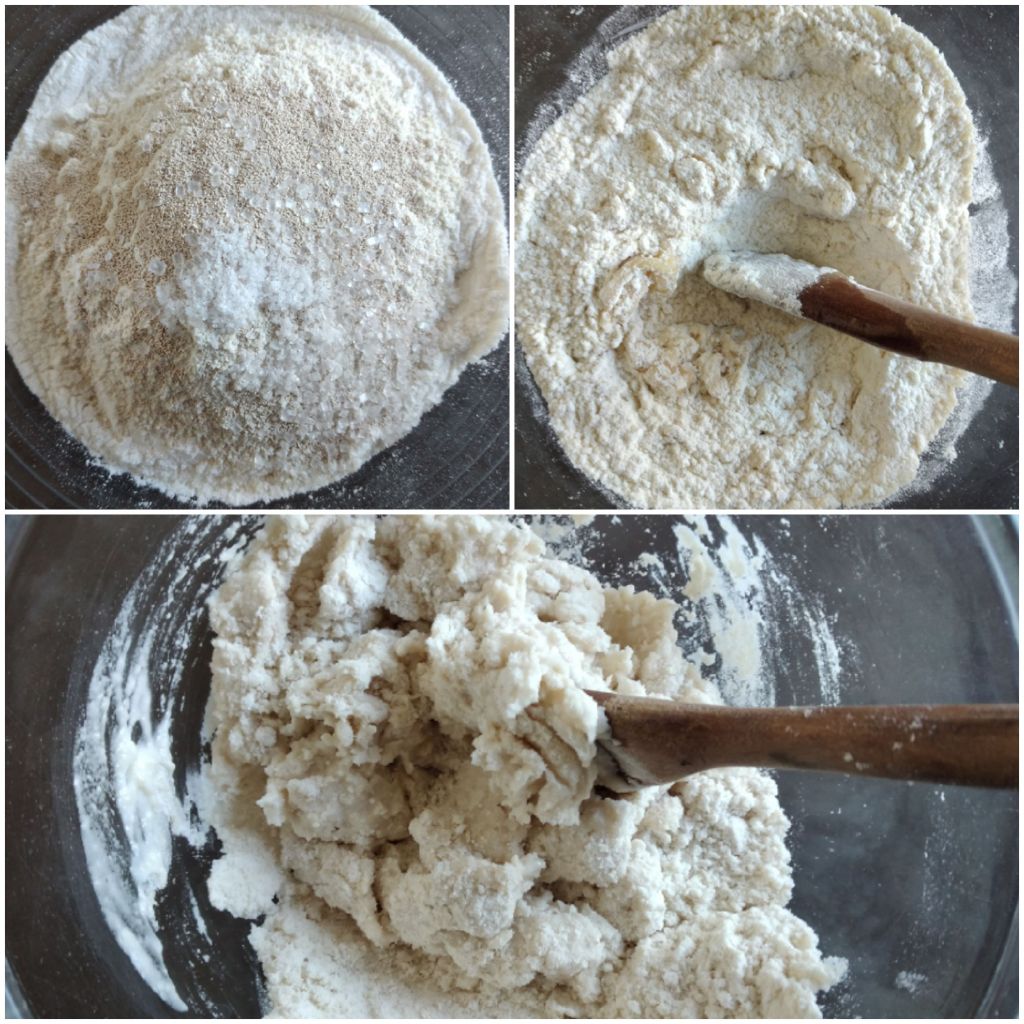
- Wash and soak the dal for about 4 hours. Drain and grind finely with as minimum water as possible.

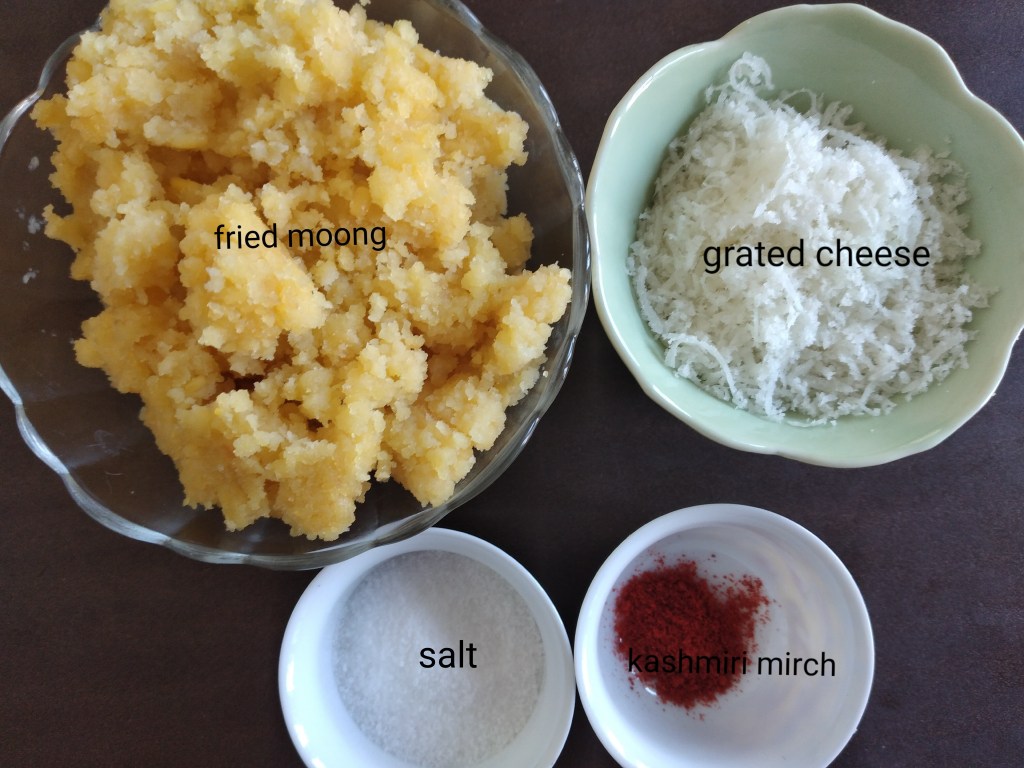
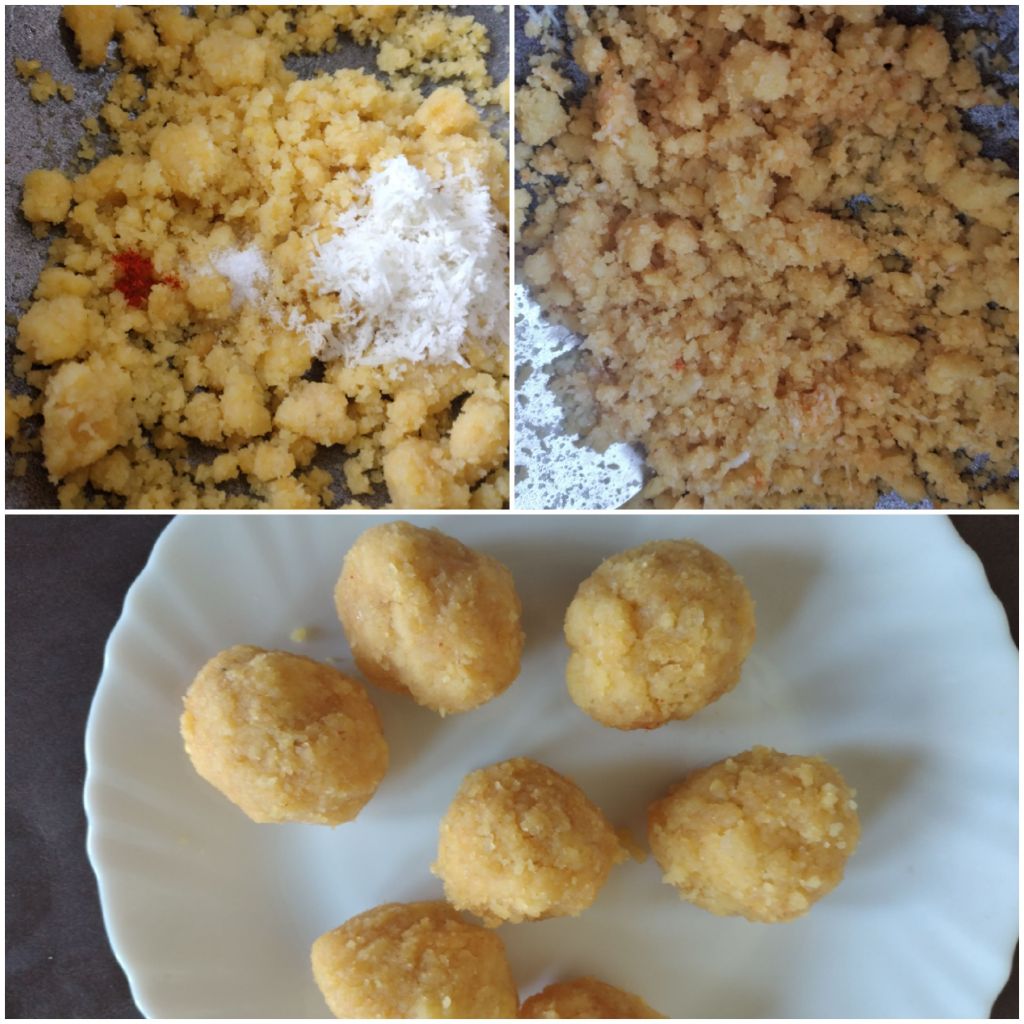
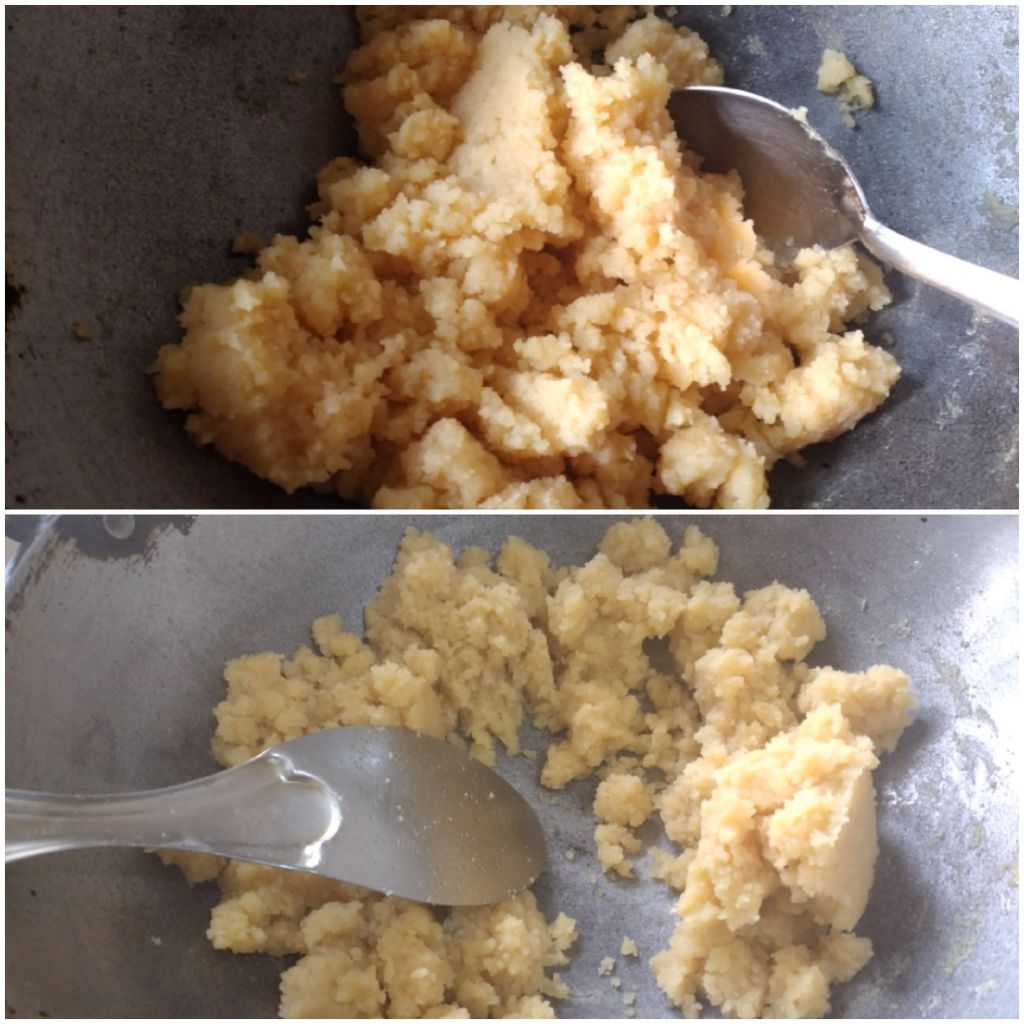
2. Heat the oil in a heavy pan. Pour the dal mixture into the oil. Keep stirring till the roasting aroma of dal is released and oil starts to ooze out. Switch off the heat. Add sugar and vanilla essence into the fried dal and mix well.

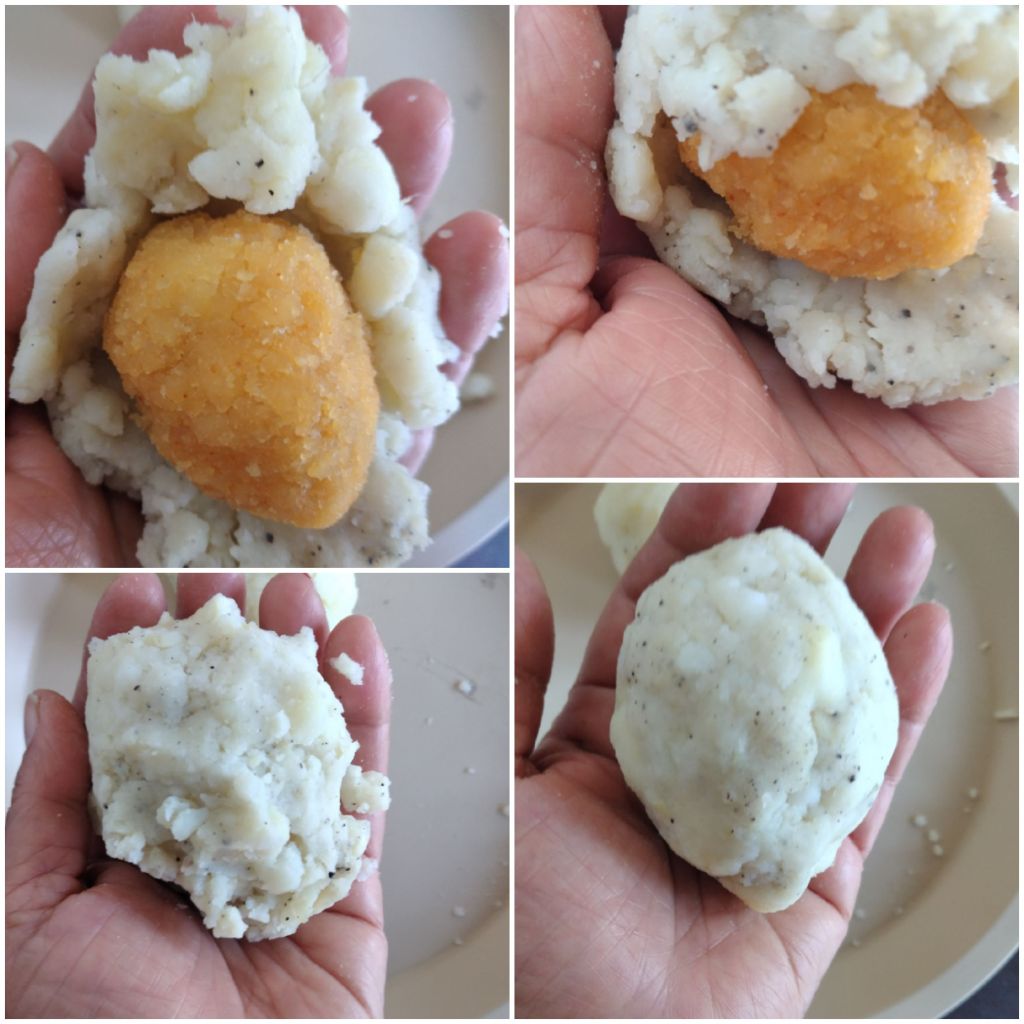
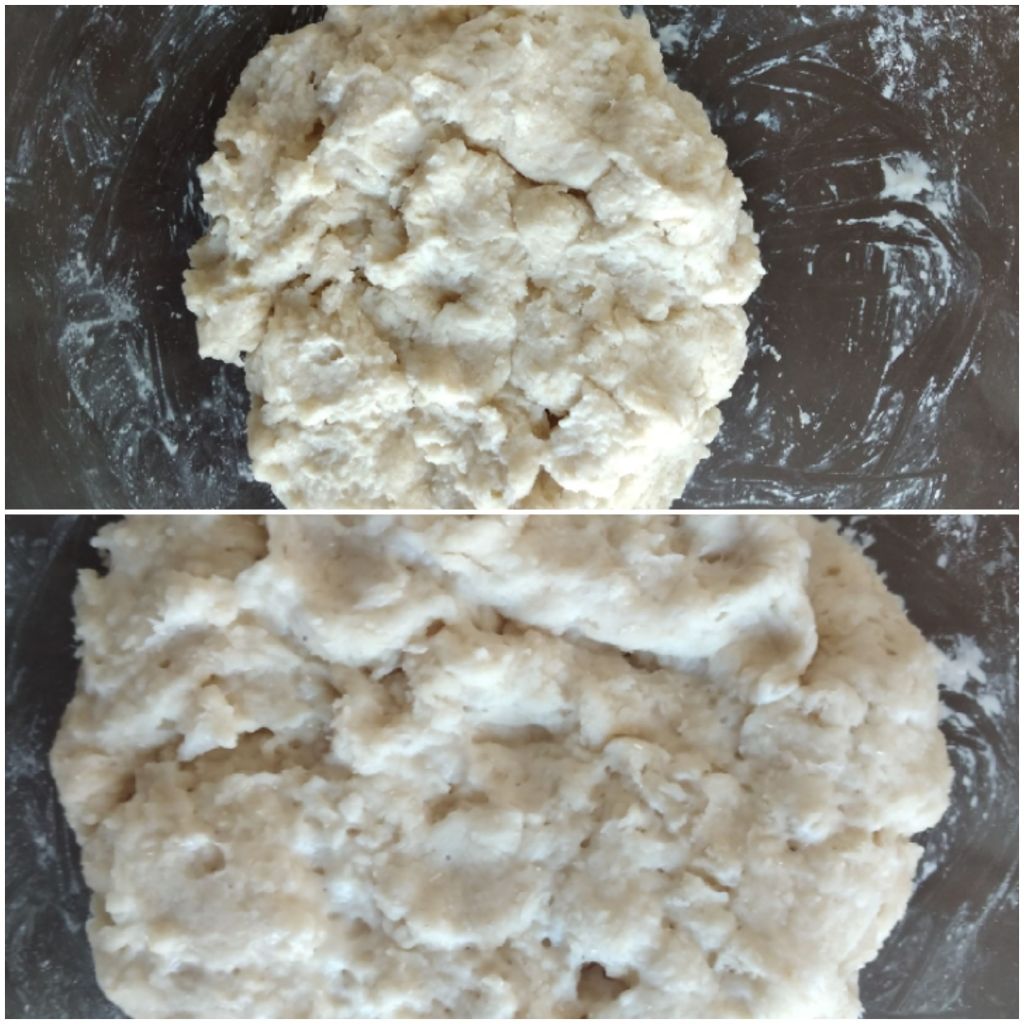
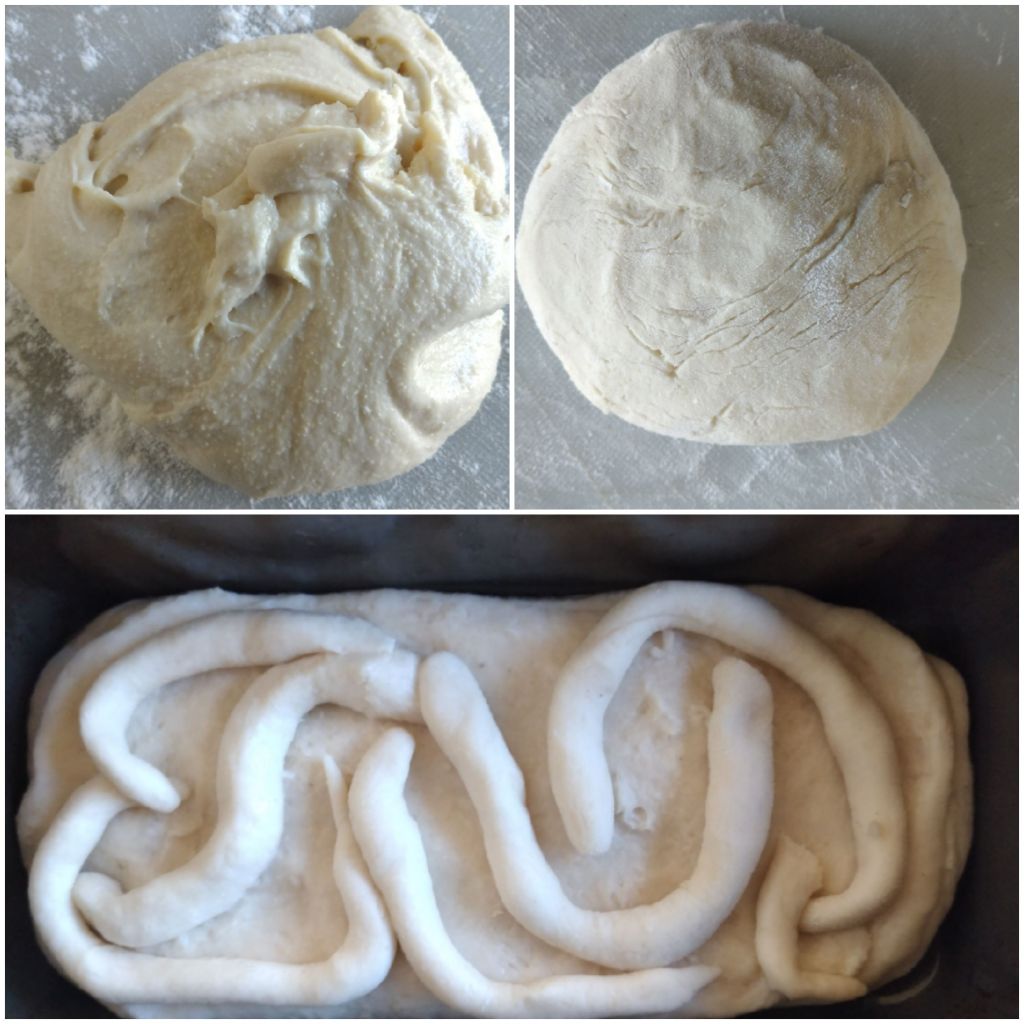
3. While the mixture is still warm, take teaspoonfuls and make a small balls. Cover the balls with a thin film and keep it in the fridge for about 10 – 15 minutes.
For the coating:

75 gm dark chocolate
75 gm milk chocolate
75 gm white chocolate
Oven proof bowls
Buttered paper
If you are using compound chocolate, chop the chocolate finely. You may use chocolate chips also. Cover a tray with butter paper.
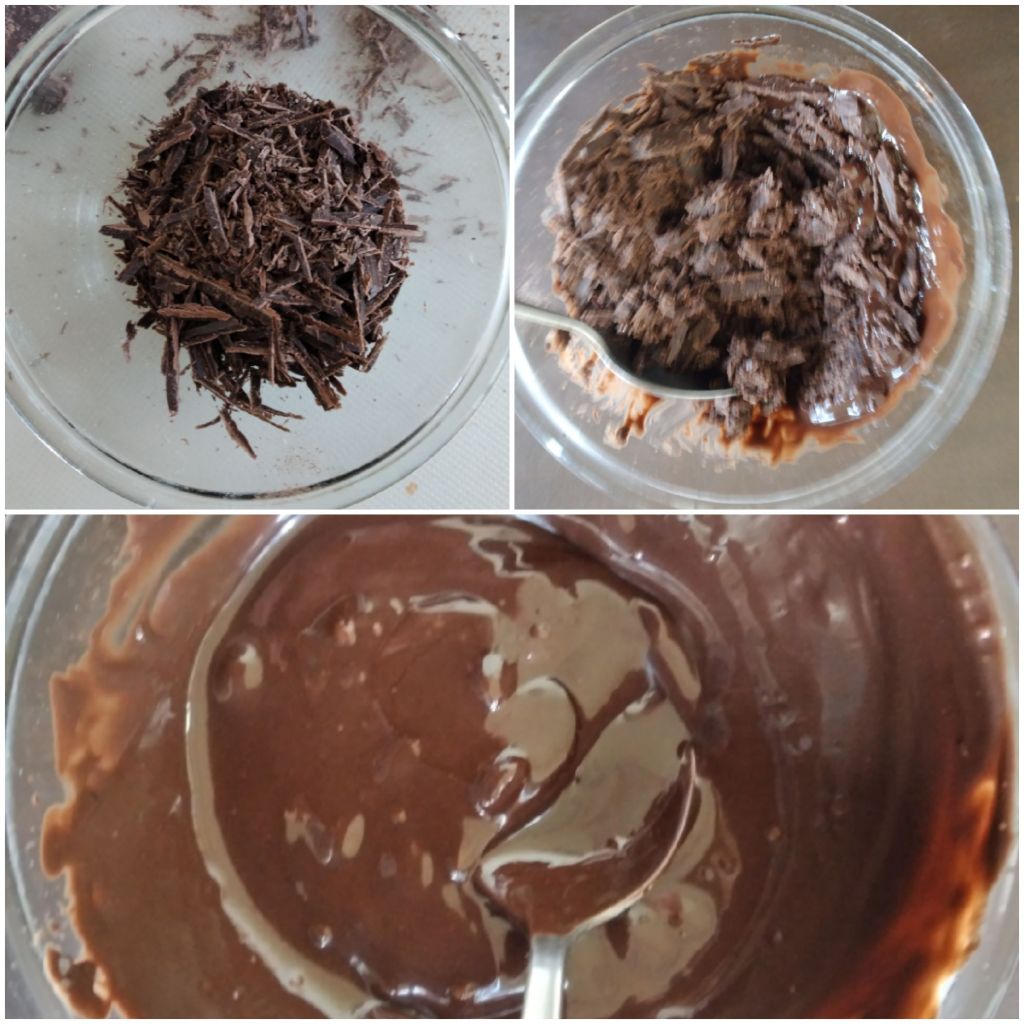
- Chop dark chocolate finely and place it in an ovenproof bowl. Microwave the chocolate for 30 seconds at a time. After each 30 second stir the chocolate. As soon as chocolate begins to melt, take out bowl from the oven and stir continuously until all the chocolate melts completely and becomes shinny

2. Dip the moong balls one at a time. Lift the balls gently with a fork. Tap the fork on the edge of the bowl to remove excess chocolate and place them on the butter paper. Let them stand until firm.
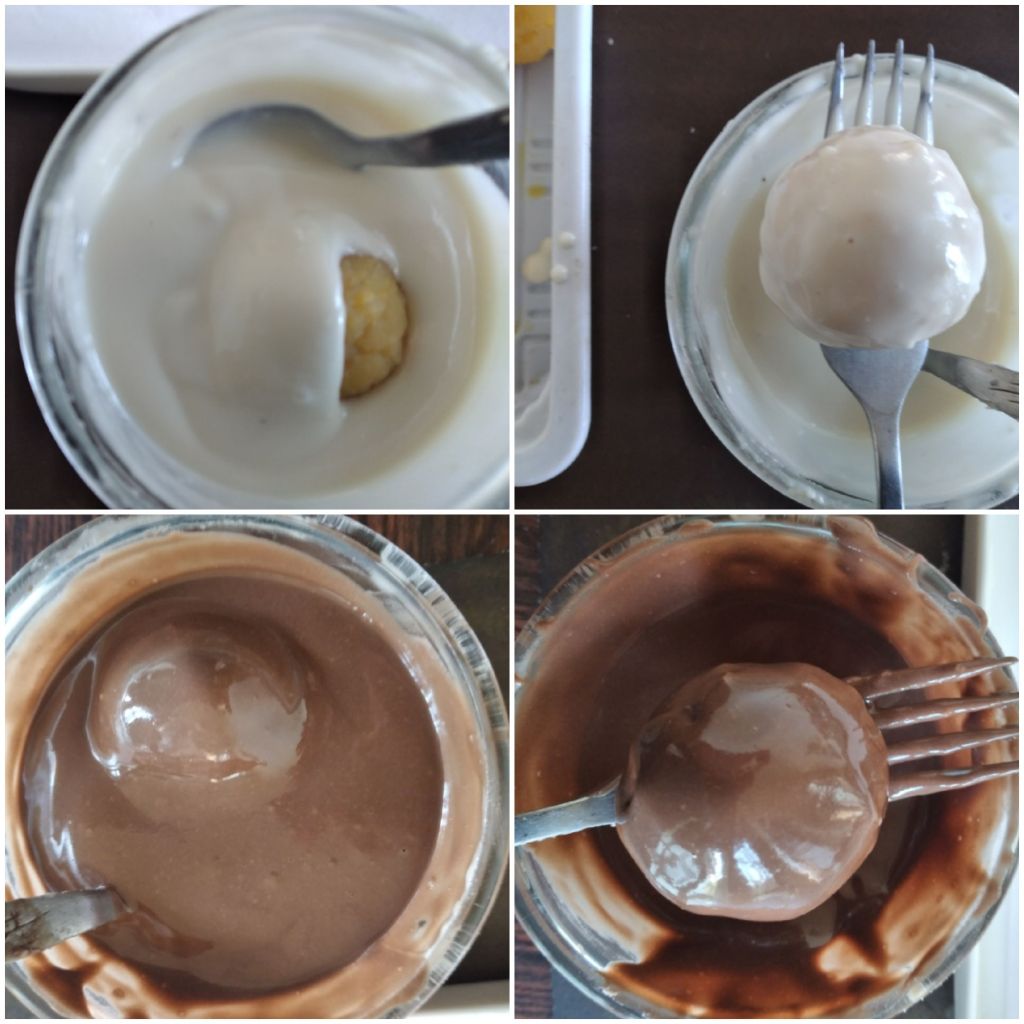
3. Repeat the same procedure with milk chocolate and white chocolate. First melt and then dip the balls.
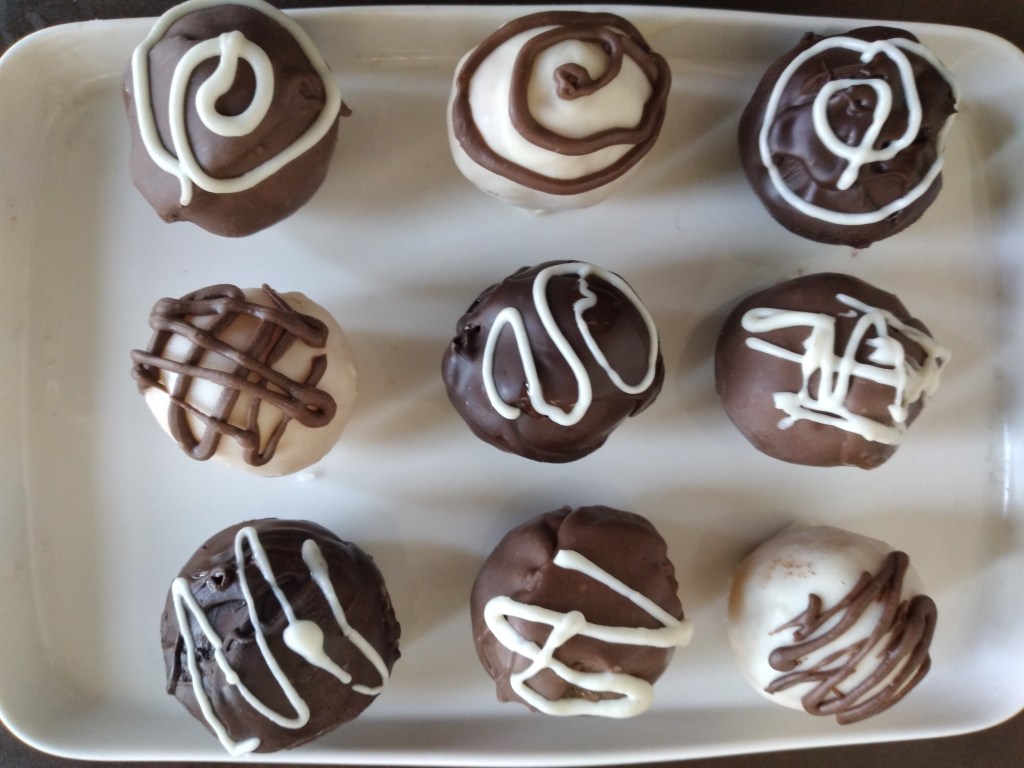
4. Drizzle the top with the left over chocolate.
Enjoy your Moonglates!